I love Christmas traditions. Our family Christmas is steeped in tradition. As soon as December rolls around we count down to Christmas on our chocolate advent calendars and pick out and decorate a lovely smelling fresh pine tree. On Christmas Eve we gather at my parent’s house for roast beef, my mom’s killer gravy and all the fixin’s. Then we sit round the fire and everyone receives an ornament hand picked by my Grandma. On Christmas Day after opening presents we head to my grandparent’s house where the German traditions kick in. We hunt for pickles (and a piece of coal from my great great grandfather’s coal mining days) on my grandparents’ Christmas tree. Then we eat delicious German wursts, my Grandma’s swedish meatballs, fleischsalat (the best way to describe this is its like potato salad but replace the potatoes with bologna), multiple types of potato salad and rye bread. For dessert there is homemade stollen and too many types of Christmas cookies to list.
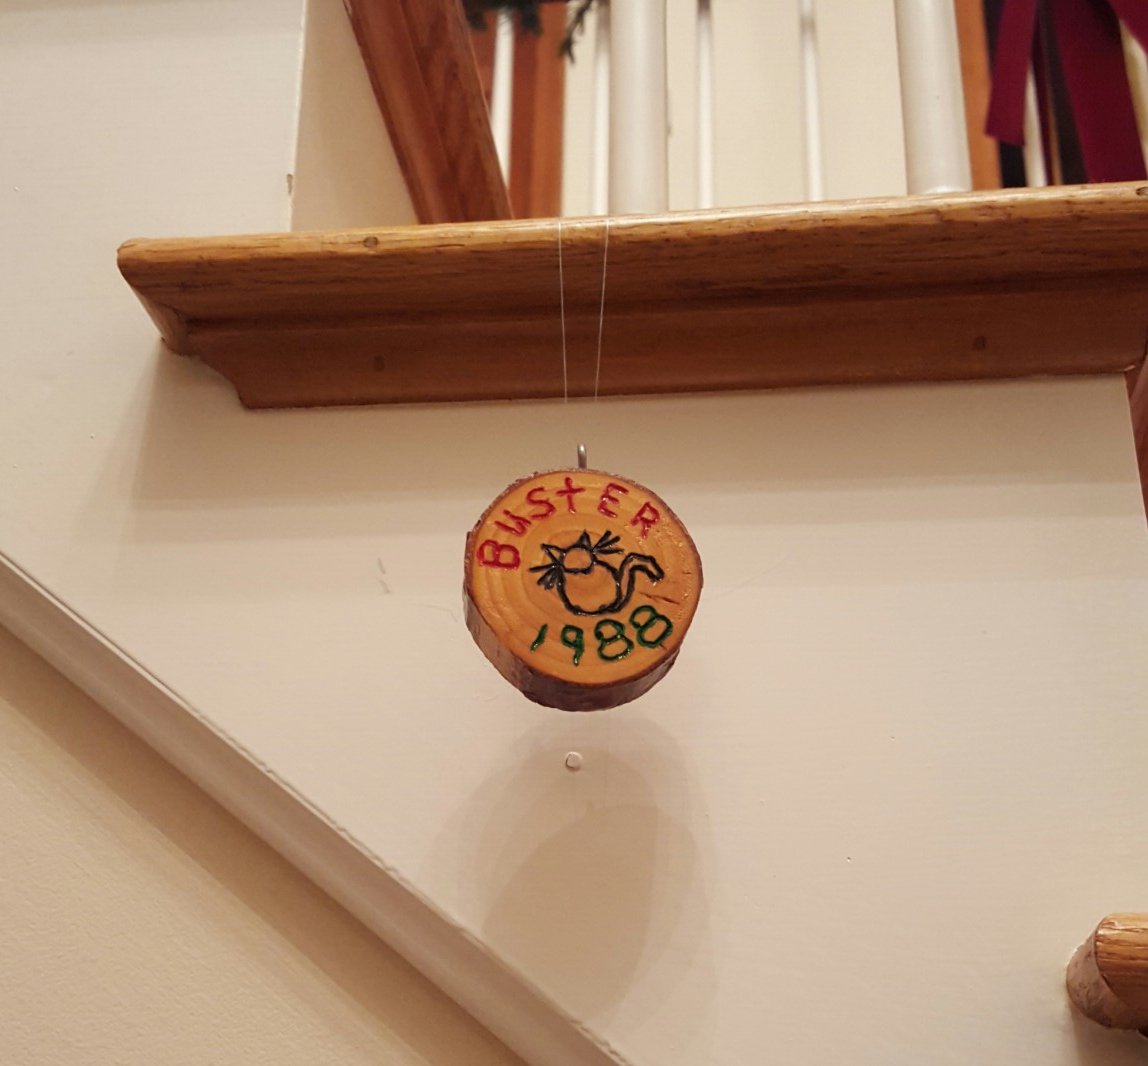
One of my favorite traditions, started by my uncle when he first was married, is to cut a slice out of the stump of each year’s Christmas tree and paint it with events that were significant that year. He then turns them into ornaments and hangs them up before Christmas. It is like creating a piece of a time capsule that you get to open every year. Everyone in our family, now grown, have also adopted the tradition. My parents decorate their foyer with them. Here are some of my favorites.
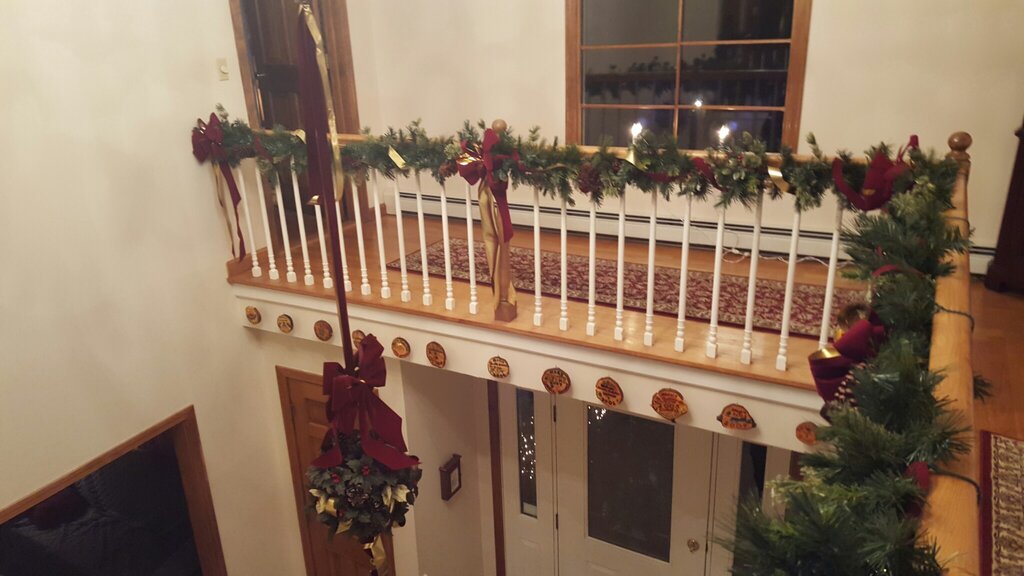
Tree trunk memory ornaments
Another German tradition we celebrate is Saint Nicholas Day. On December 5th we leave our shoes by the front door and when morning comes they are filled with sweets, oranges, apples, nuts and little toys from Saint Nick! I can remember being so excited that I was one of the few schoolchildren who received gifts from Saint Nick (it clearly was because my grandma, being from Germany, had some serious Saint Nick connections). Well I must have been naughty for the last decade because Saint Nick hasn’t delivered anything for me recently, but he always fills my husband’s shoes full of treats and silly things. Luckily my husband wears a size 13 so I get to share the treats!
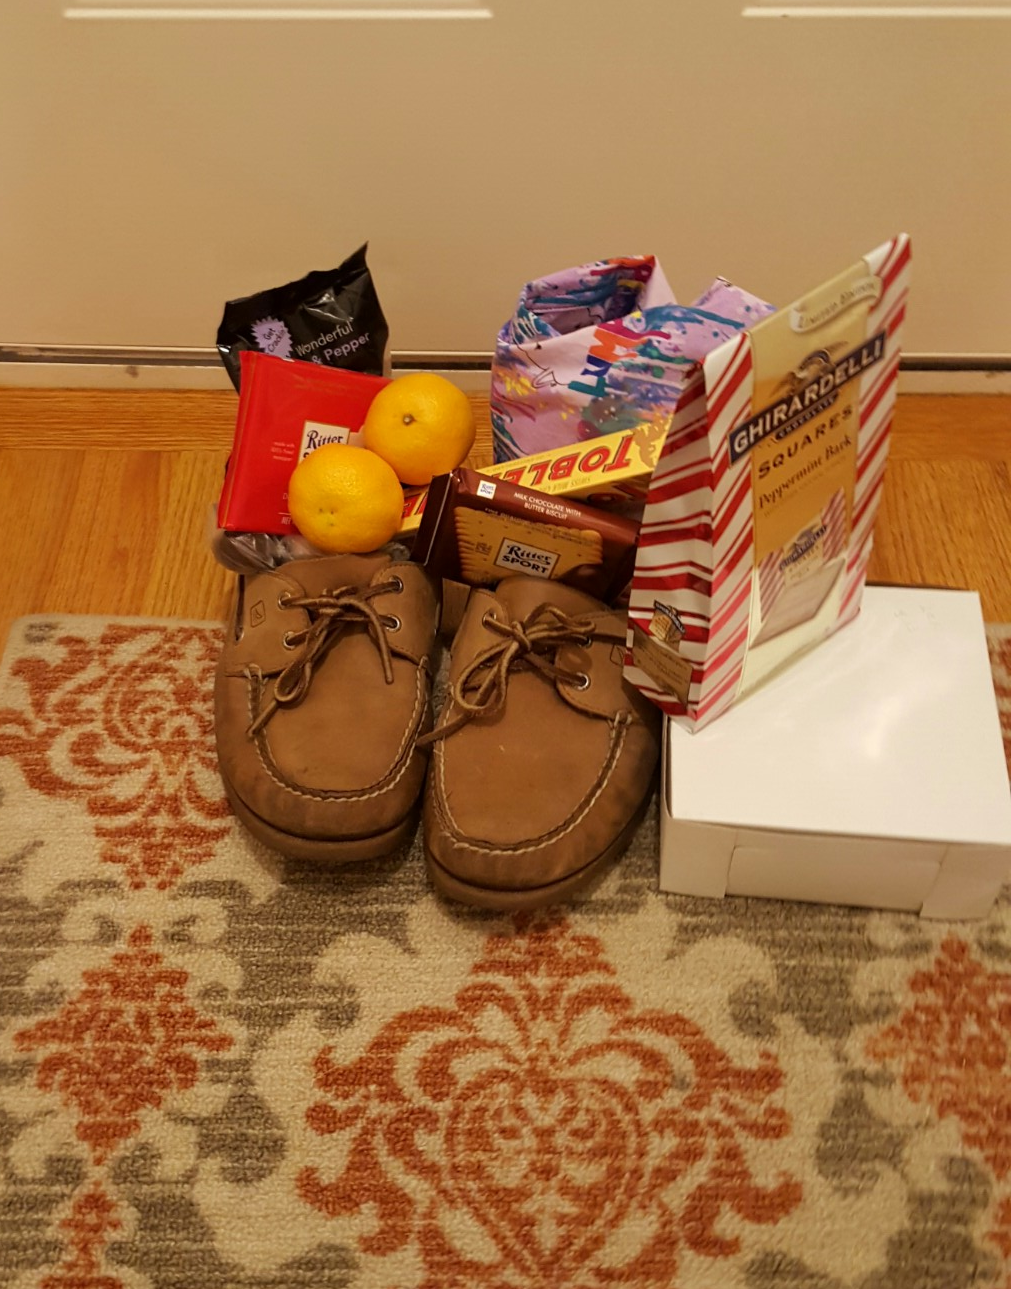
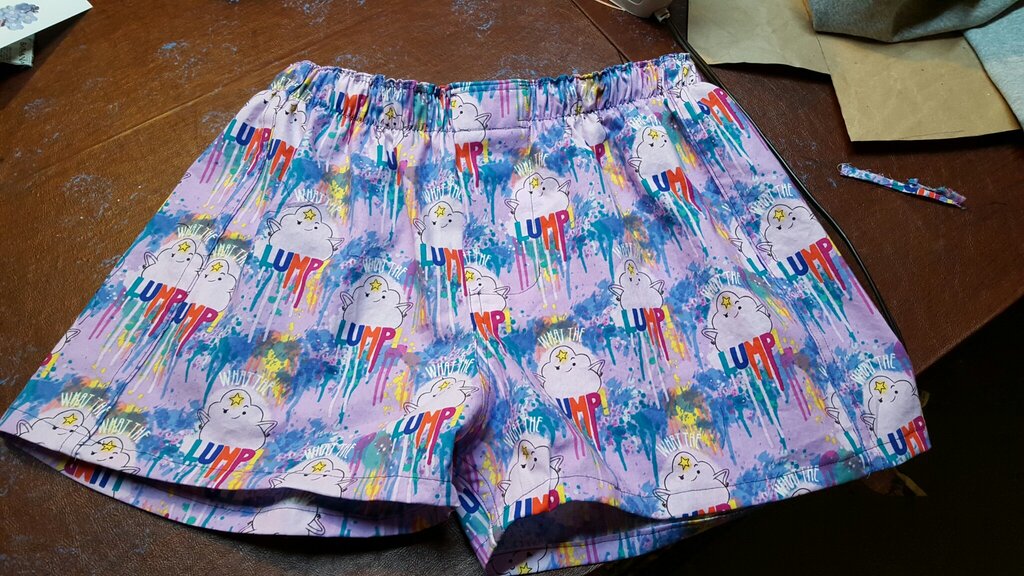
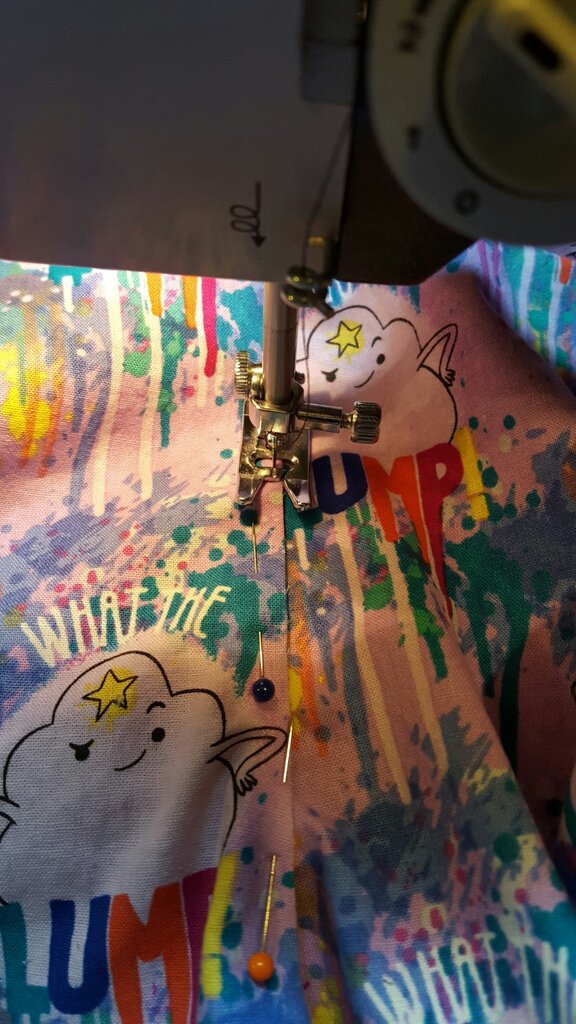
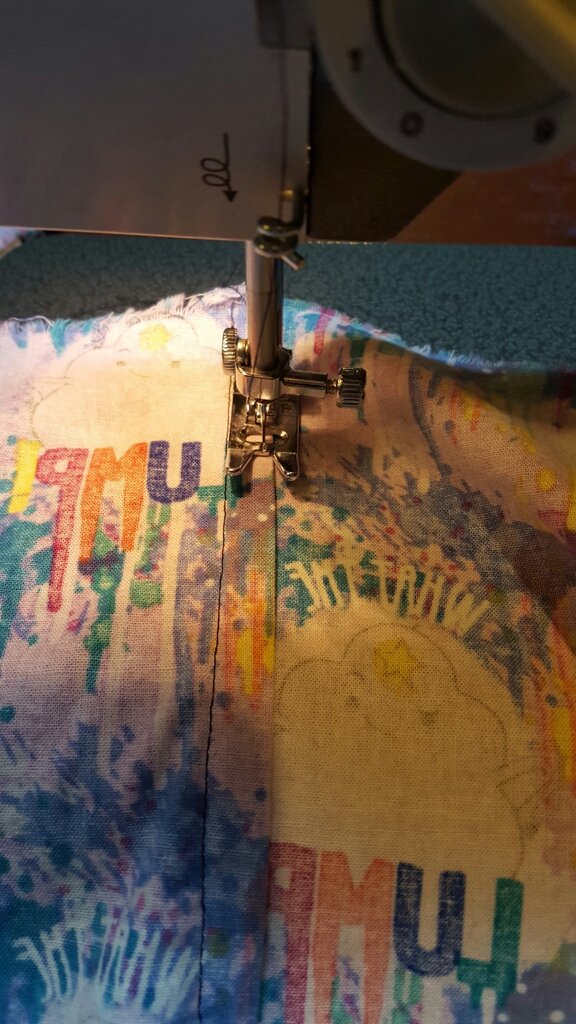
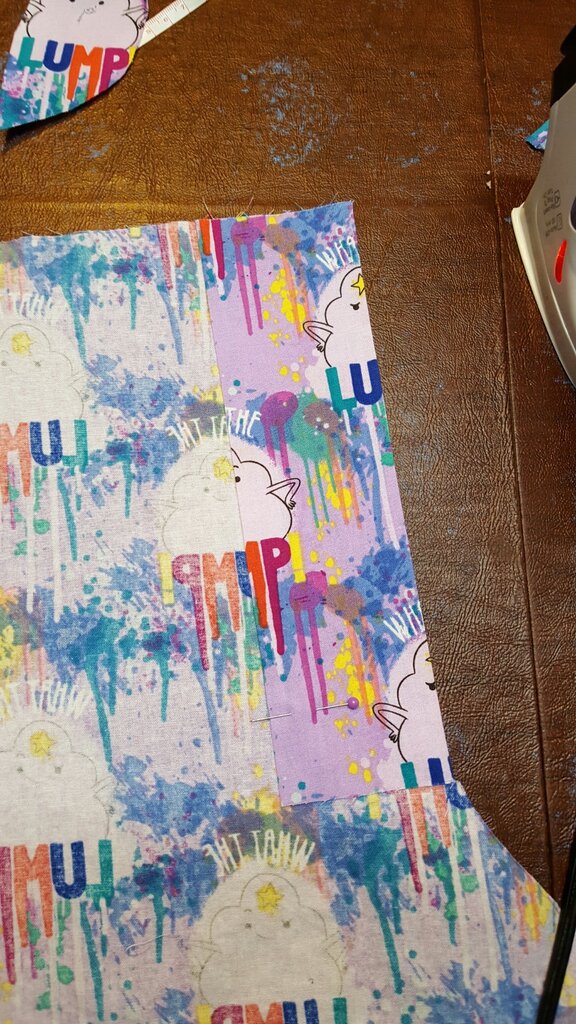
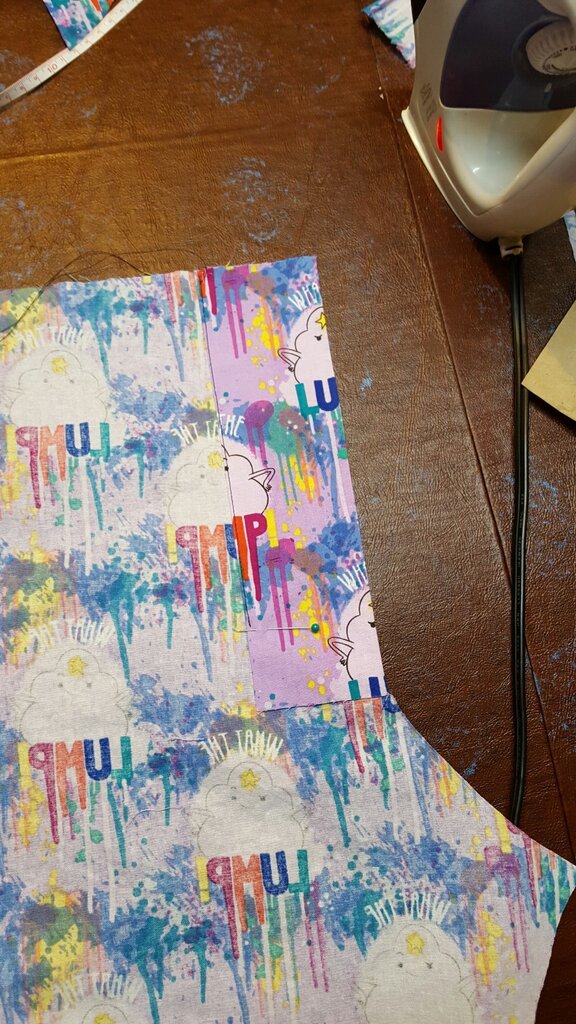
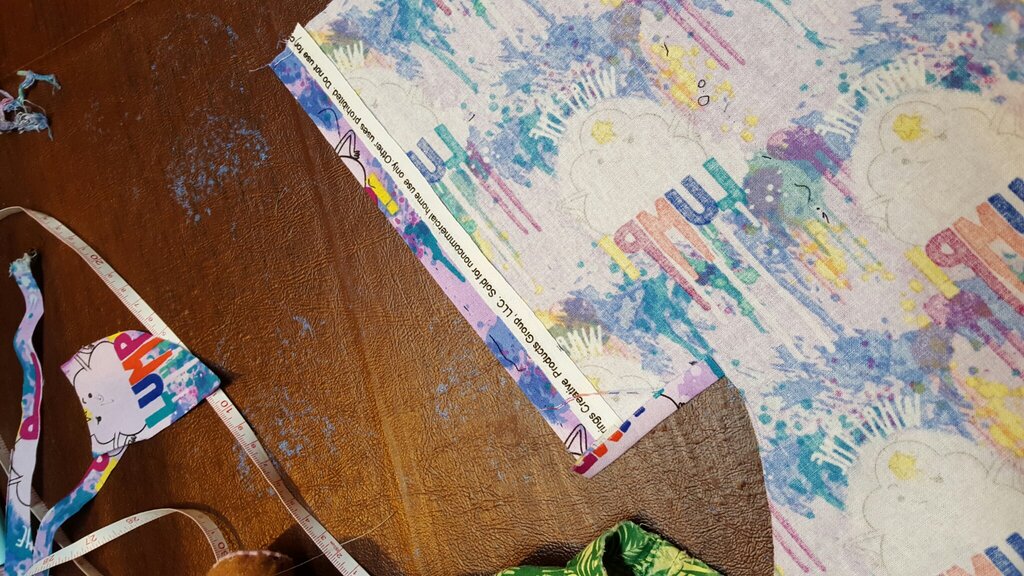
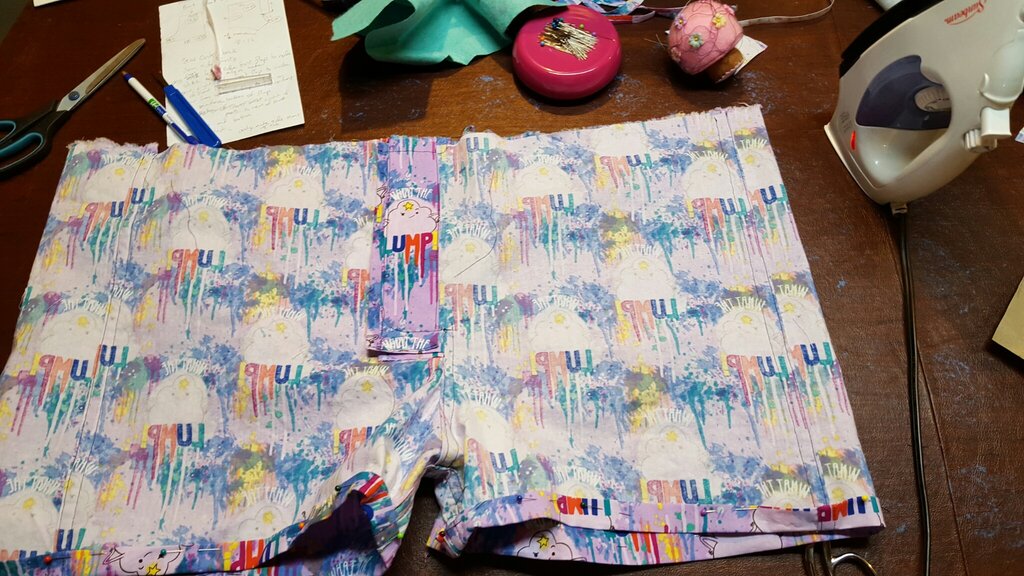
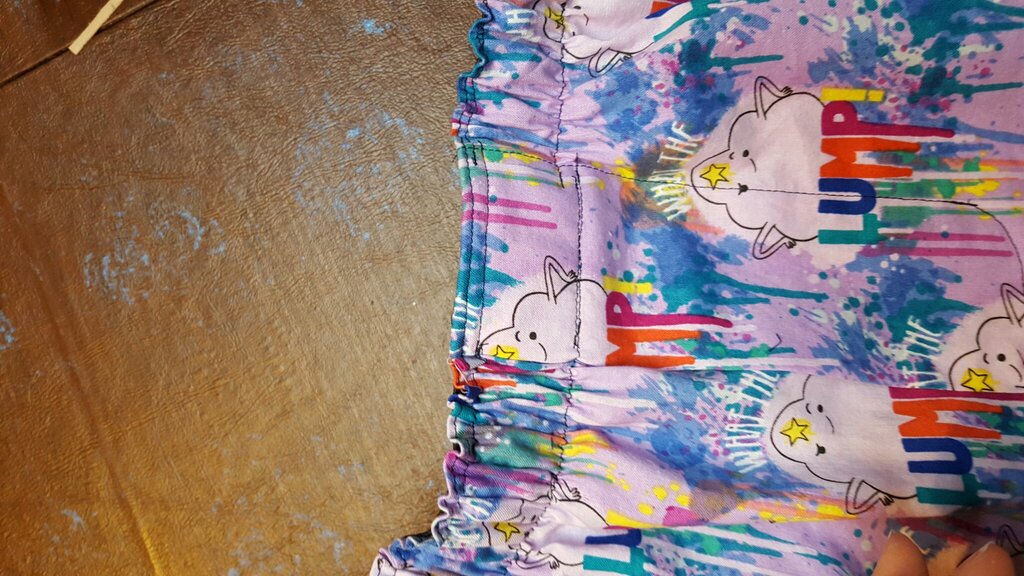
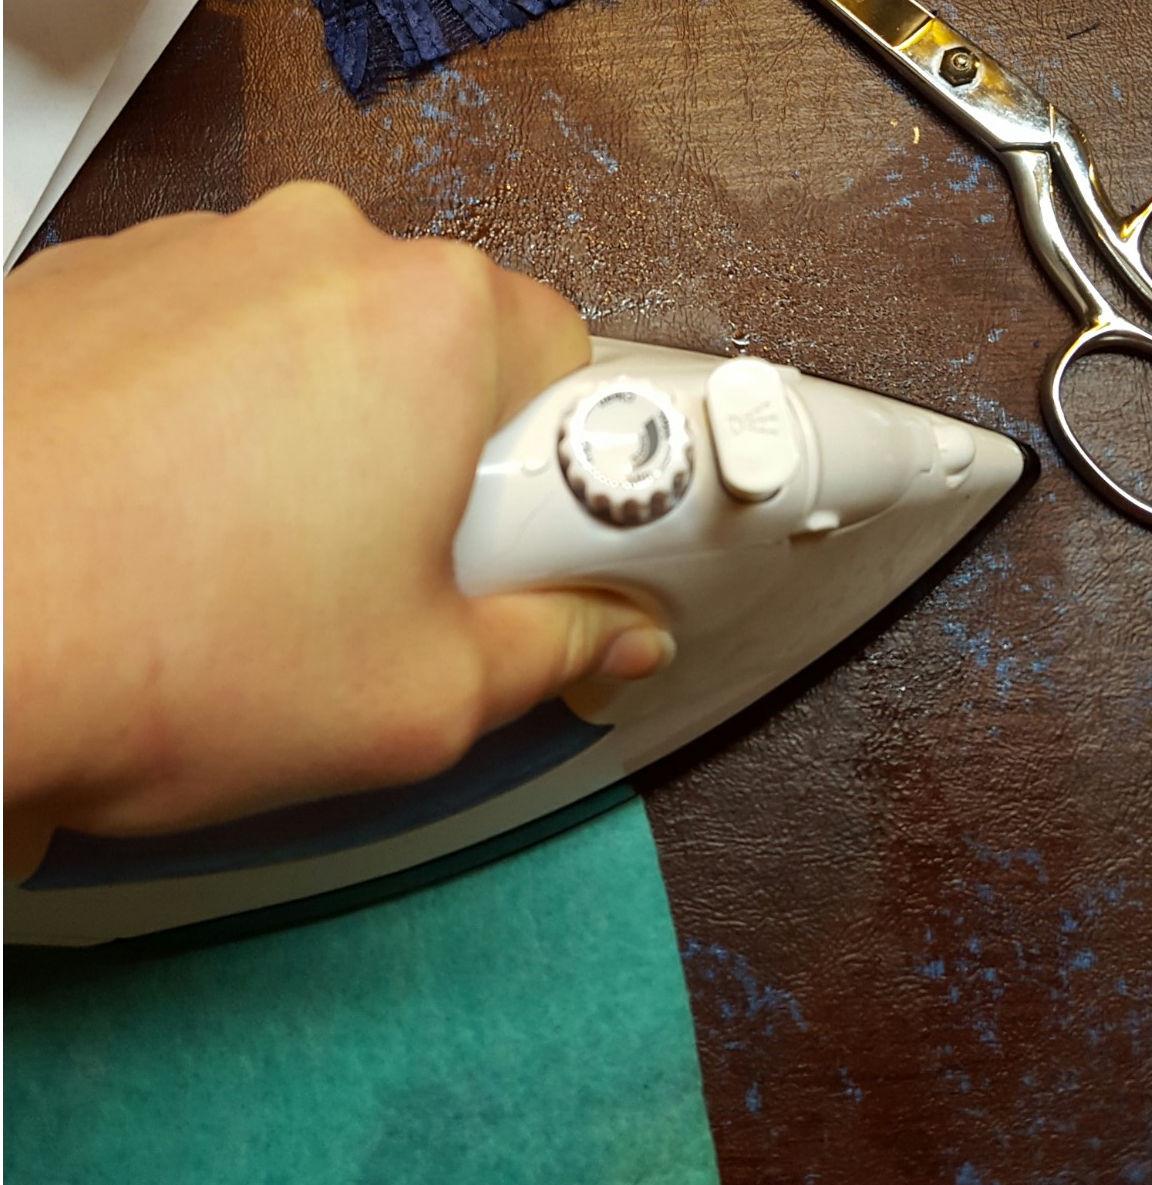
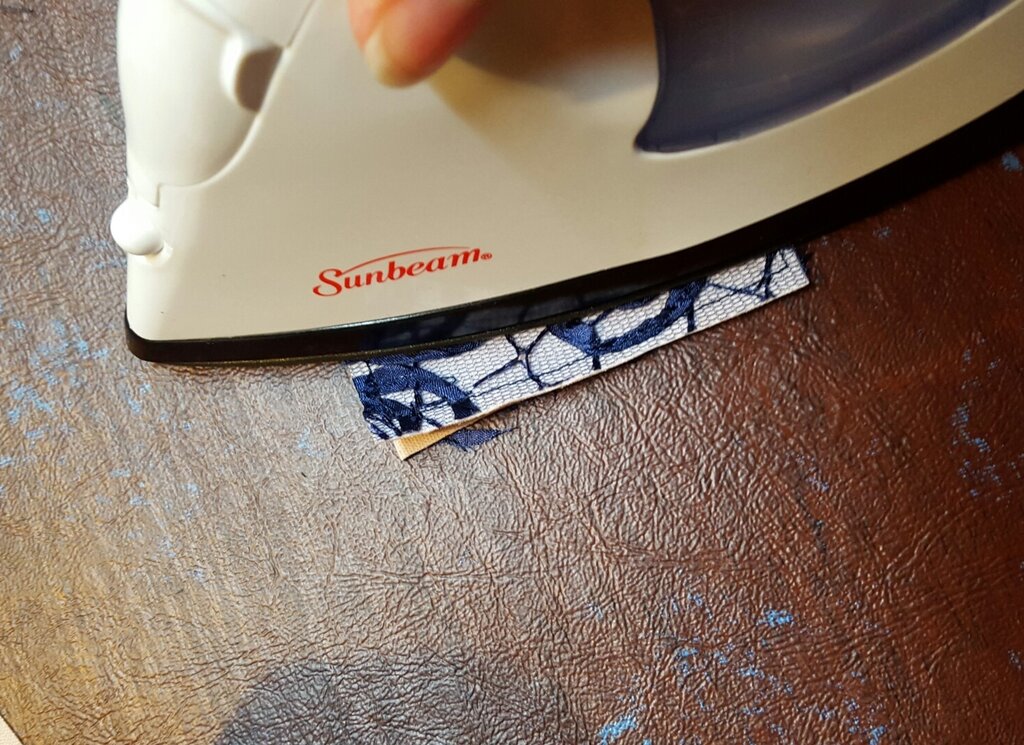
This year Saint Nick delivered some silly Adventure Time boxers much like the ones I’ll show you how to make in this post! But before you go… a Christmas give away! What are your favorite winter holiday traditions or memories? Post them in the comment section below by next Monday. I’ll mail the writer of my favorite comment a silly Christmas moose like this guy. (And in case you’re wondering, your odds are pretty good since I don’t usually get many comments. :) ).
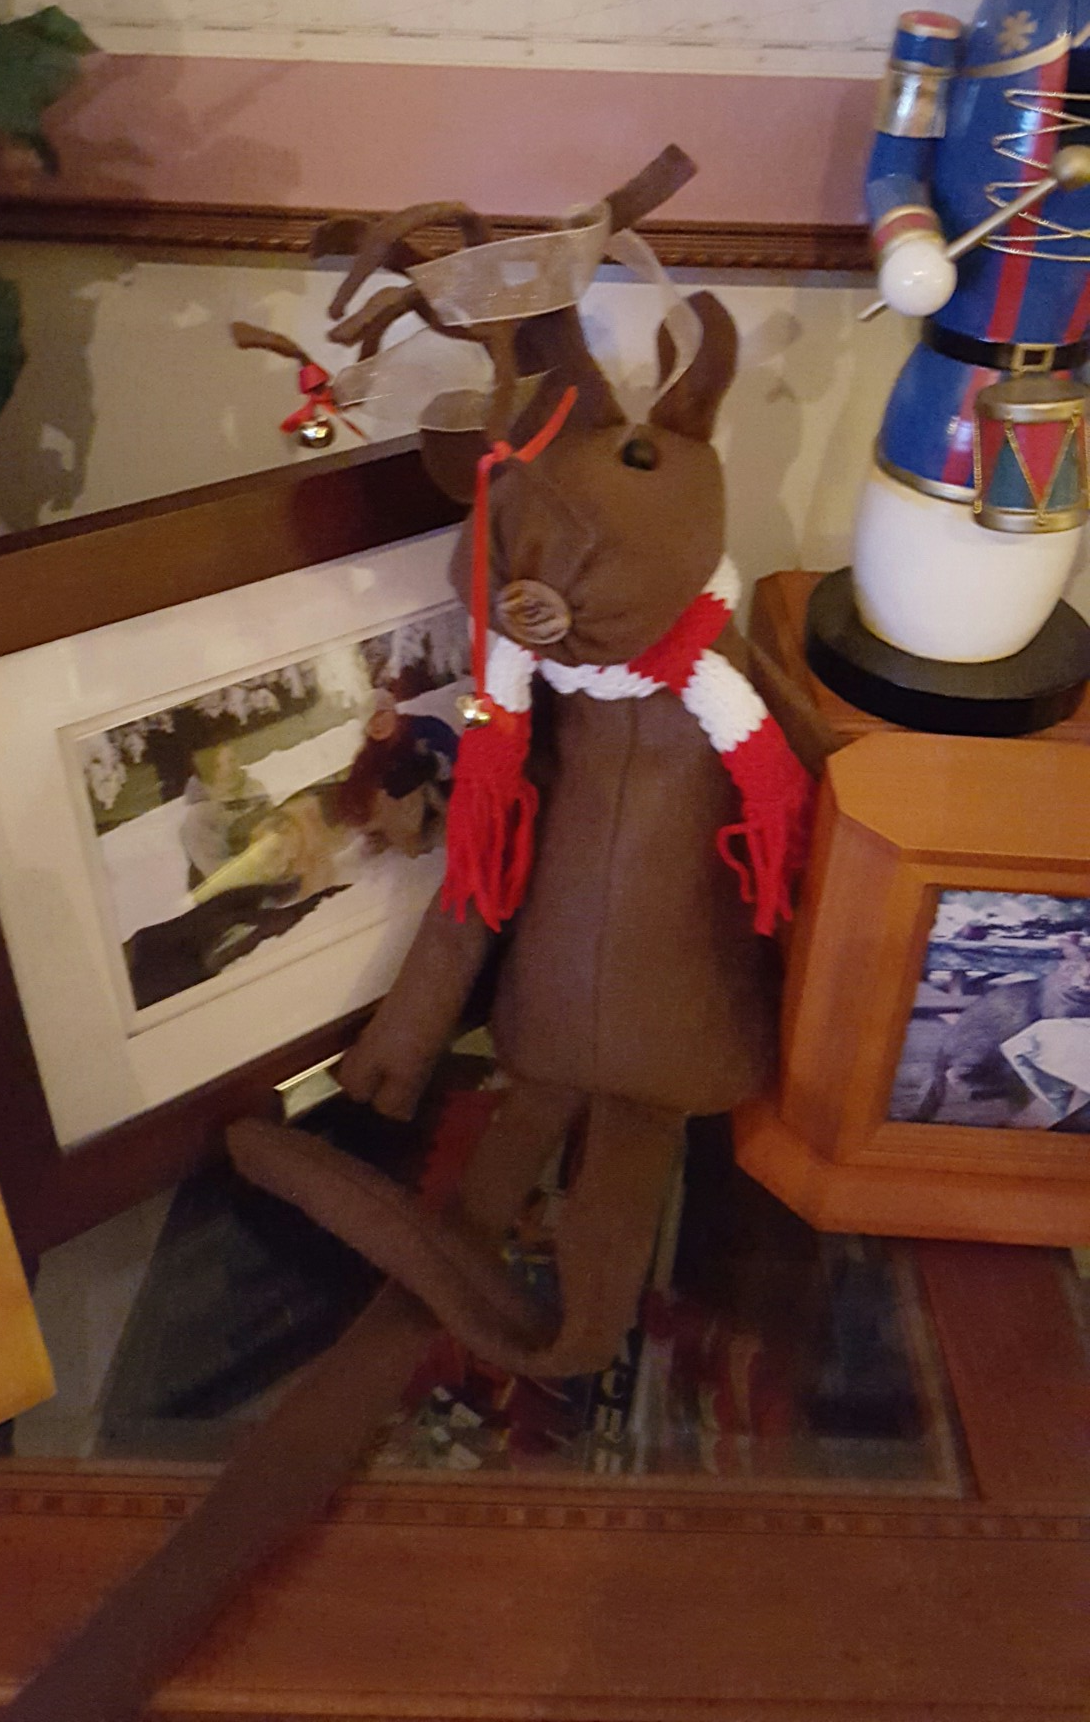
Christmoose