
A lot of people have been commenting on Dany and the baby’s arrival. We’ve gotten questions about what we’re doing to acclimate her, what we’re going to do with her when we leave for the hospital and comments that she’s going to become second string soon. The last one is the most heartbreaking! My poor only dog-child! But as a first born child, I know that you can survive splitting your parent’s affection… (Even if it splitting the affection between a human and a dog.) Will and I just hope Dany is going to like the new baby!
We of course have plans for Dany when we head to the hospital. I’m not going to leave my fur baby all alone for long! My original plan was to head to my parents house to drop her off when I started having contractions, but my dad has volunteered to go up and get her instead. I also have several friends and neighbors who have volunteered to take care of her while we’re out if for some reason that doesn’t work out!
And as far as acclimating her… I’m positive she has an idea something is going on, but isn’t really sure what. I don’t think I mentioned how Dany refused to look at me or go near me for the entire first trimester. She was completely afraid of me. I think she could smell the hormone changes and didn’t know it was me anymore. The funny thing is she started acting funny slightly before we found out I was pregnant so I thought I had done something to her – like accidentally stepped on her or something! Part way into the second trimester she warmed back up to me, so I must have started smelling like myself again. Now its as if nothing ever happened. She wants to be pet and snuggled like usual. I think she is a bit annoyed my belly is so big because she can’t snuggle right up to my chest anymore while I’m petting her.
At the infant care class we took they gave some suggestions for acclimating pets before the baby comes including letting them sniff around the baby’s room and keeping the car seat around the house. The car seat proposed a new problem since Dany used to be our only back seat passenger. In the past we had a hammock like this one but it spans the entire back of the car. Last week I decided to make a smaller version that spans only two seats, and has a short wall next to the car seat. We’ve taken Dany in it a few times and she seems to be okay with it. And most importantly she hasn’t jumped onto the car seat! I used some material from an old tent we had (saved it from the landfill!), and instead of using the plastic buckles that they use for most dog hammocks I bought some cheap metal carabiners. Will said that this feature alone makes the hammock better than the ones you buy, and he has asked me to upgrade his with carabiners for starters.
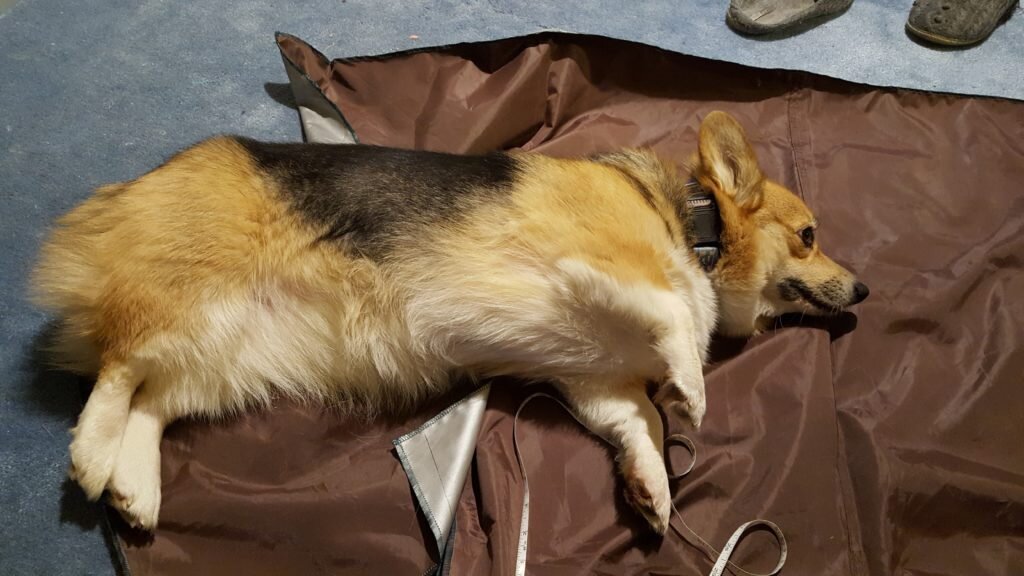
Dany is testing out the hammock, pre sewing.
Dog Hammock for use with a Car Seat
What you’ll need
- 8 yards of rip stop nylon or other thick waterproof material.
- 4 2″ carabiners
- 3 yards of nylon
- 8 5/8″ heavy duty snaps and snap tool
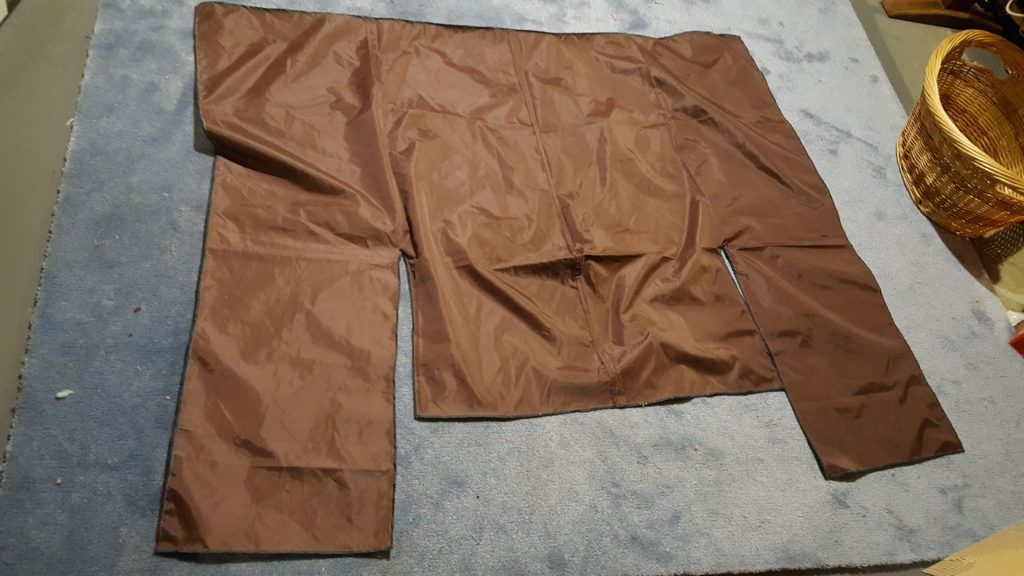
- Cut your fabric into 2 pieces with the dimensions in the picture.

Cut 2 pieces following pattern here.
- Pin both pieces of fabric together and serge together.
Pin and serge fabric together
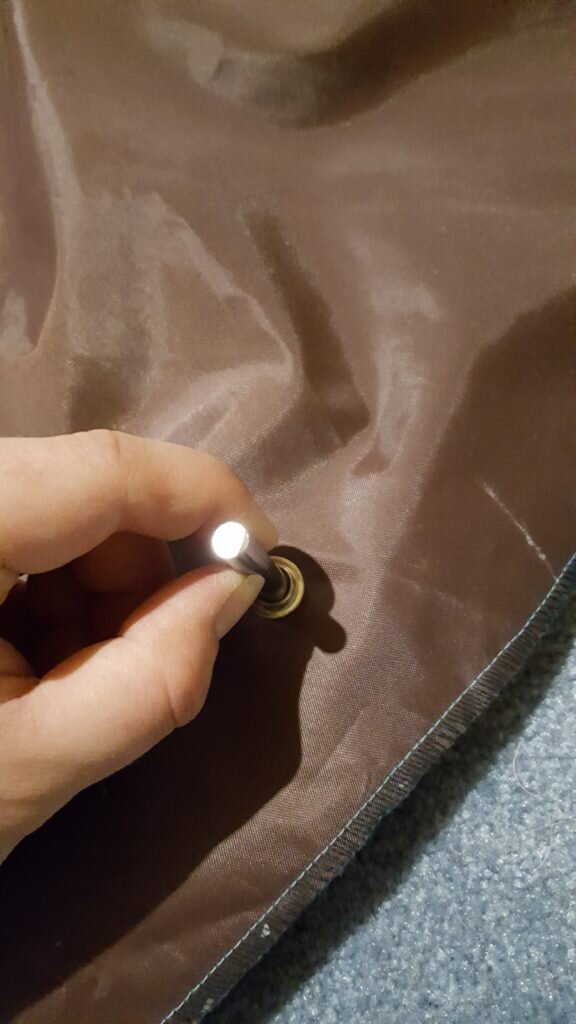
- Apply 2 snap tops 2″ from the side and end of the right most flap following package directions.
Attach snaps 2″ from either end of the right most flap.
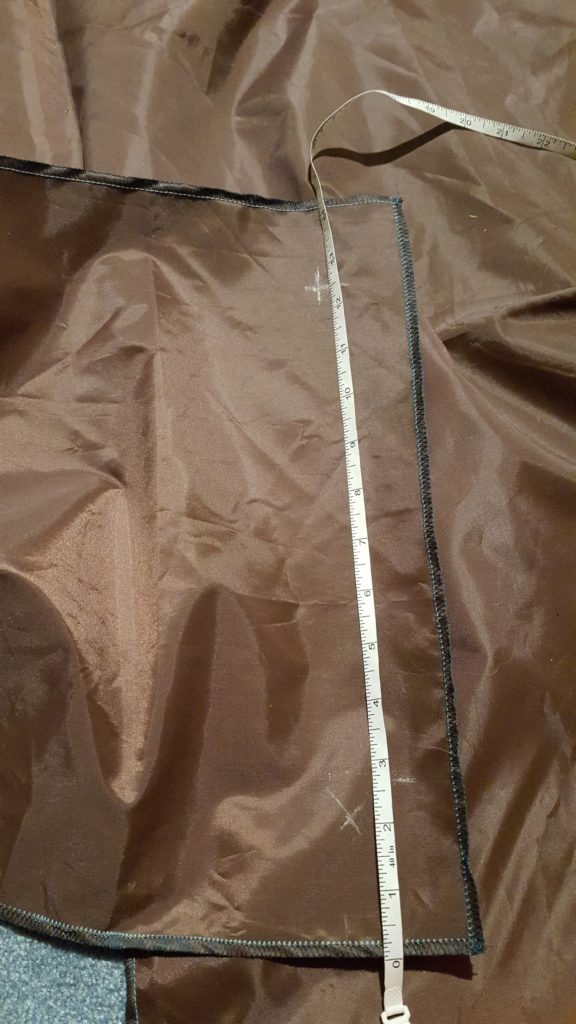
- Apply 2 snap bottoms 22″ from the side of the center flap and 2″ from the top and bottom of the center flap.
Apply snaps on center flap 22″ from edge of flap.
- Add 2 more snap bottoms 2″ from the end of the center flap. Snap the right most flap onto the center flap then add 2 more snap tops on the right most flap, lining up with the snap bottoms you just inserted on the center flap.
- Repeat steps 3-5 for the left most flap, but the left most flap should be placed UNDER the center flap. This means use snap bottoms on the left most flap and snap tops on the center flap.
- Cut 4 strips of nylon strap 21 inches long. Cut 2 strips 9 inches long.
- Gently melt the edges over a flame to keep it from unraveling.
Melt edges of nylon strap to prevent unraveling.
- Fold one end each of 2 of the 21 inch nylon straps to form a loop. Length should be 18 inches when finished.
- Fold one end each of the other 2 21 inch nylon straps to form a loop. Length should be 16″ when finished.
- Fold 9 inch long strips in half.
- Stitch all six loops from steps 9-11 in place. I formed a decorative 2 inch long rectangle with an ‘x’ in it for my stitching.
Cut strips of nylon strap and form loops on the ends.
- Take straps from step 9 and pin each one 9″ from the corner of the fabric. (See diagram above) Overlap the strap with the fabric by 2″. Stitch in place.
- Take loops from step 11 and pin each one 18″ from the corner of the fabric. Overlap the strap with the fabric by 2″. Stitch in place.
Stitch straps to fabric as shown in diagram. Overlap fabric with strap by 2″.
- Take straps from step 10 and pin 27″ from the corner of the fabric. Overlap the strap with the fabric by 2″. Stitch in place.
- Attach carabiners to 4 21″ straps.
Hang by looping the first strap around the headset closest to the door and affixing to the small loop. Hang the second carabiner by attaching directly to the opposite headrest. Note, your strap lengths may need to vary slightly based on your car setup. For reference I have a RAV4.
Finished hammock.
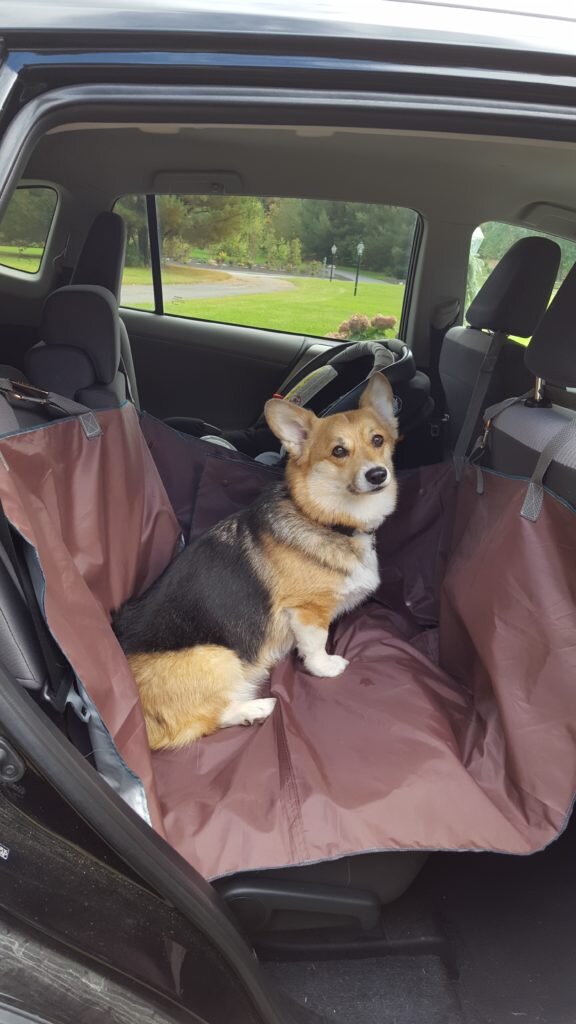
Dany test driving her new hammock.
