
I have to cut myself off from the internet! Instead of writing this blog post I spent an entire hour searching the internet for the latest coronavirus data. Yuck. Talk about a downer. You know what else is a downer? Working weekends. More yuck*. It seems like I’ve been in this crunch time at work my entire adult life (it literally started the day stay at home orders were put in place). So I guess it’s been about 20-25 years or so. My co-worker started referring to dates before the coronavirus as “2020BC” for “before coronavirus” since as we all know there is some time dilation going on here. I thought that was hysterical. I guess that would make us right now “2020CE” for “coronavirus era”.
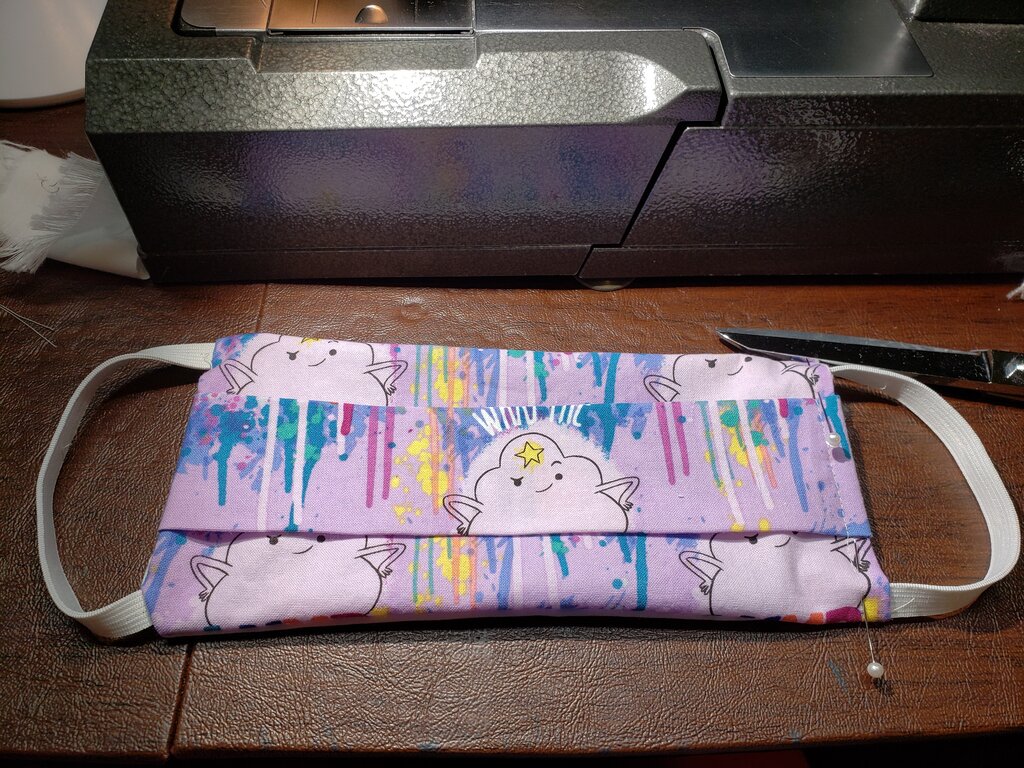
I’m nostalgic for things to go back to normal, but I am jumping on the “I’m not leaving my house until we have a vaccine train”. I don’t know if one of those trains exists yet, but if not, you can jump on mine – just make sure you wear a mask and stand 6 feet away from me. Speaking of masks, I finally made some cloth ones. Massachusetts is requiring mask wearing now, so I figured it was past time. Only one for each of us so far since I’m still experimenting with designs. Julius got to pick out his fabric. For this first batch I decided to make the quicky surgeon-mask type covering. I also added a pocket so I could insert some additional protection as desired. (If you craft along with me – you’ll have some leftover oly-fun which is a non-woven synthetic and thus slightly better protection against viruses). The maiden voyage went well apparently. According to Will Julius wore his mask the entire walk today!
There are a lot of tutorials out there, so I’ll show you first how I measured Will and Julius for the covering, and then how to construct it. 
Multi-sized Pocket Mask
What you’ll need:
- 1 foot or less of 1/2″ or 1/4″ elastic (I reclaimed several feet of 1/2″ elastic from the fitted sheet I used to make Totoro)
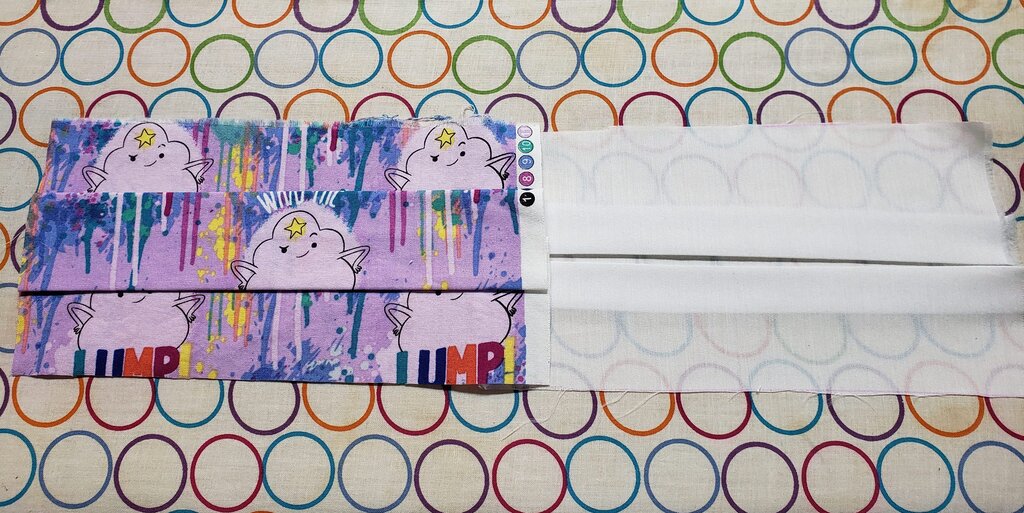
- less than a square foot of woven cotton fabric
- Measure from the bridge of the nose to the underside of the chin where it meets the neck. Add 1″. This will be measurement “A”.
- Measure from ear to ear, crossing over the tip of the nose (or the part of the nose that protrudes the most if not the tip). This will be measurement “B”.
- Cut two AxB rectangles out of cotton material.
- Decide on the height of your mask. This part I fudged a bit. You’ll want it slightly larger than the size of your ear, but much smaller than measurement “A”. About half the size of measurement “A” is a safe bet. Call this measurement “C”.
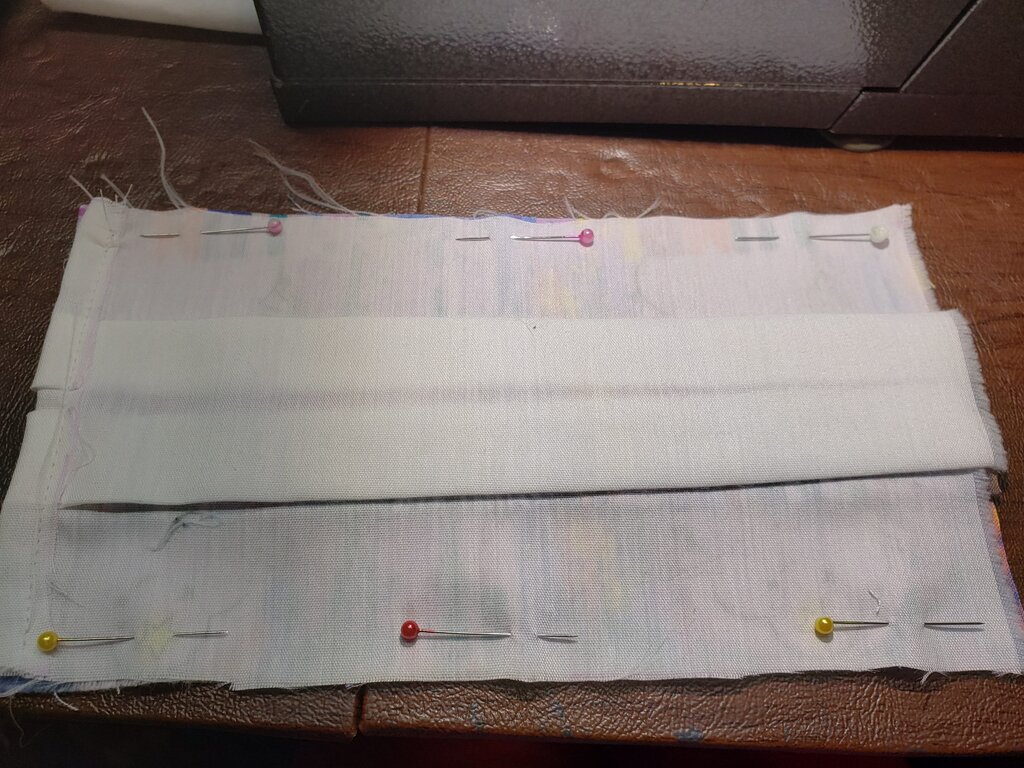
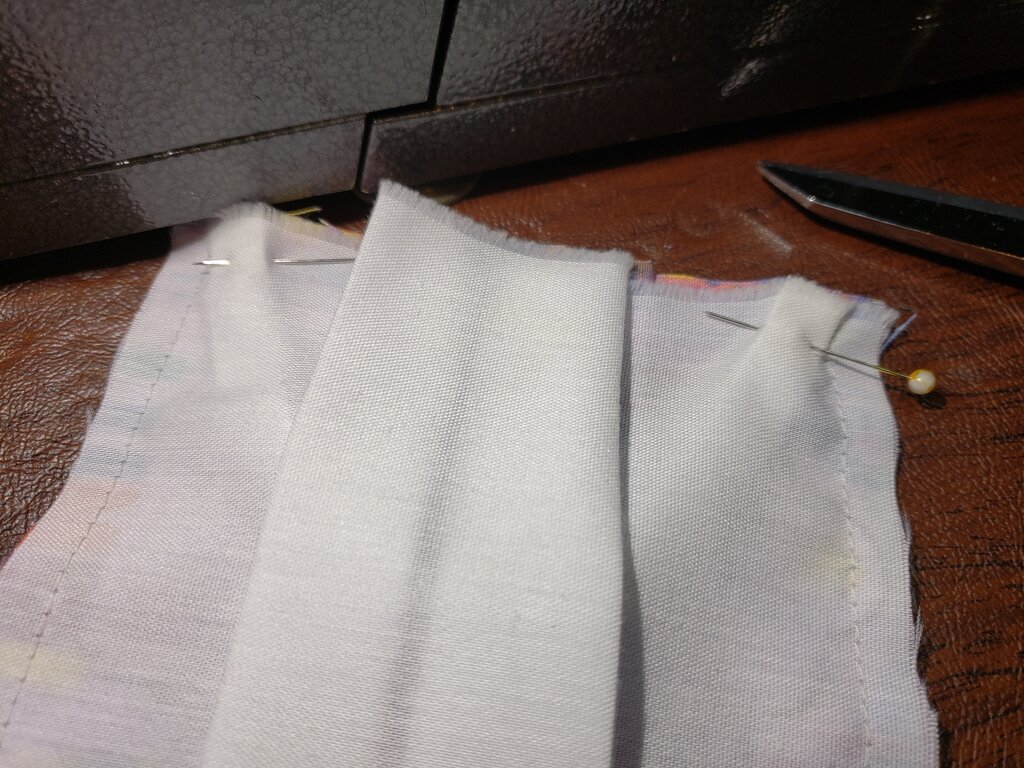
- Iron your fabric in half lengthwise to mark the center, then fold a single box pleat up to the center, leaving your fabric height “C” high. Baste on either edge.
- Repeat above for second piece of fabric, but make a box pleat on the wrong side of the fabric (an inverted pleat).
- Fold short end of one rectangle under 1/2″. Stitch. Repeat for second rectangle.
- Place fabric rectangles, right sides together, with finished ends matching.
- Stitch long edges of rectangle.
- Cut two pieces of elastic. This is when it would be good to determine how the mask fits on your face to this point. I would start with elastics 5″ each
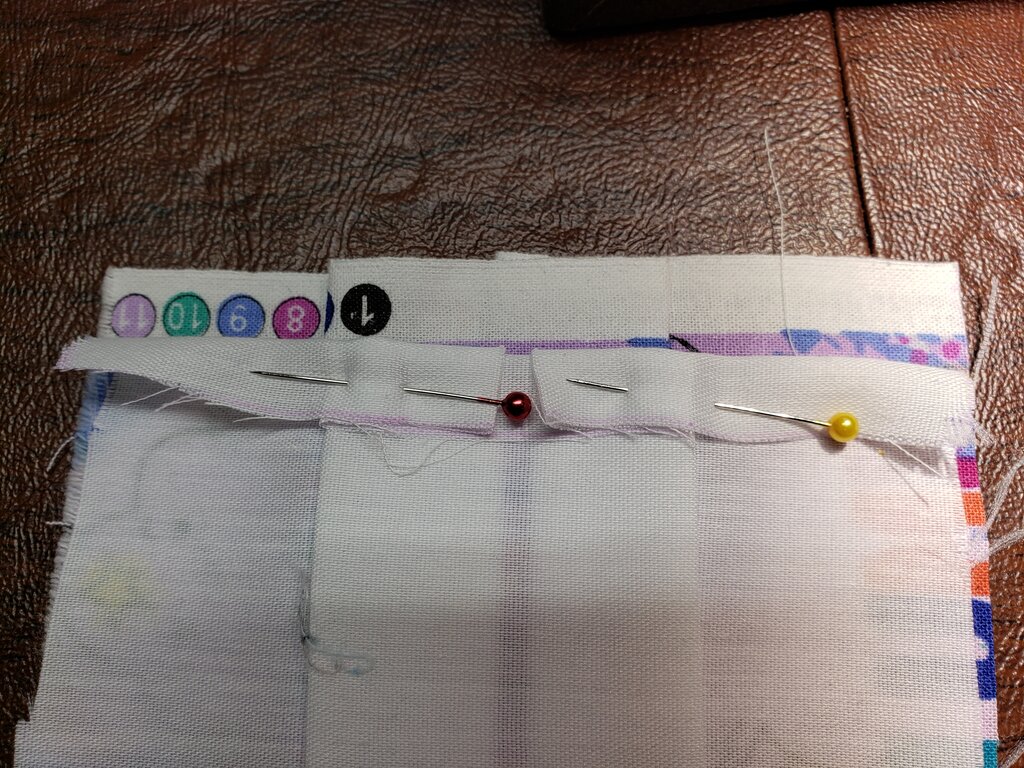
- Place one piece of elastic inside the mask, on the unfinished end. Line the elastic up to match the unfinished end of the elastic to the unfinished end of the rectangle, right next to the stitching on the long end of the rectangle. Pin.
- Repeat for other end of the elastic, on opposite end of the same unfinished side. Make sure your elastic isn’t twisted. Pin and stitch entire unfinished side backstitching at elastic.
- Turn right side out. This part is easier. Place unfinished end of elastic into opening on pocket end of mask, close to the the seam on the long end. Stitch, backstitching over entire end of elastic. Repeat on far end of pocket, taking care to avoid twisting the elastic.
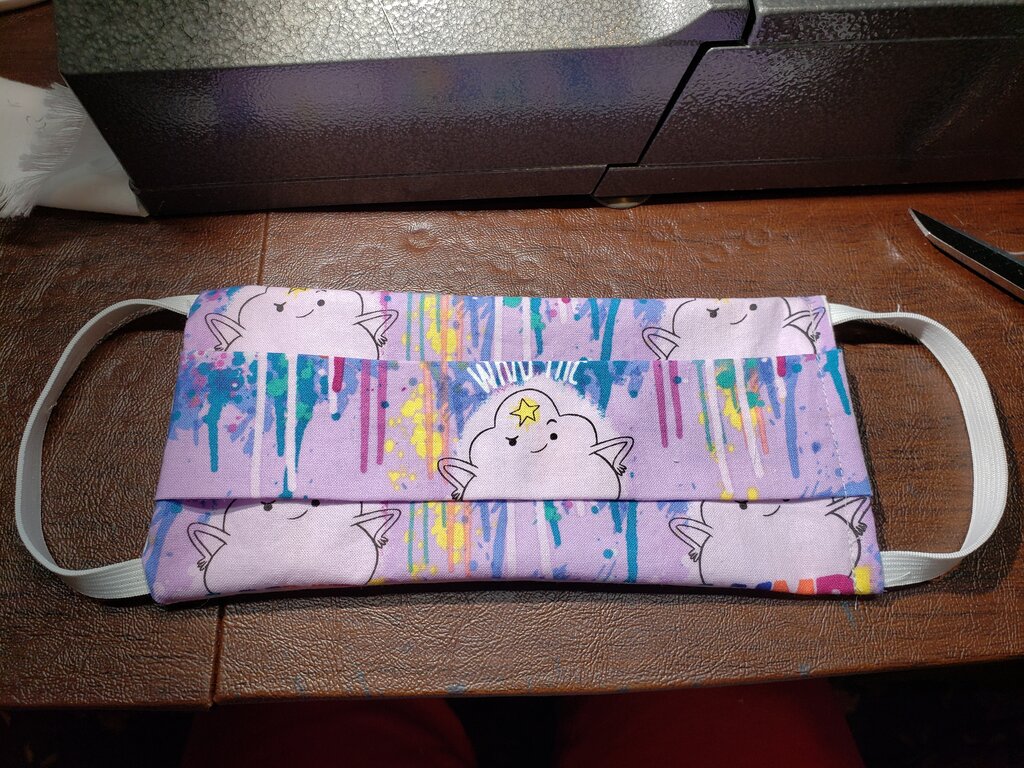
Finished Mask!
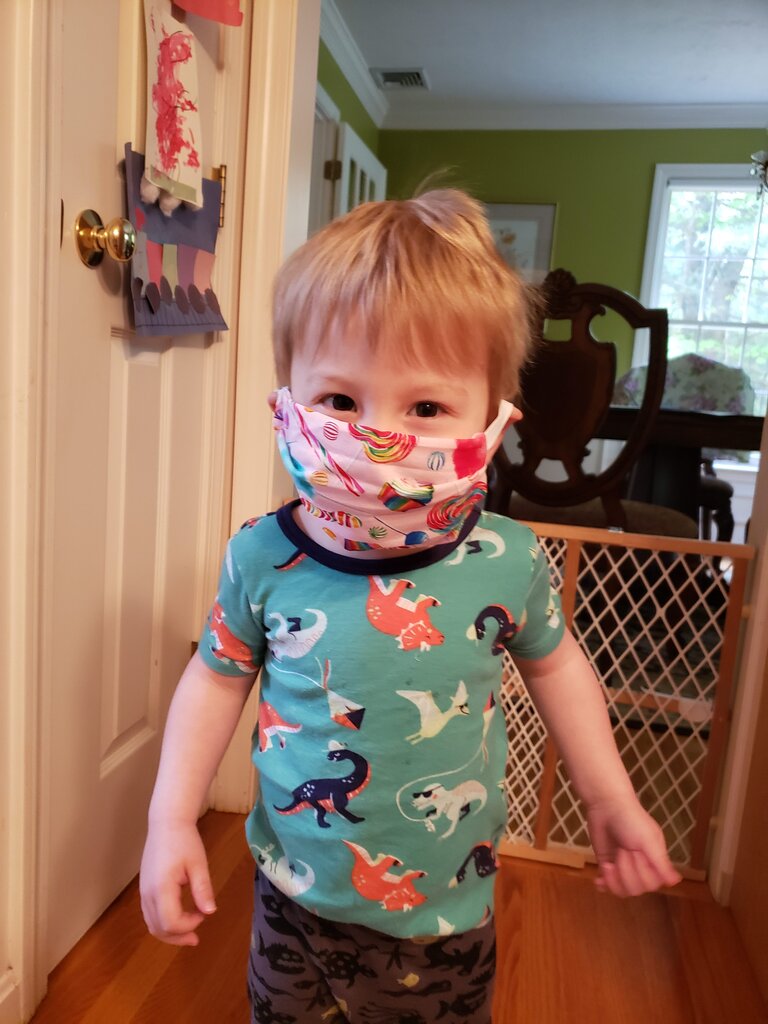
He’s saying “cheese” under that bandana.
*I know, I know working weekends sucks, but I am lucky to have a job!
