
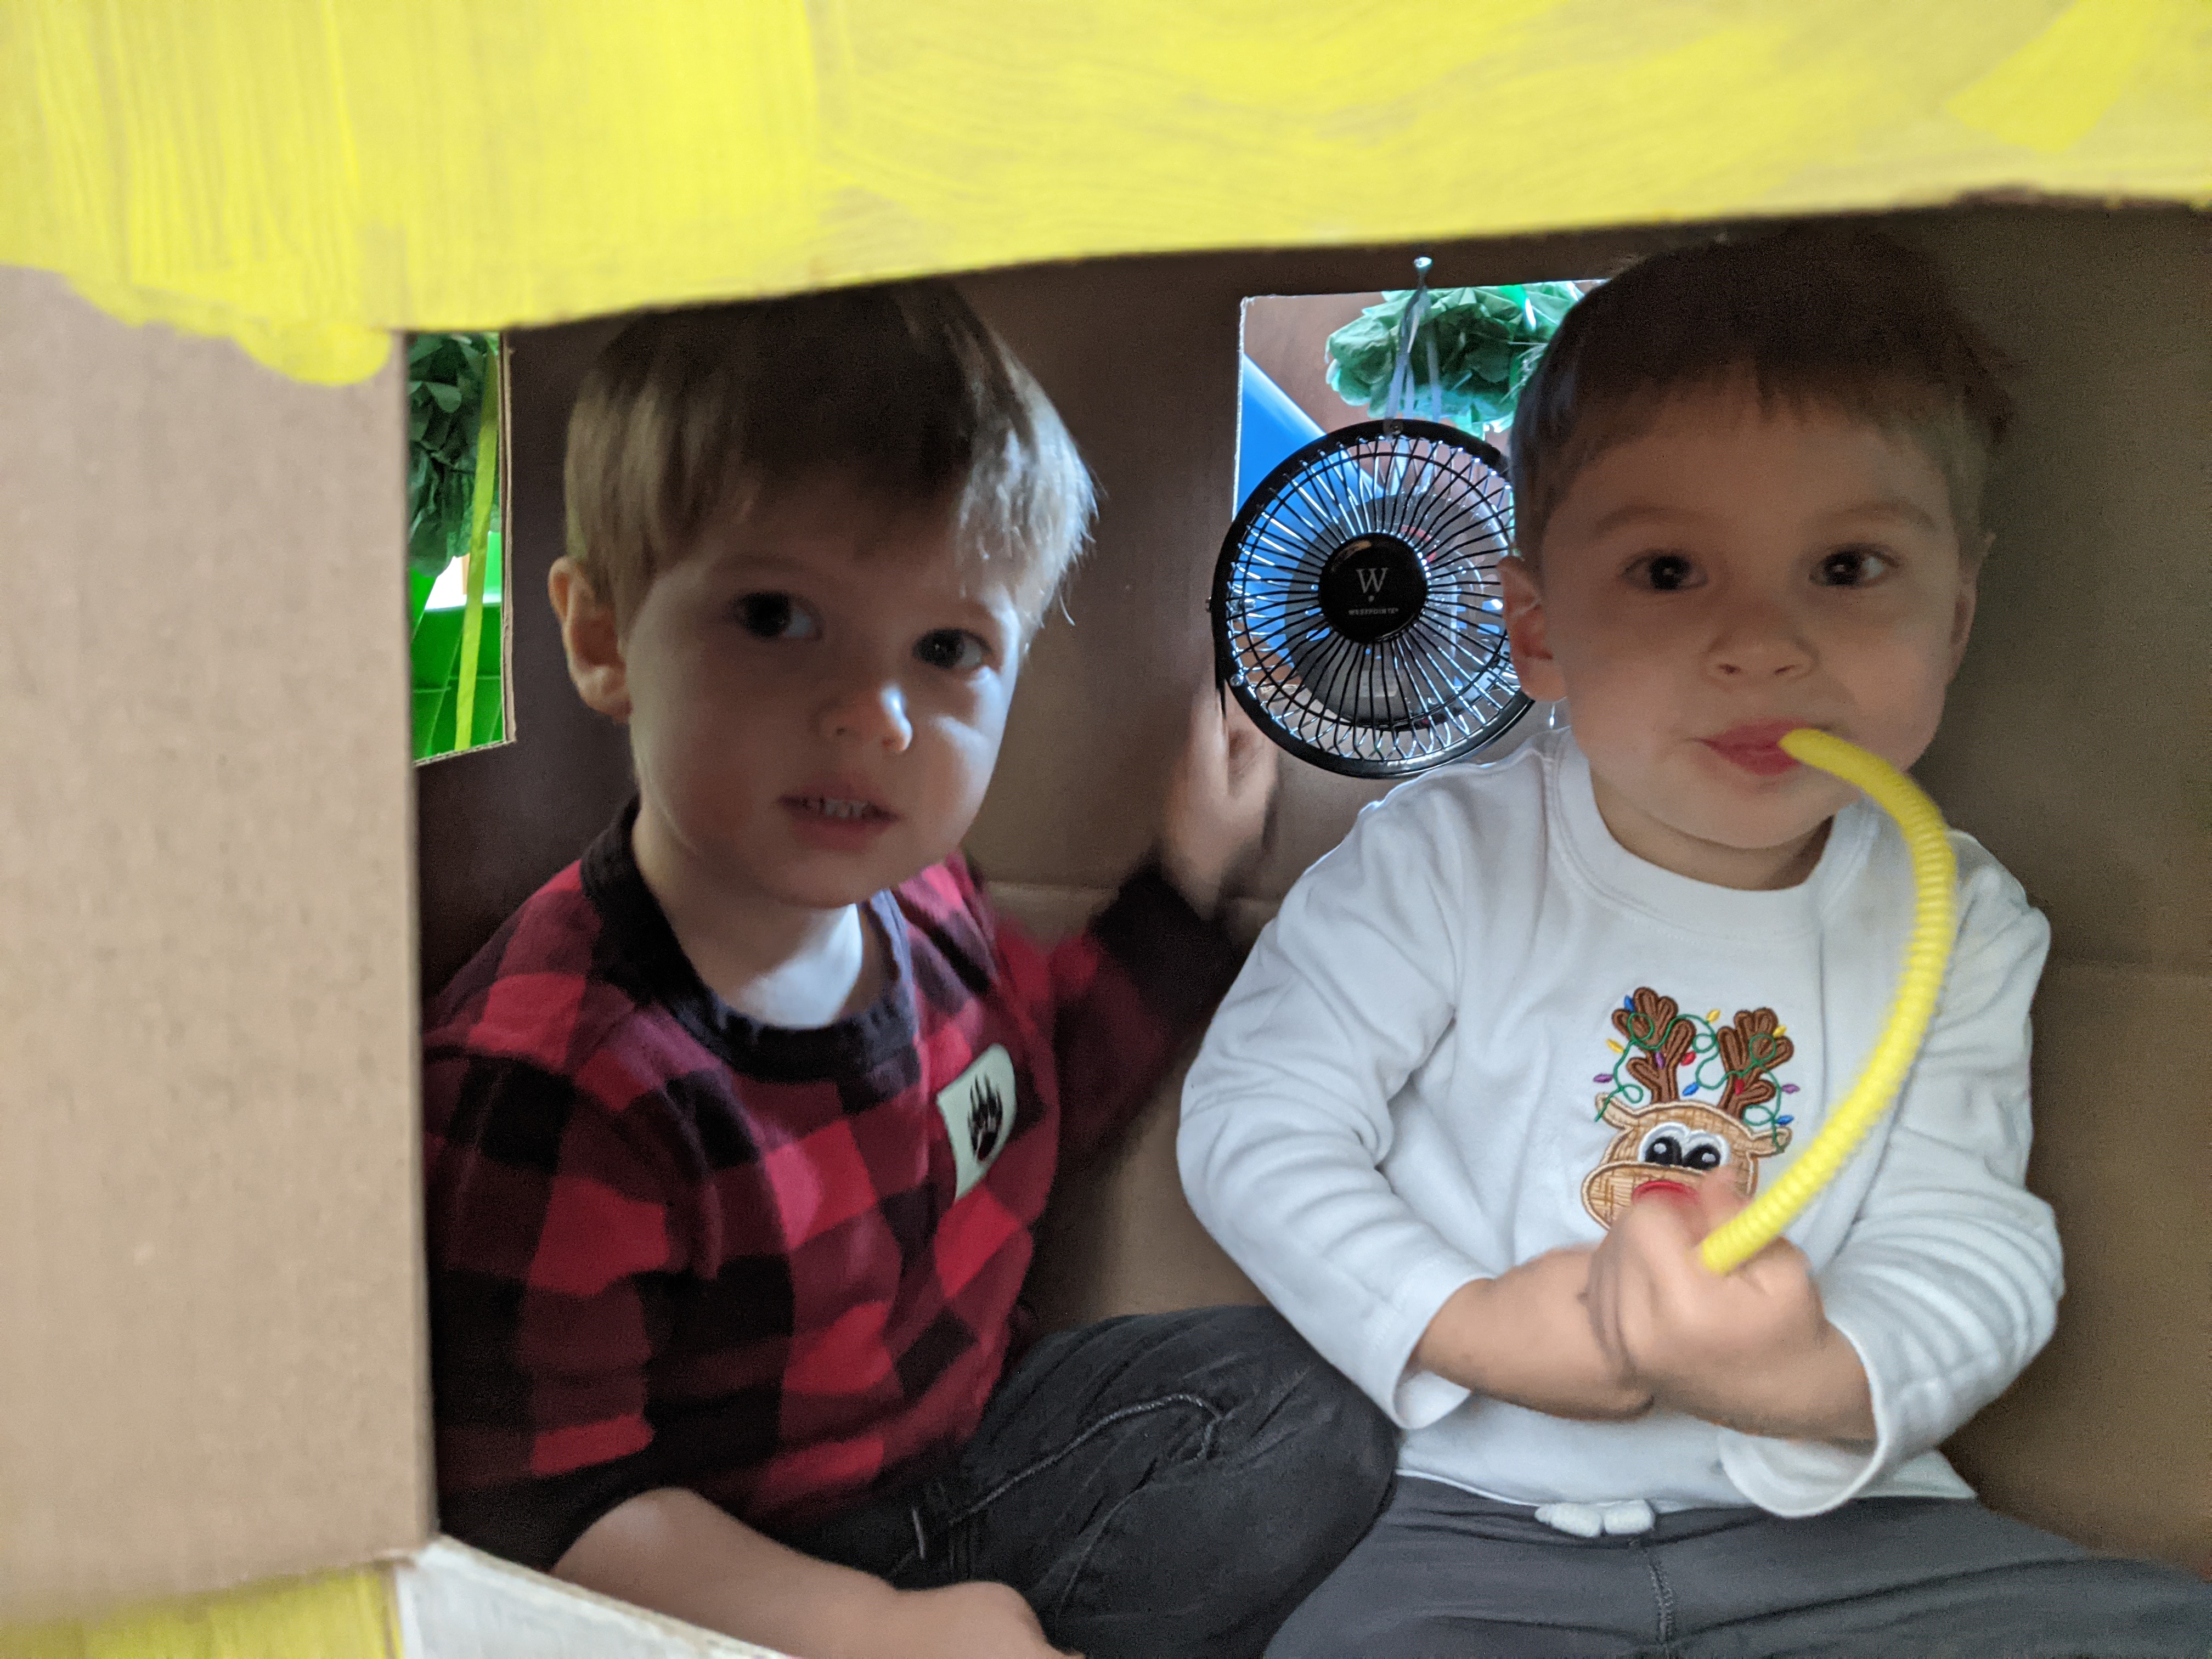
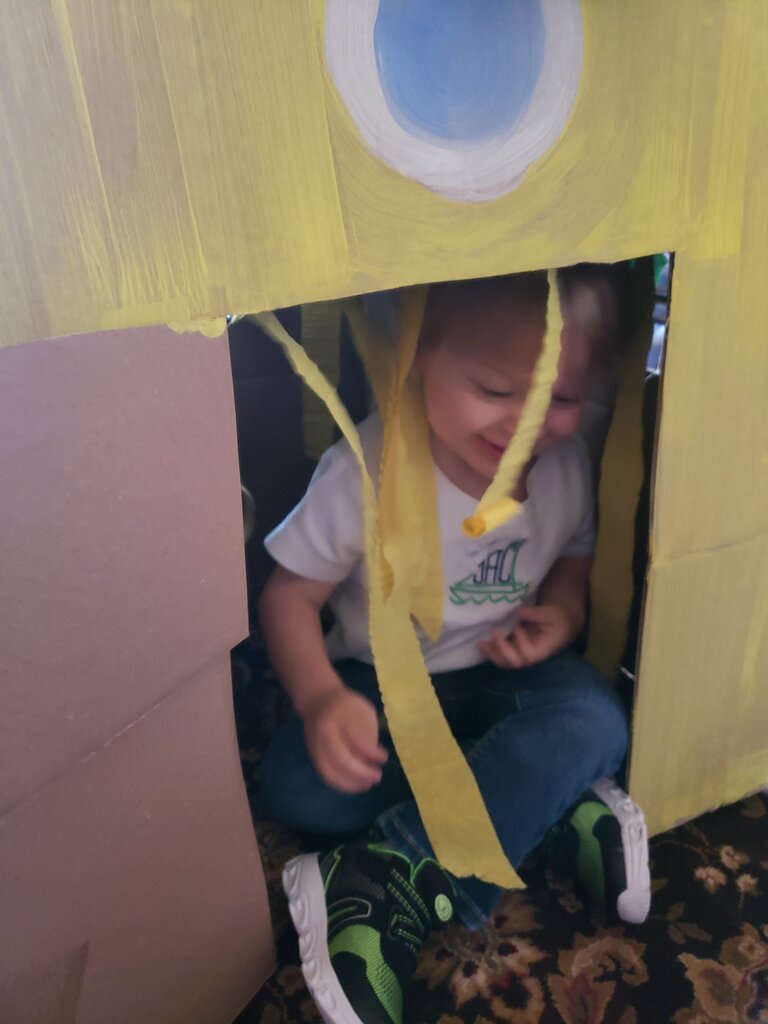
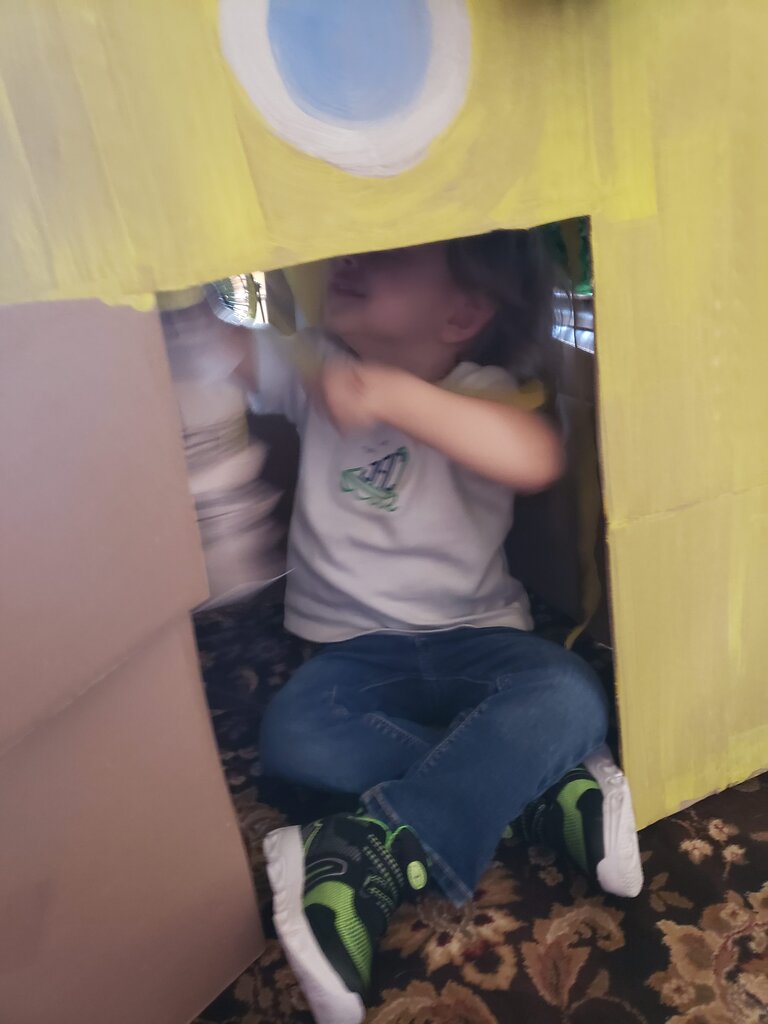
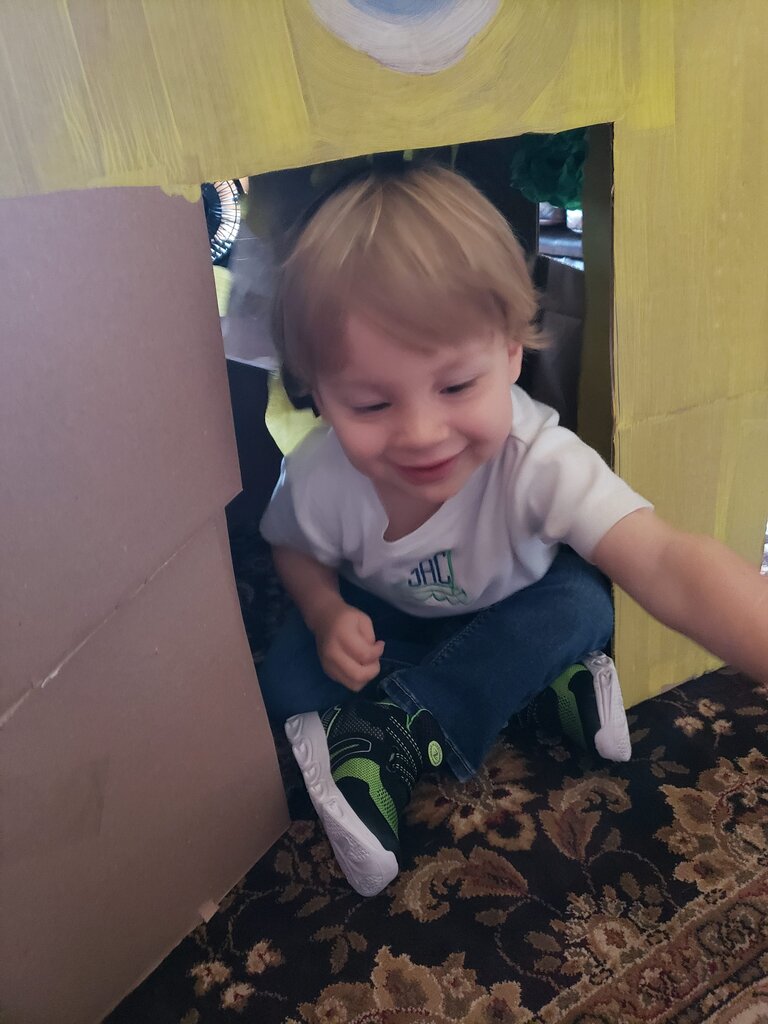
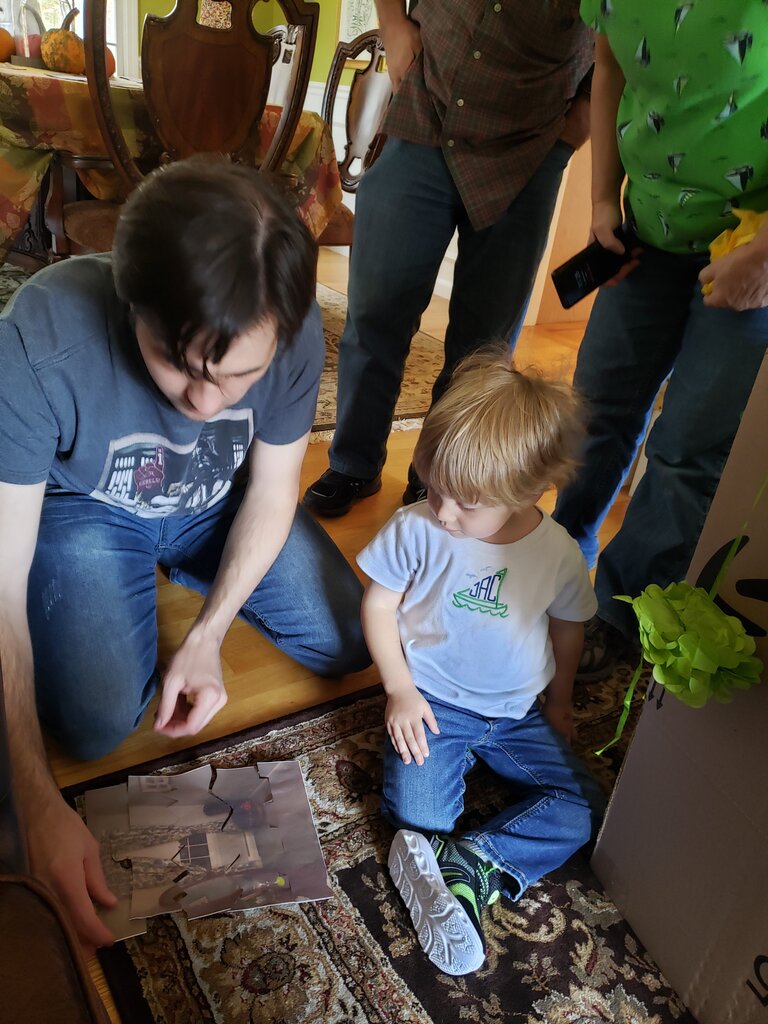
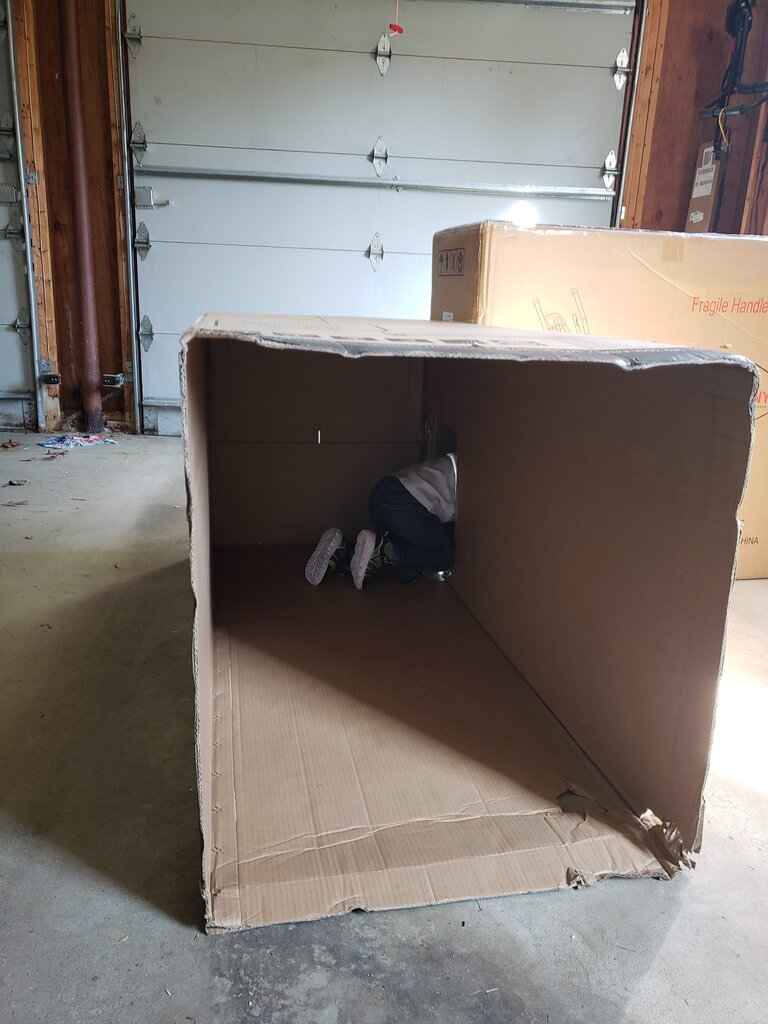
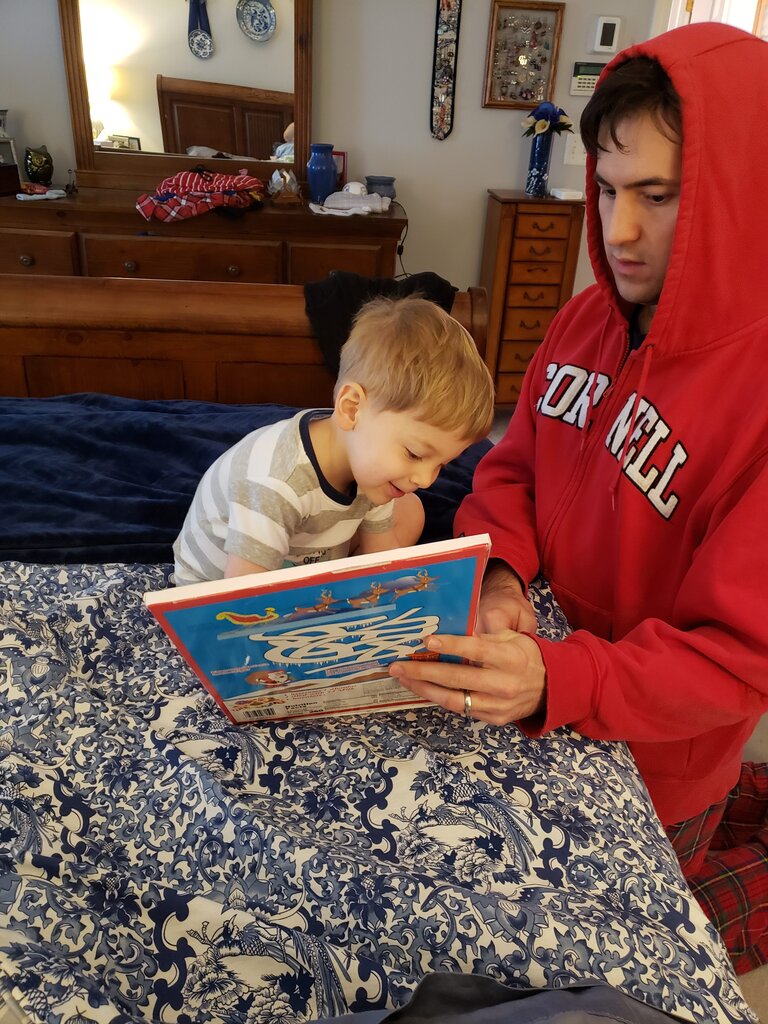
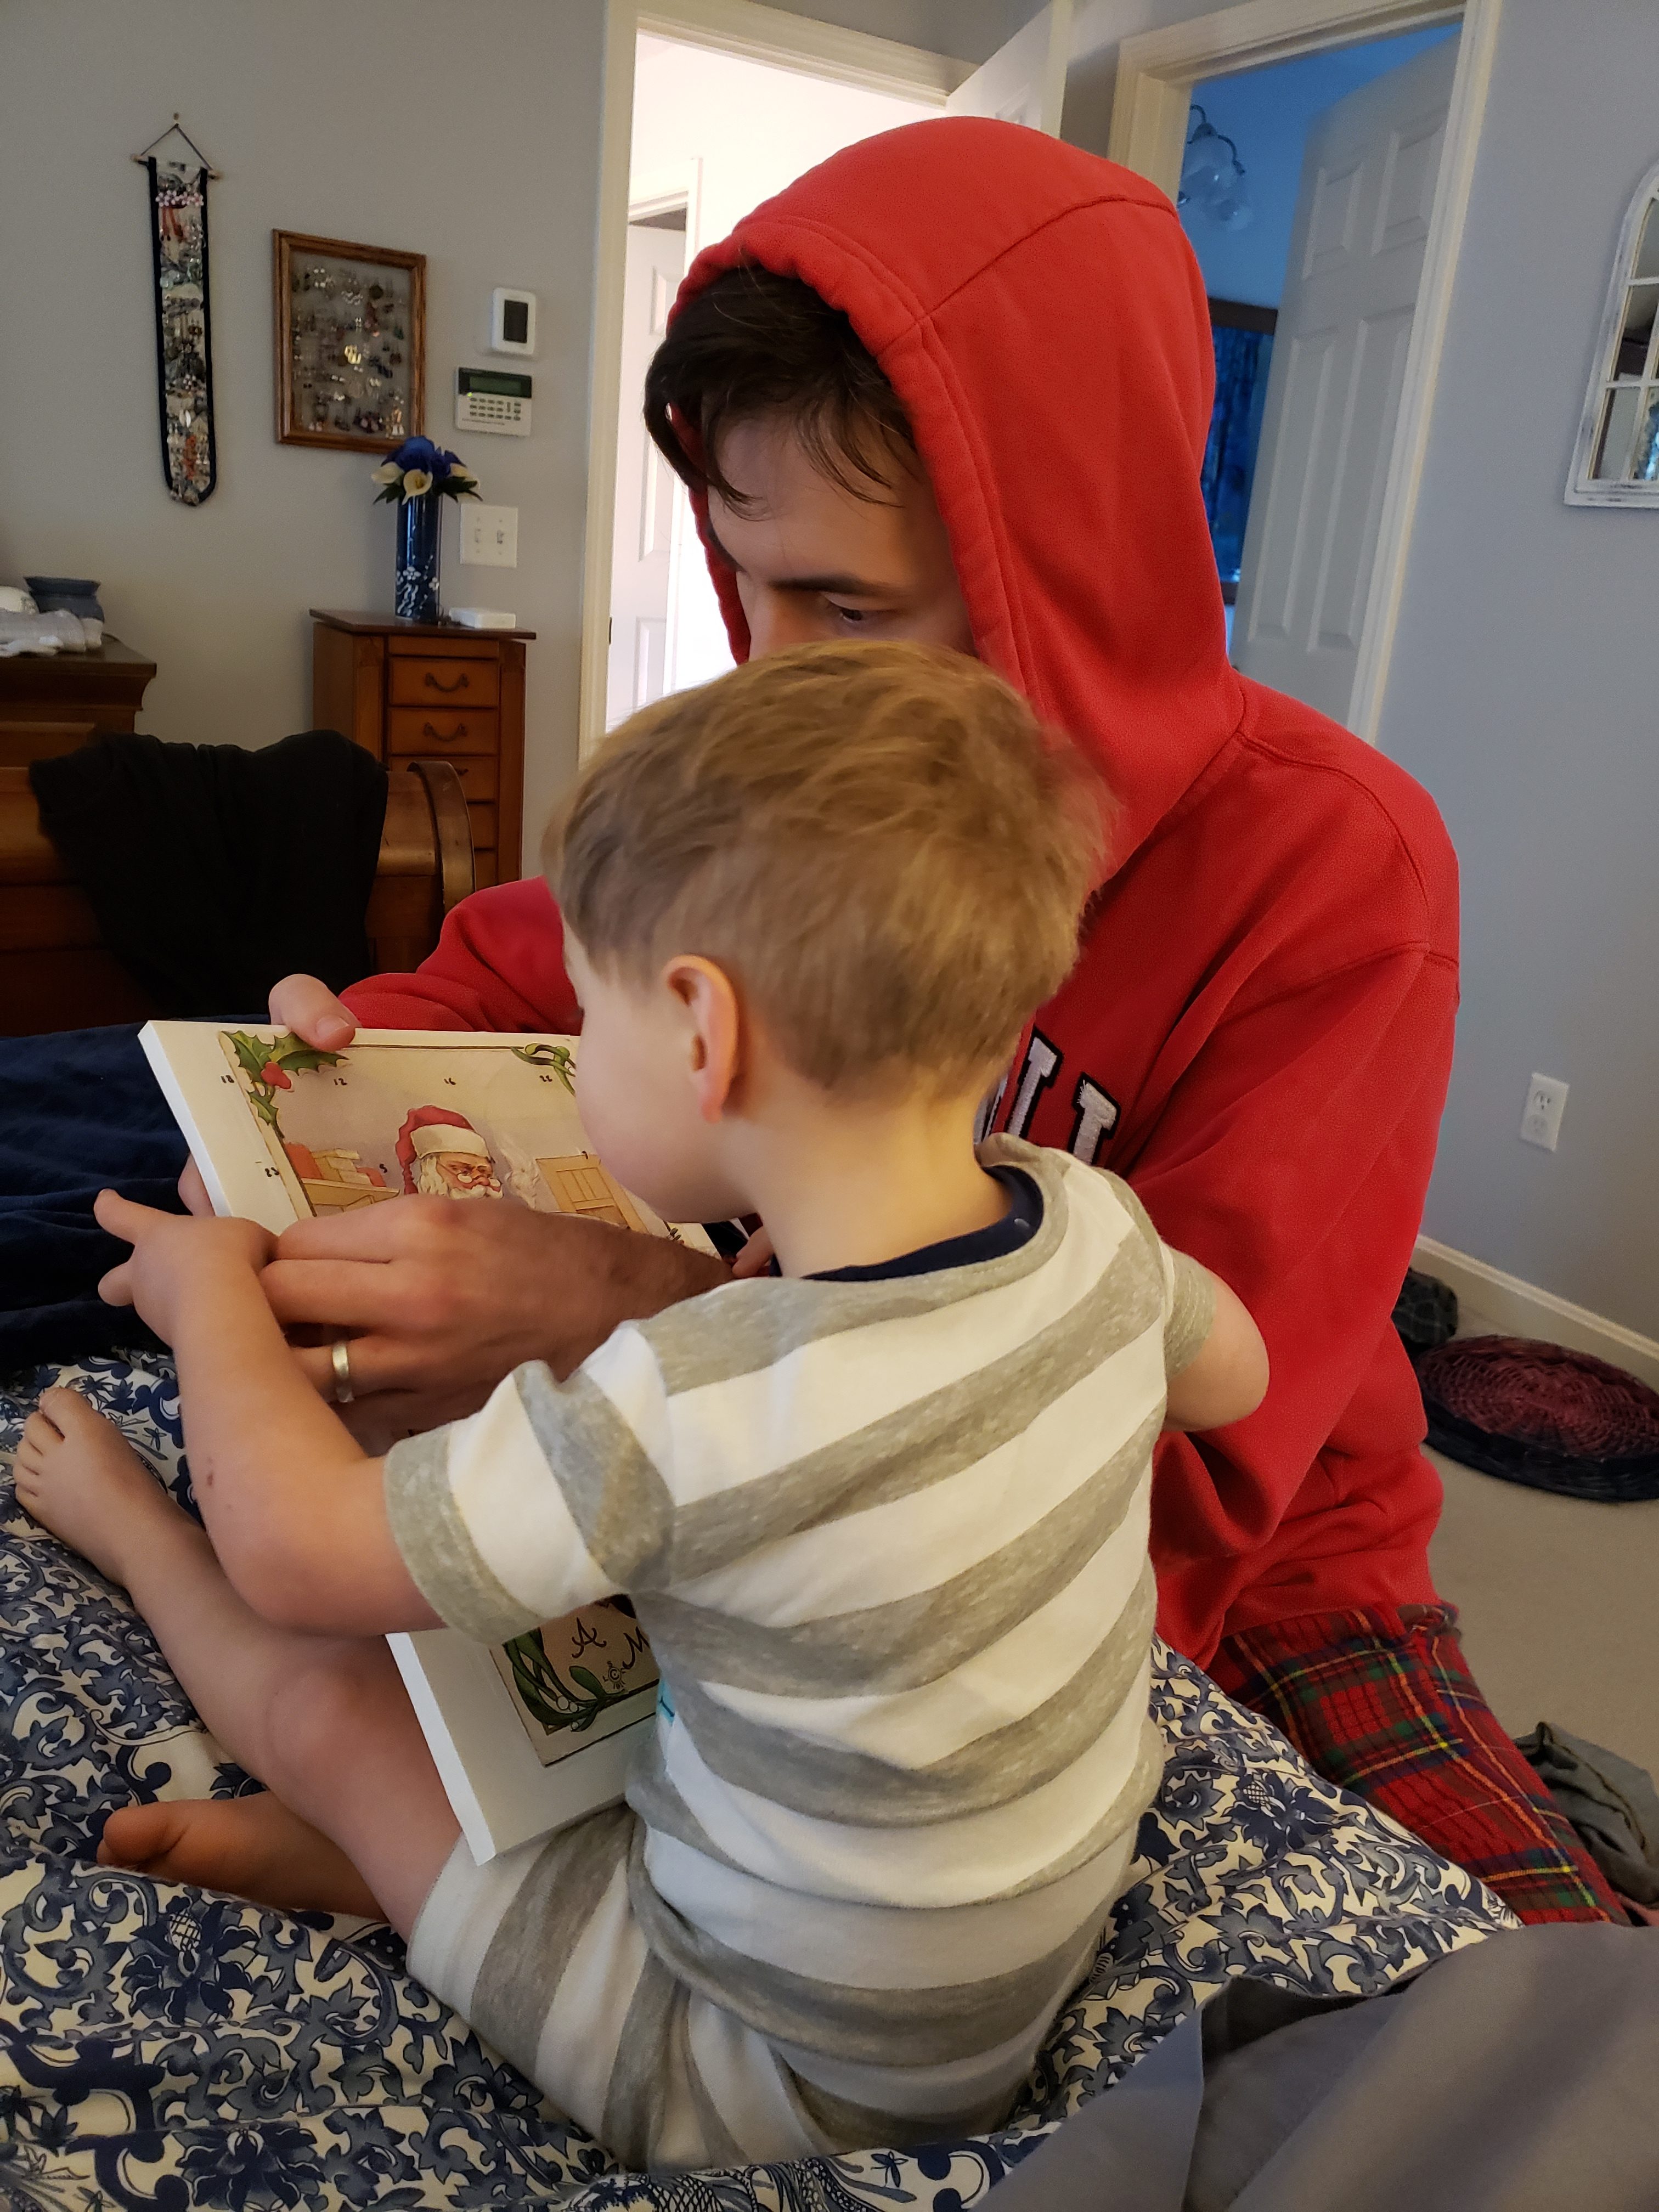
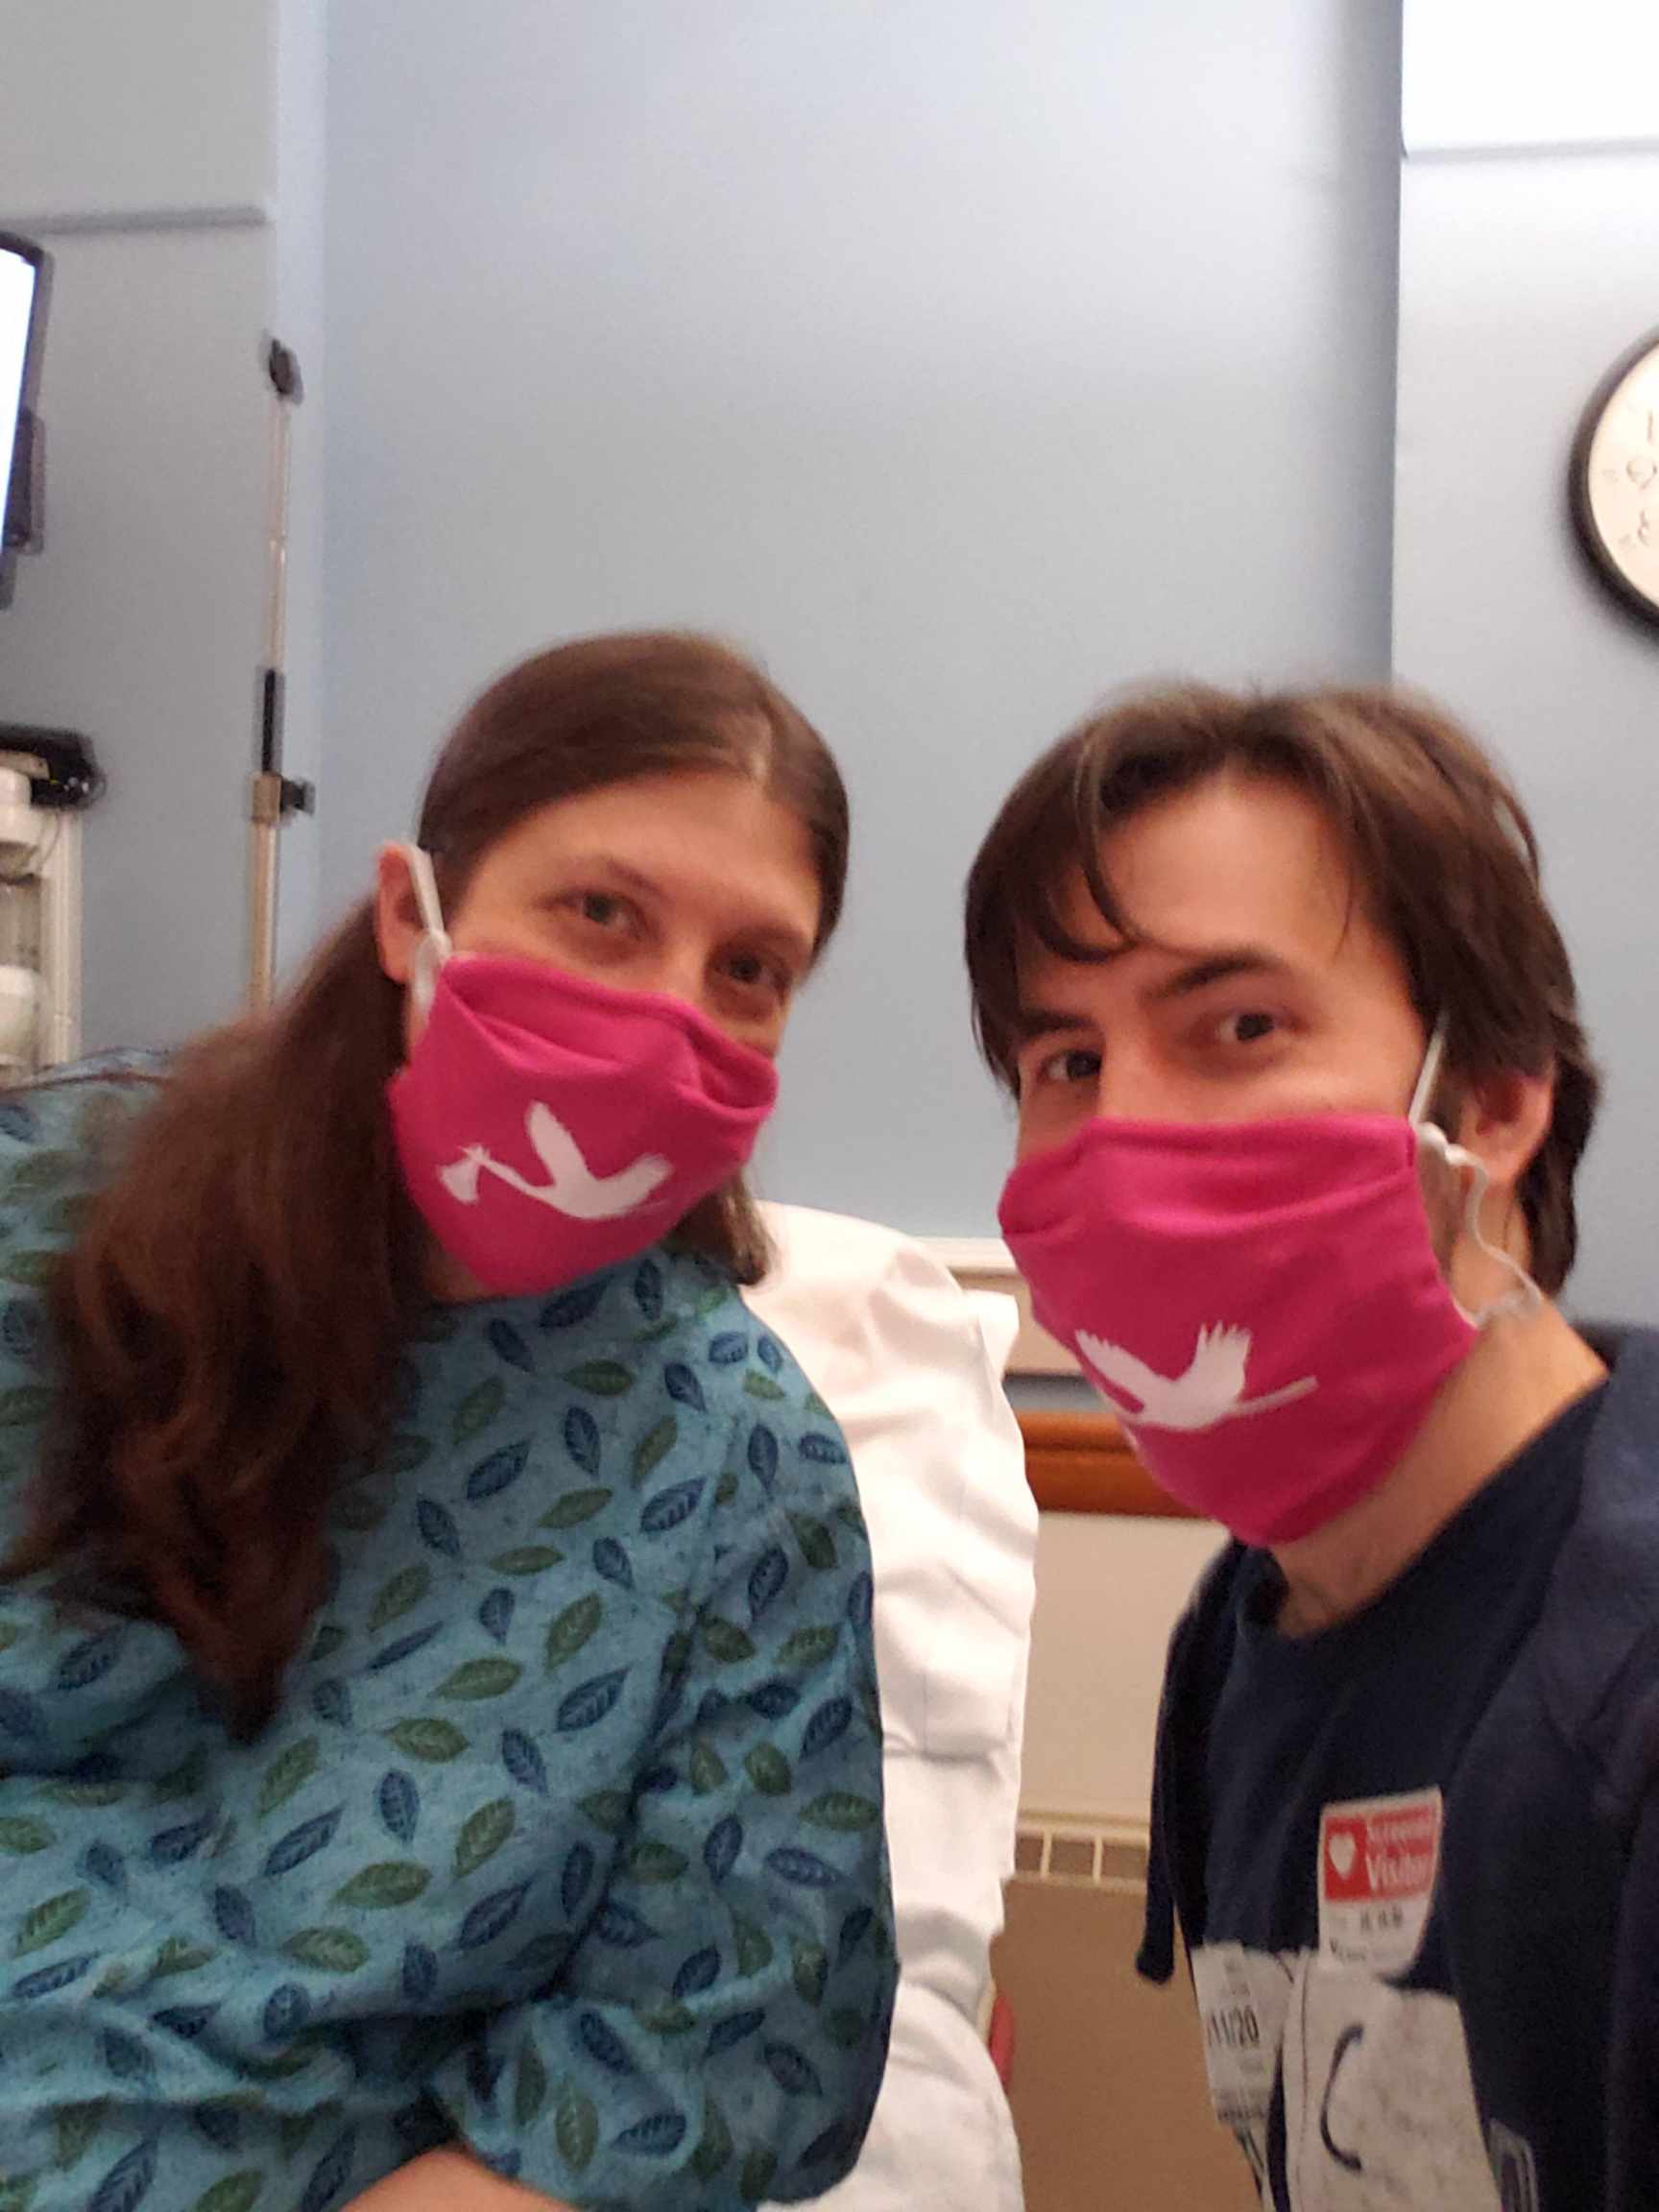
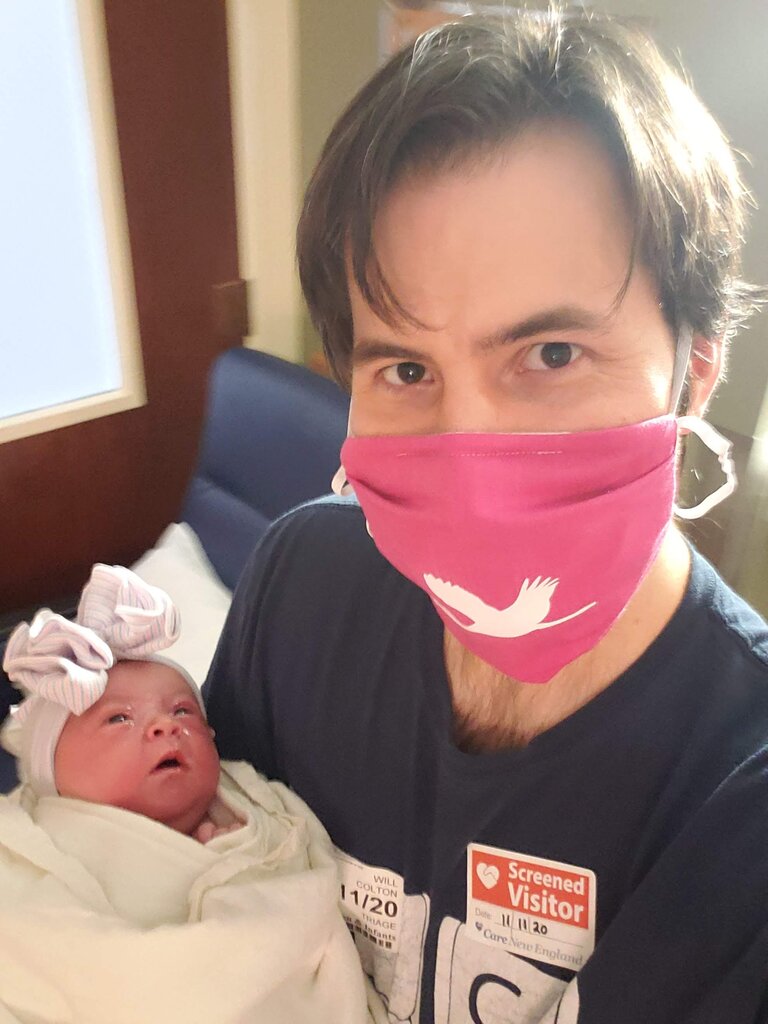
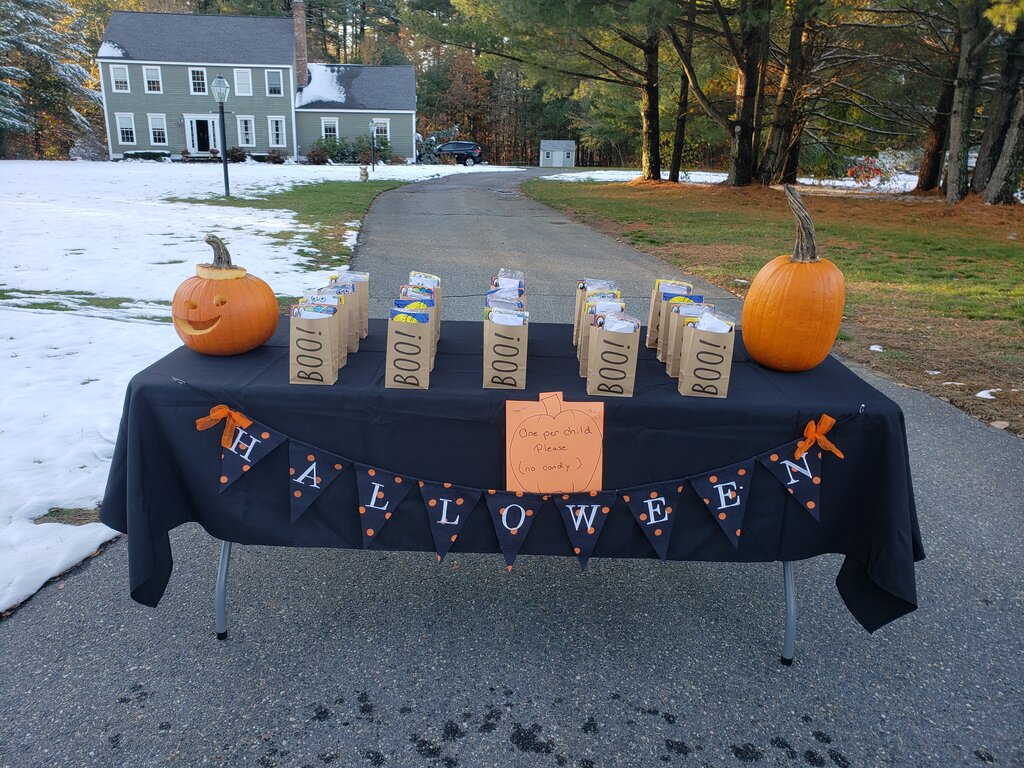
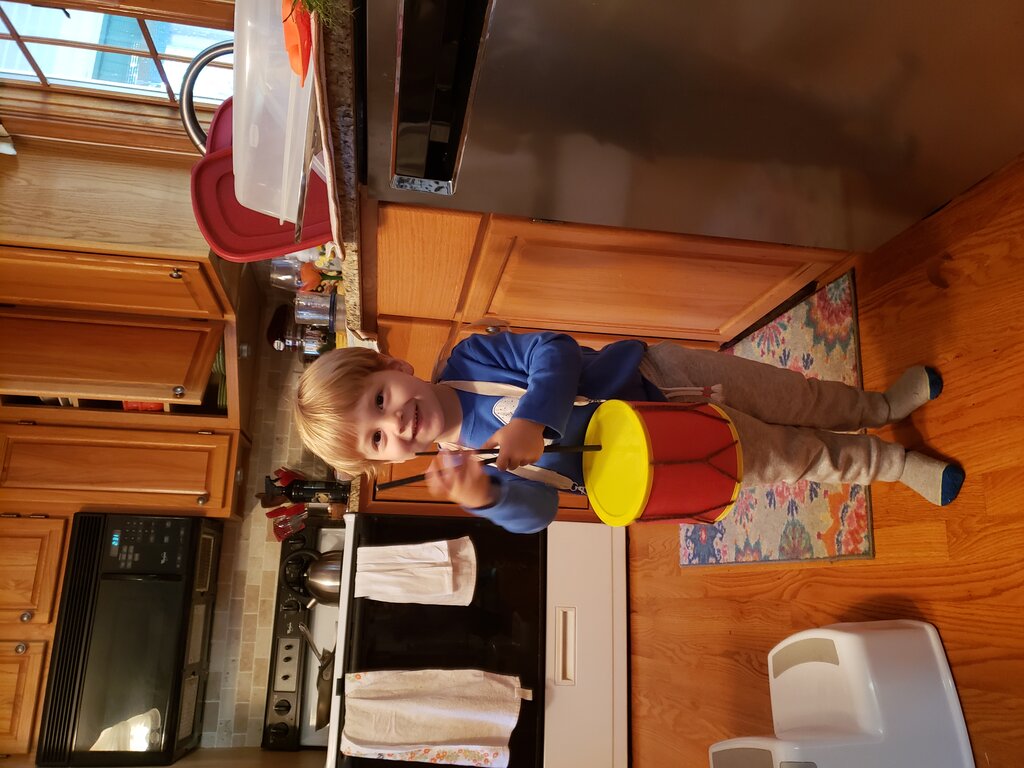
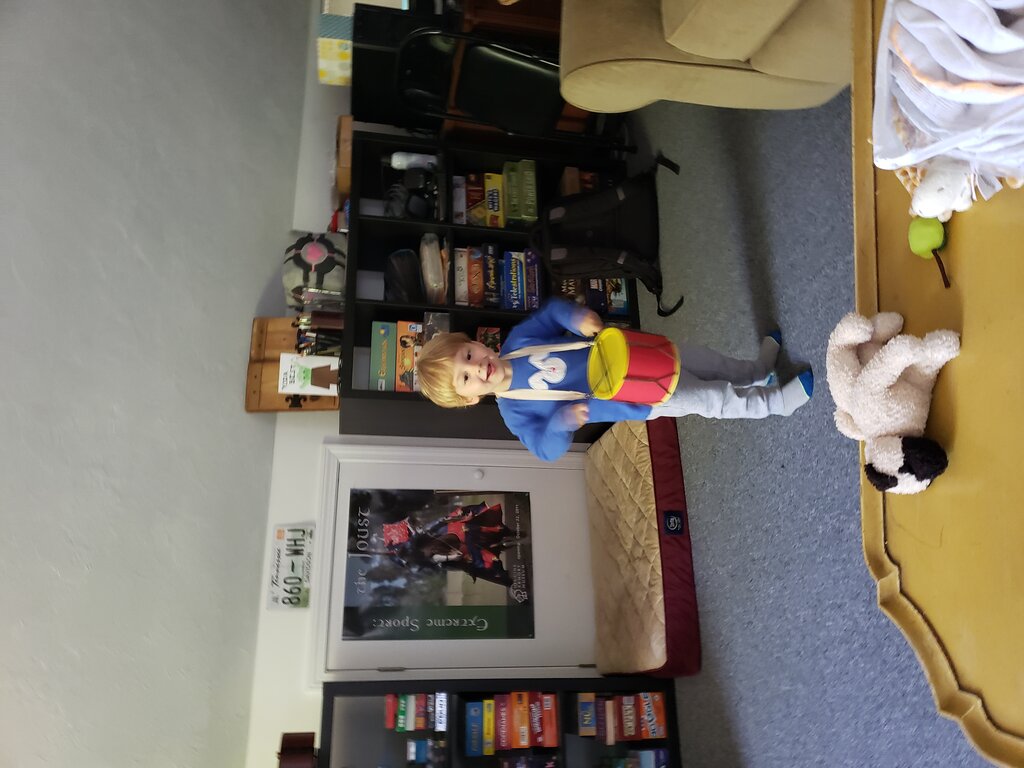
Finn and Julius in owl’s house!
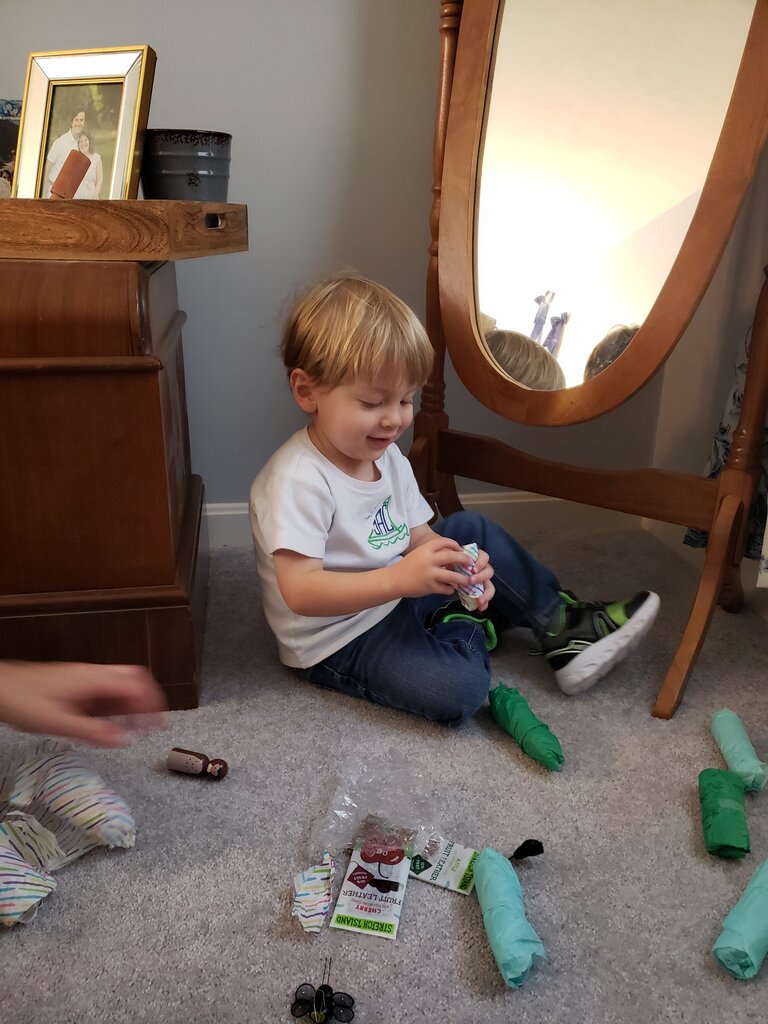
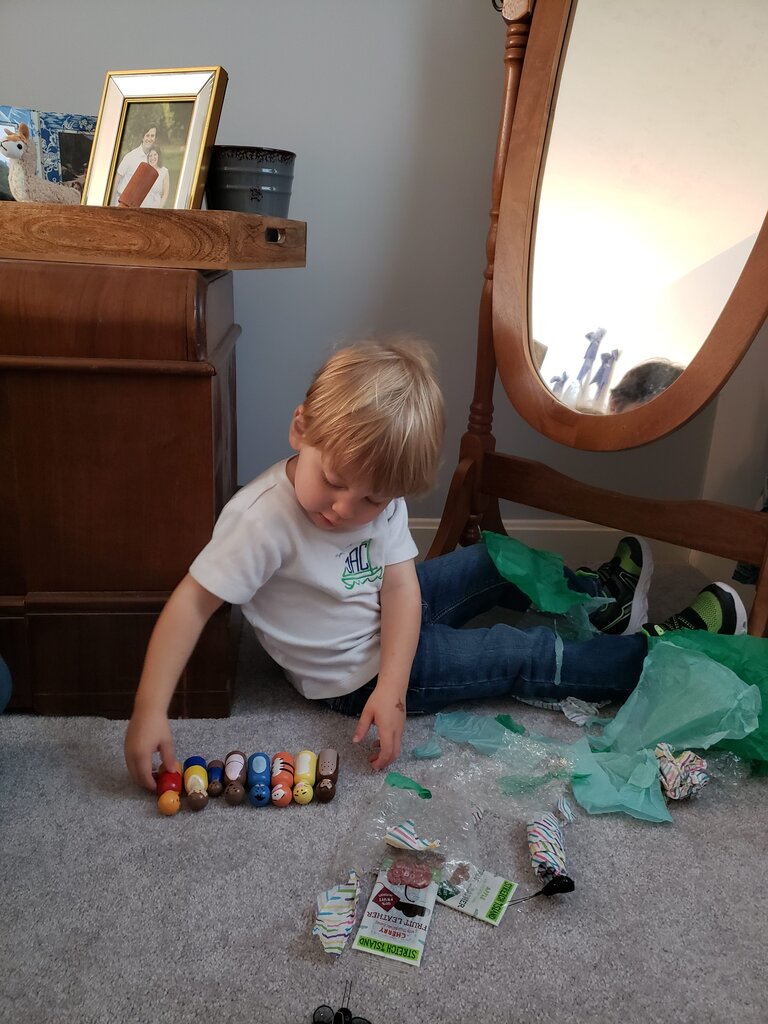
Julius has been having fun with his cousin Finnegan this past week! They hit it off again immediately and it is really cute to watch them interact. I can’t believe it has been nine months since he has been able to play with another child. He’s going to be pretty sad when Finn and Ari leave.
In other happy news Patricia has been smiling! She has been smiling for a while but she used to make you really work for that smile. Now when she sees my face before the first morning feeding she gives me huge grins, unprompted. It is really great!
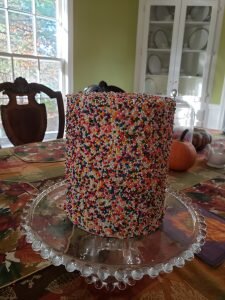
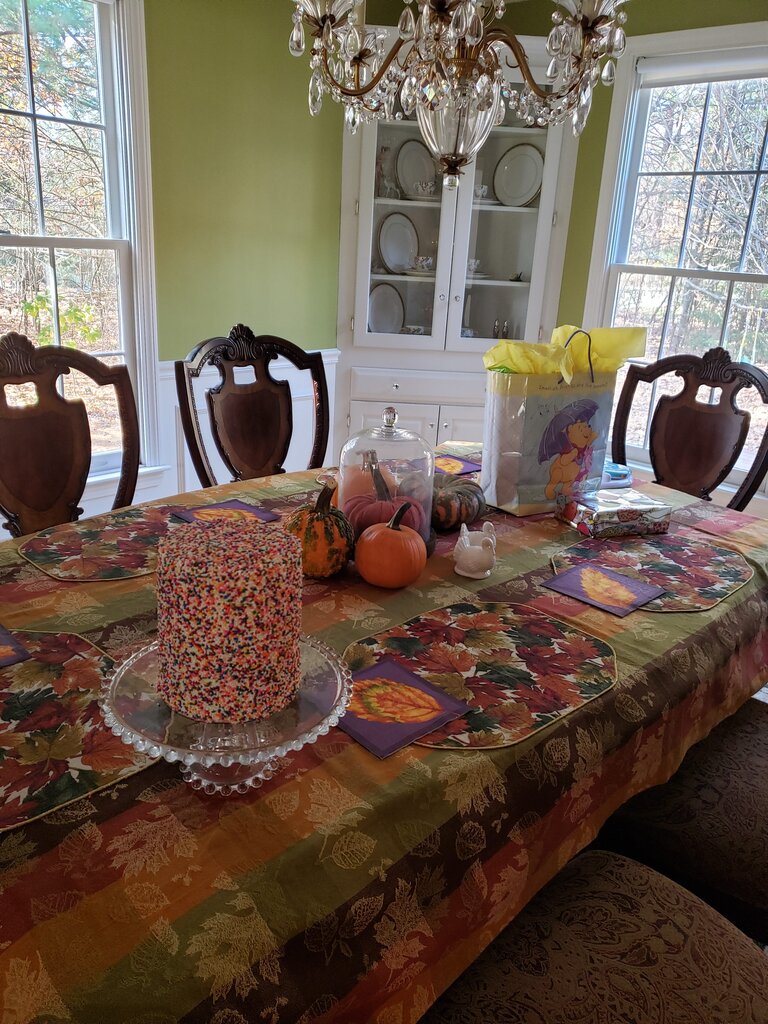
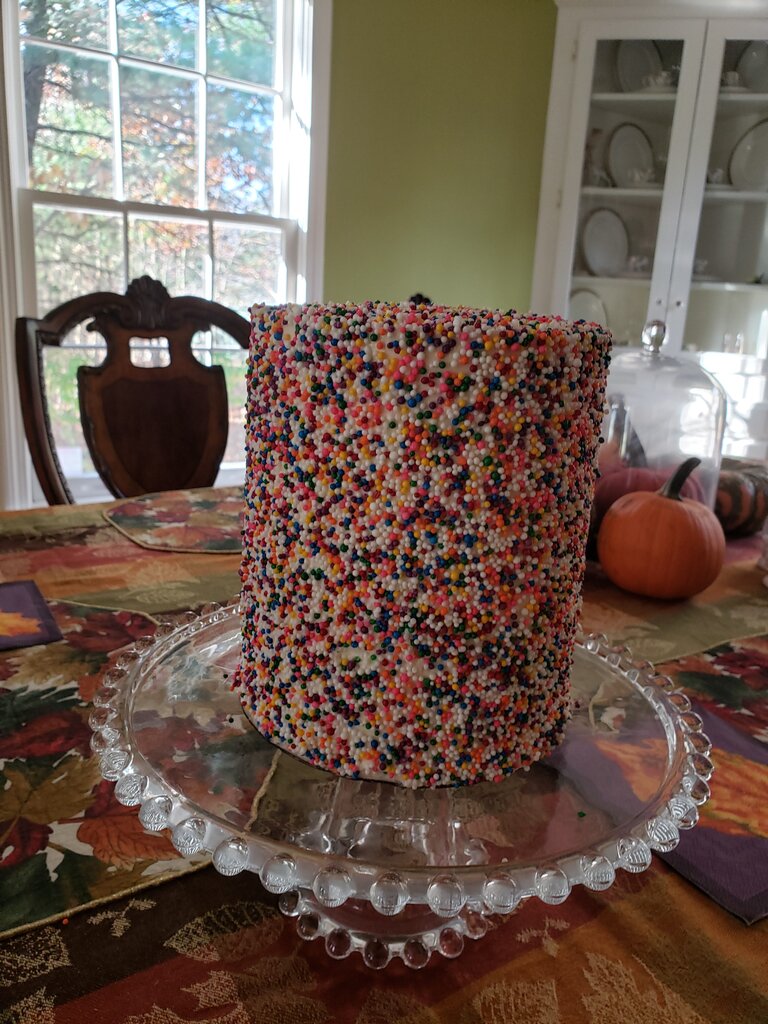
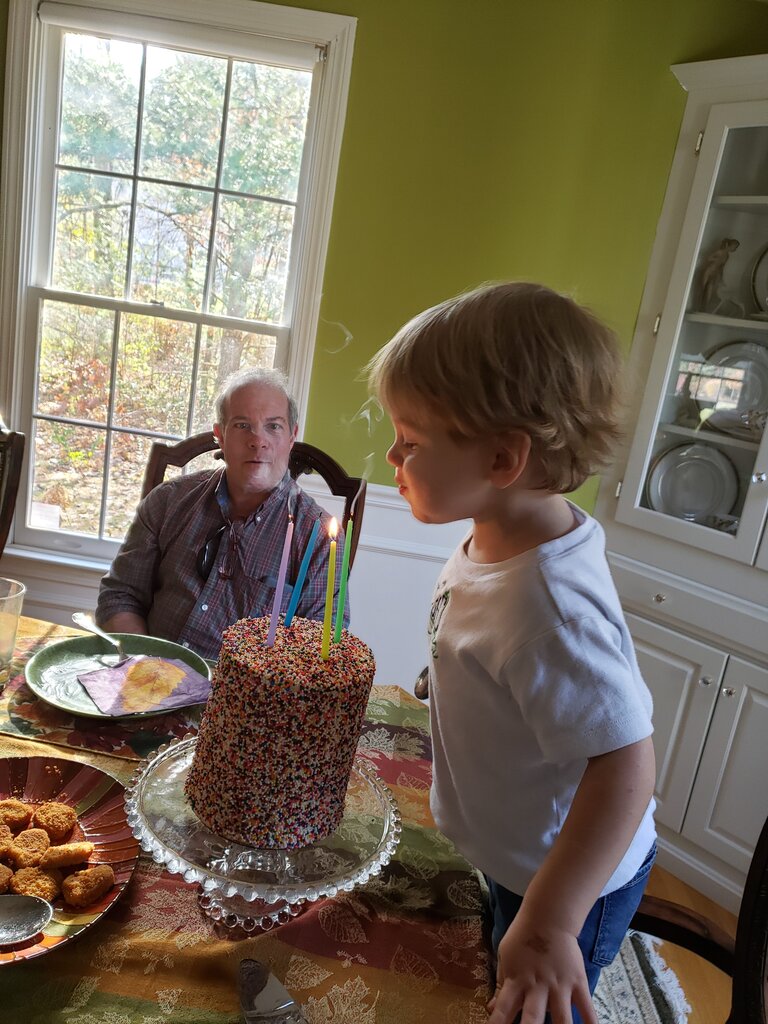
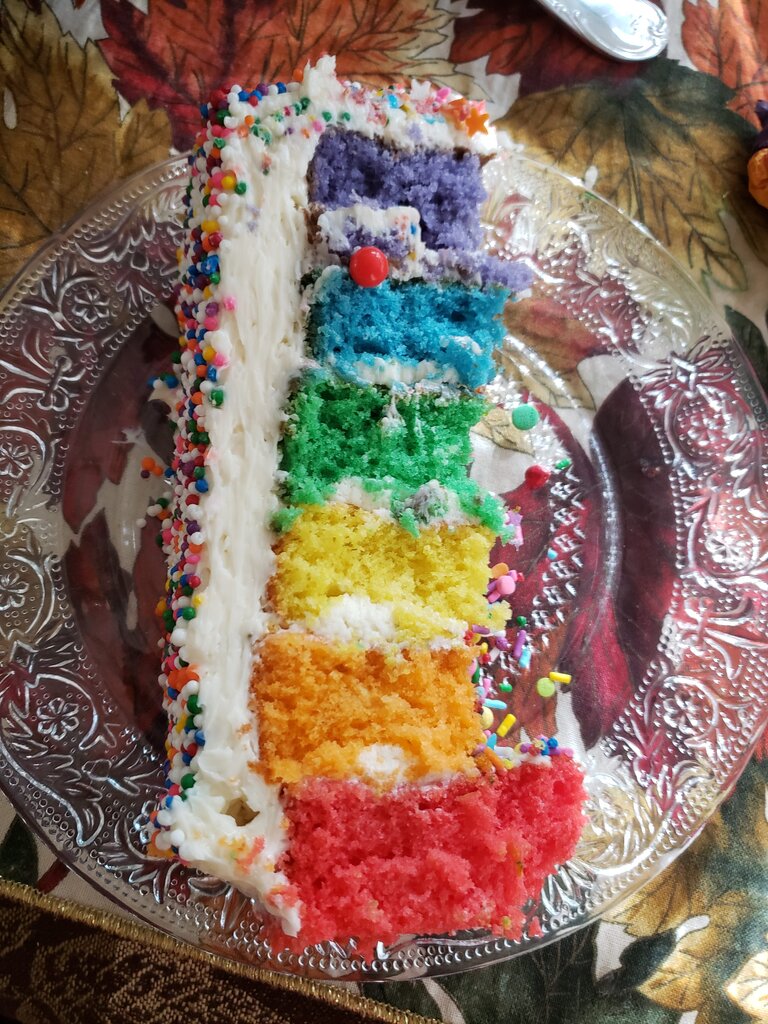
You know what else is really great? Surprise sprinkle cake! I saw a surprise sprinkle cake in one of the Williams Sonoma promotional emails and knew Julius would love it. Despite the fact that it didn’t really go with the Winnie the Pooh birthday party theme I decided I had to make him one. Even splurging on fancy sprinkles, this recipe was less than half the cost of the kit above. I originally intended to make the frosting and cake in advance and freeze it, but I only ended up making and freezing the frosting. That did save me quite a bit of time because the buttercream frosting I make takes a lot of time. Julius did end up loving the cake so it was worth it…
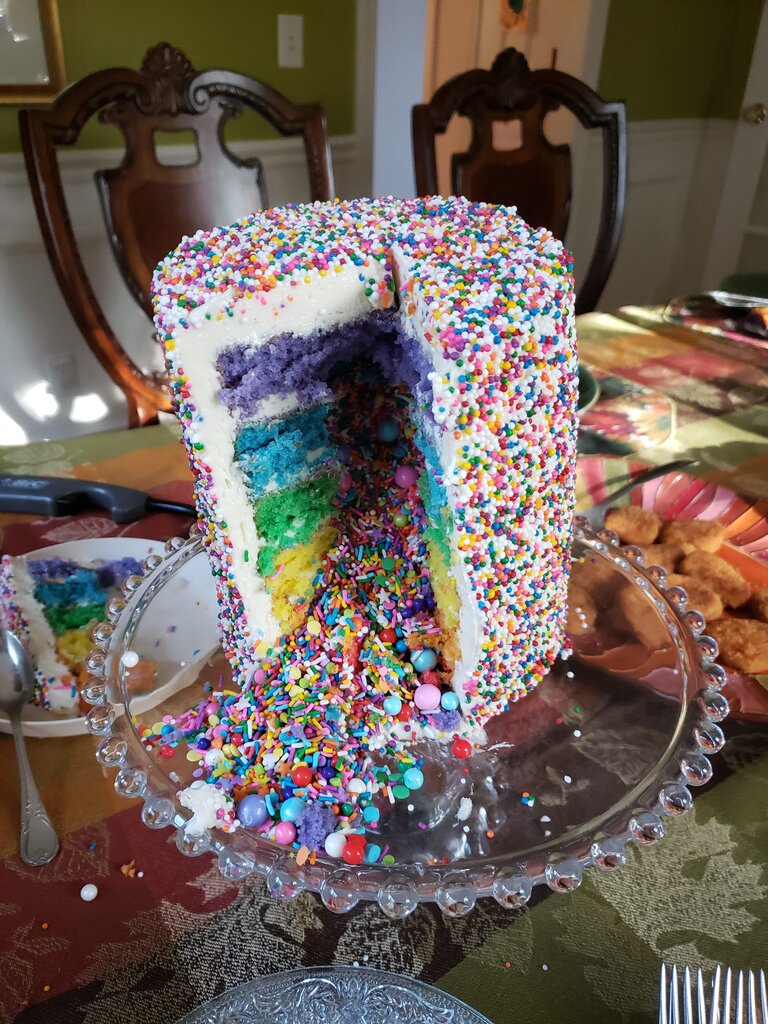
Sprinkle cake surprise
Surprise Sprinkle Cake
What you’ll need:
- 1 cup (8 oz) of rainbow nonpareils for the outside of the cake
- 1 cup (8 oz) of fun sprinkle mix for the inside of the cake
- 1 batch of this buttercream frosting*
- 1 batch of this vanilla cake batter (uncooked)
- red, orange, yellow, green, blue and purple gel food coloring
- 6 5″ cake pans (or for less pans, you’ll need to just keep baking the cakes, washing the pans and repeating for each color)
- 2″ biscuit cutter
- cake circle
- cake turntable
- ziplock bag or piping bags
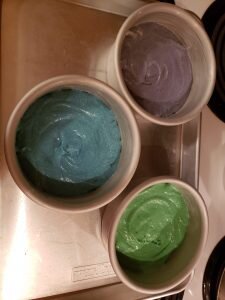
*I made the frosting in advance and froze it. The day before I planned to frost the cake I removed it from the freezer and let it defrost in the fridge. Before I frosted the cake I re-whipped the frosting back to normal consistency with my electric mixer.
- Prepare cake mixes as per instructions in the links above.
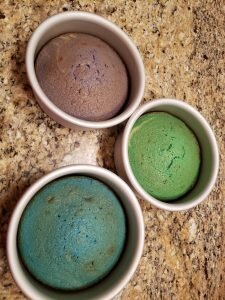
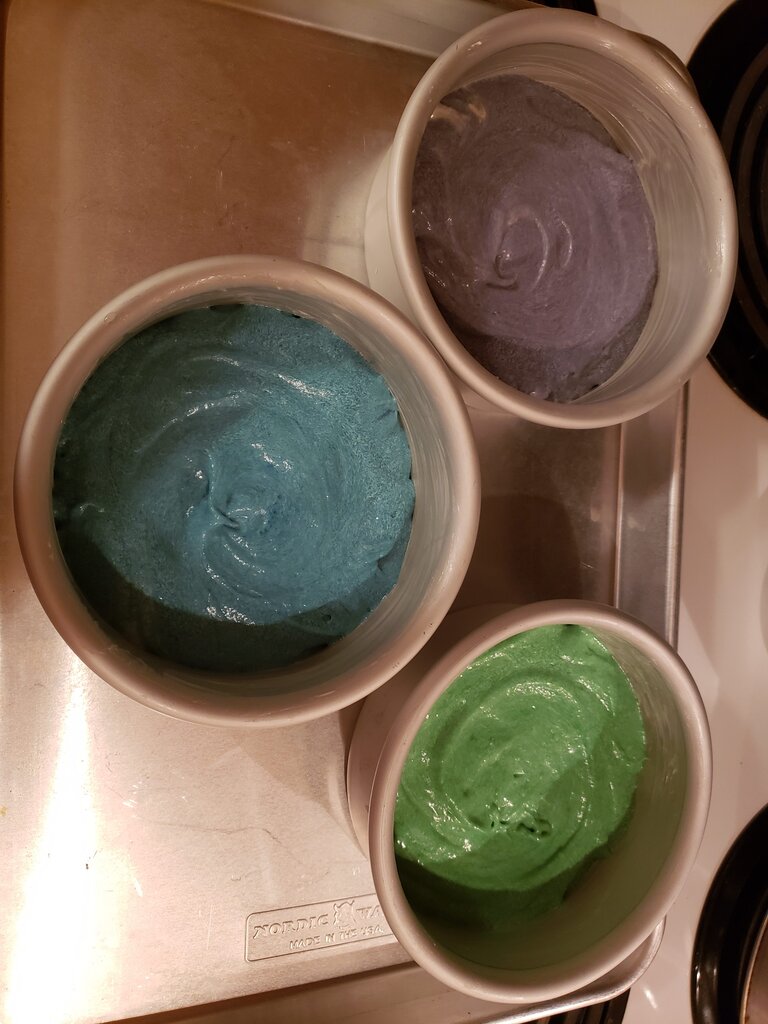
- Divide batter into 6 1 cup batches. Mix 3 drops of one color of food coloring into each 1 cup bowl.
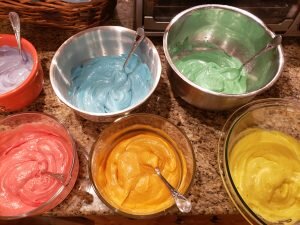
Divide batter into 1 cup increments
- Butter each 5″ cake pan and place a circle of parchment paper in the bottom of each cake pan.
- Place one color of each cake batter in each 5″ pan.
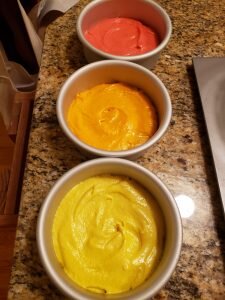
5″ cake pans filled with batter.
More batter divided between pans.
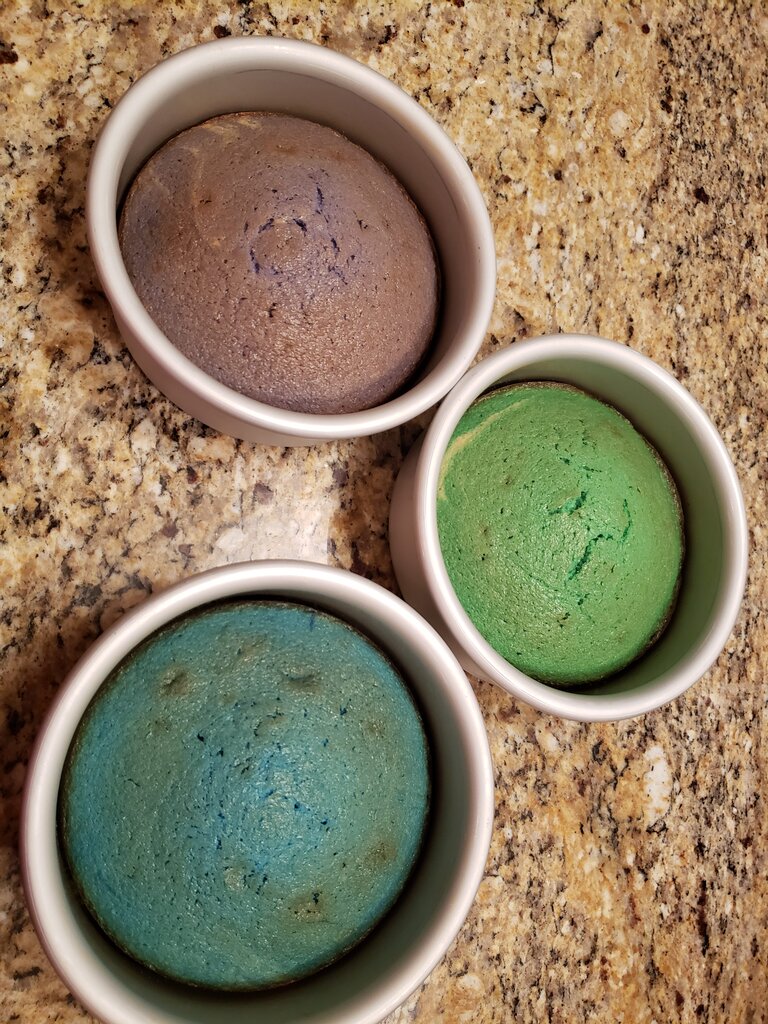
- Bake at 350 F for about 18 minutes or until toothpick inserted in center of each cake comes out clean. Remove cakes from pans and let cool.

Baked cakes.
More baked cakes.
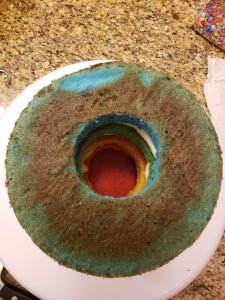
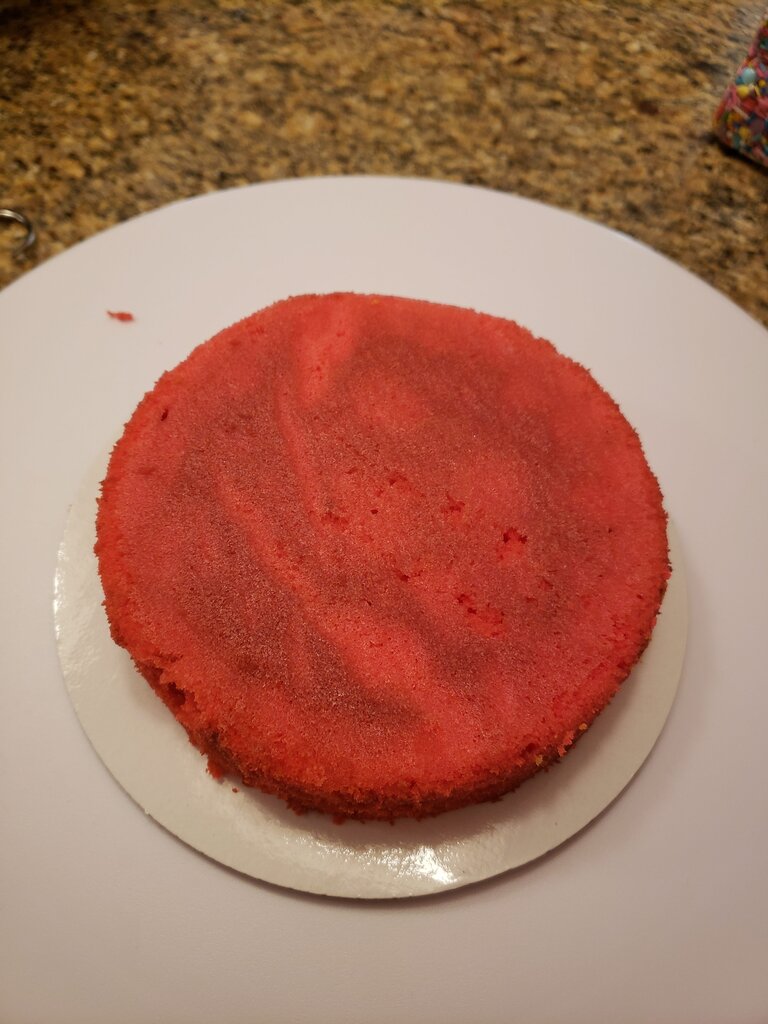
- When cakes are completely cool, use a serrated knife to remove the domed top from each cake.
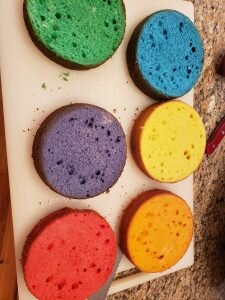
Cake with cut tops.
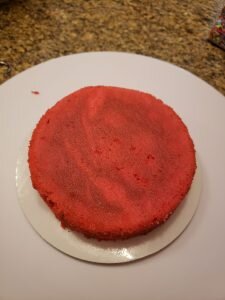
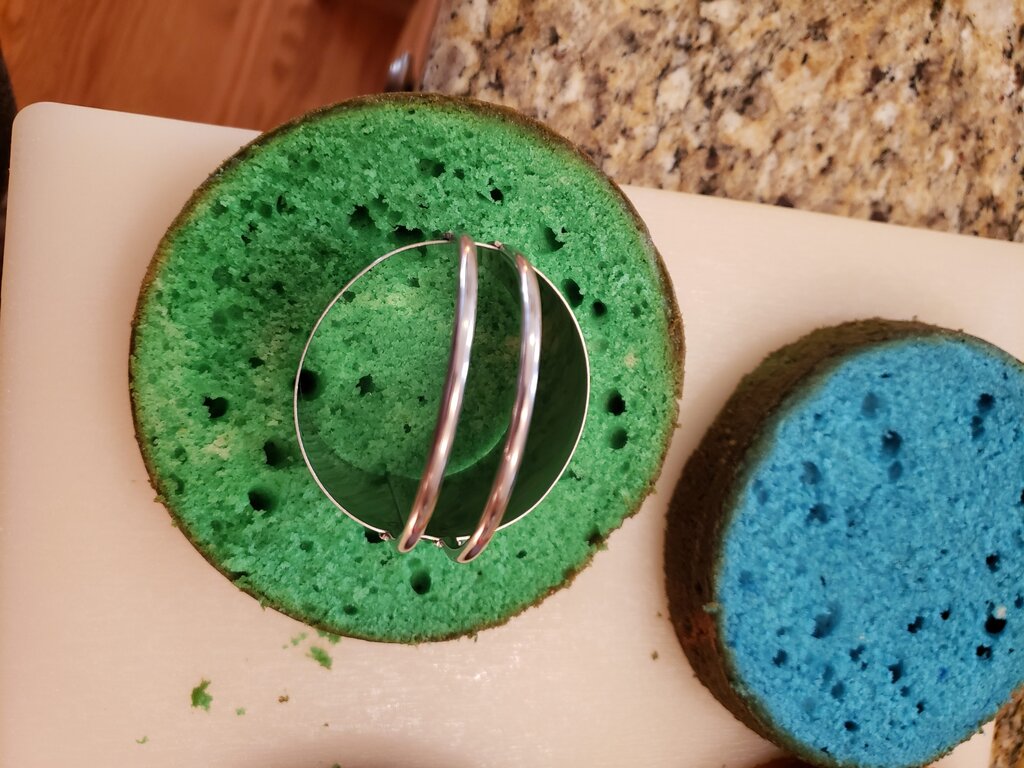
- Use a biscuit cutter to cut a hole in the center of orange, yellow, green and blue cakes.

Cut with biscuit cutter.
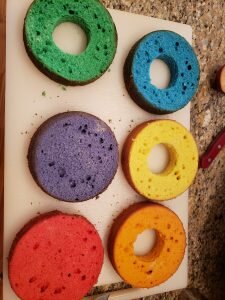
Finished cake layers
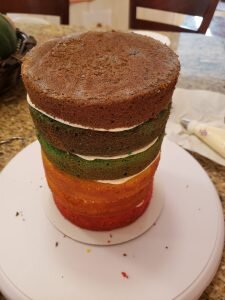
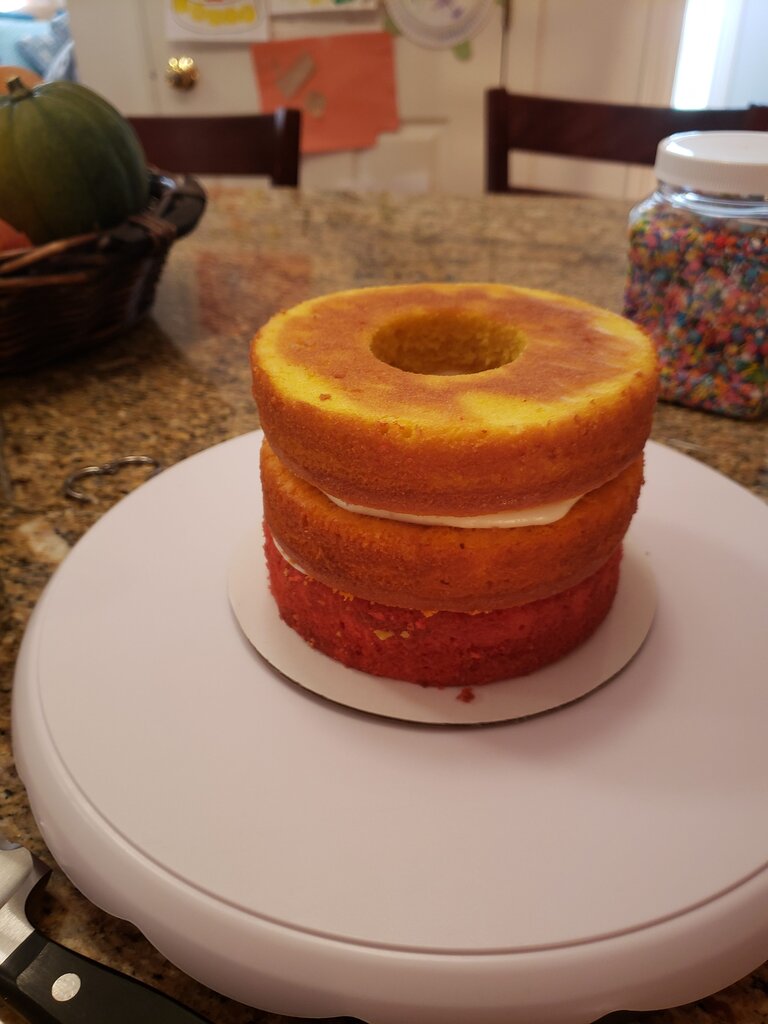
- Affix cake circle to cake turntable using frosting. Center. Place frosting on cake circle and top with red cake (cut side down). Center cake.
- Place a cup of frosting in a ziplock bag or piping bag and cut off the tip to be 1 cm wide. Pipe frosting around the outer 1.5 inches of the top of the red cake.
- Place orange cake (cut side down) on top of the red cake, and pipe frosting around the entire top of the orange cake. Repeat step 10 for yellow, green cake and blue cake (in that order).

Top view of stacked cakes.
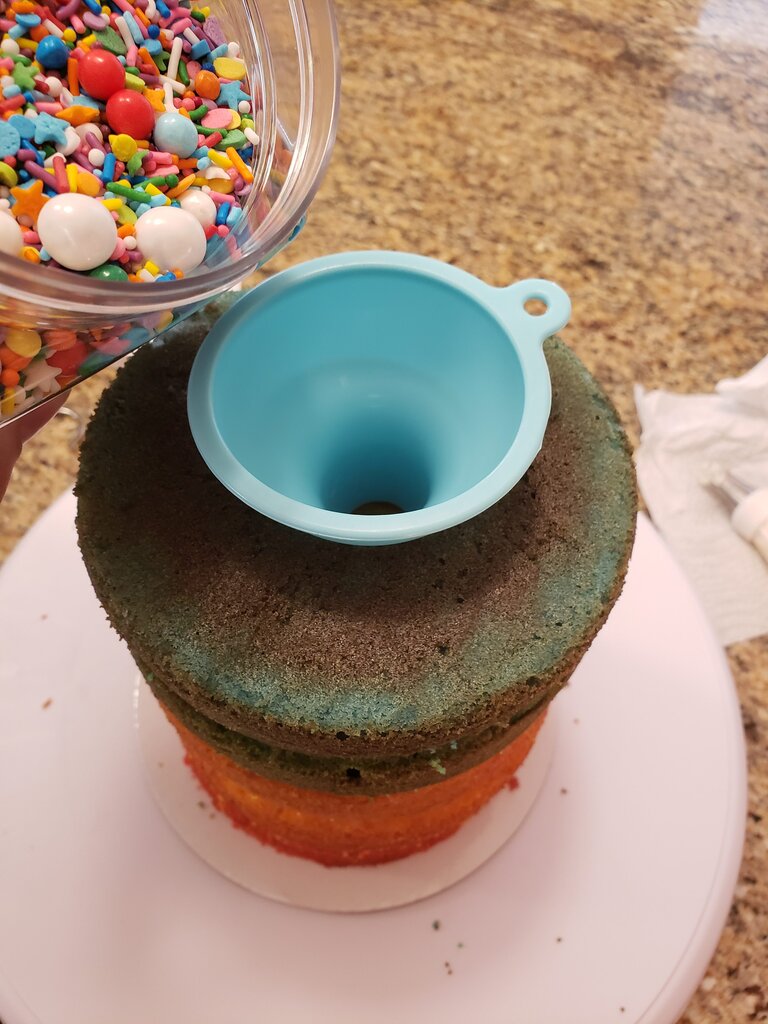
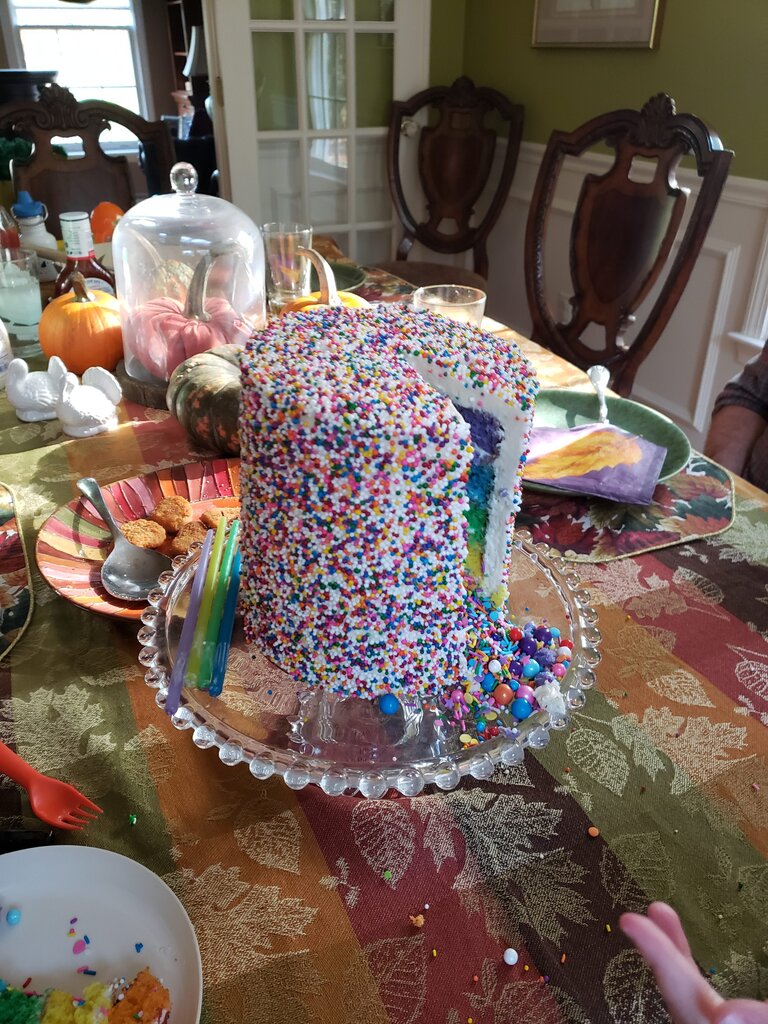
- Using a funnel (or being very careful) pour the fancy sprinkles into the center of the cake. Fill to the top of the blue section.

Fill cake with sprinkles
- Again pipe frosting around the entire top of the blue cake. Top with purple cake (cut side down).
Finished stacked cake.
- Refrigerate for 15 minutes until frosting is firm.
- Crumb coat the cake with 1/3 of the remaining frosting. Refrigerate for another 15 minutes.

Crumb coat cake.
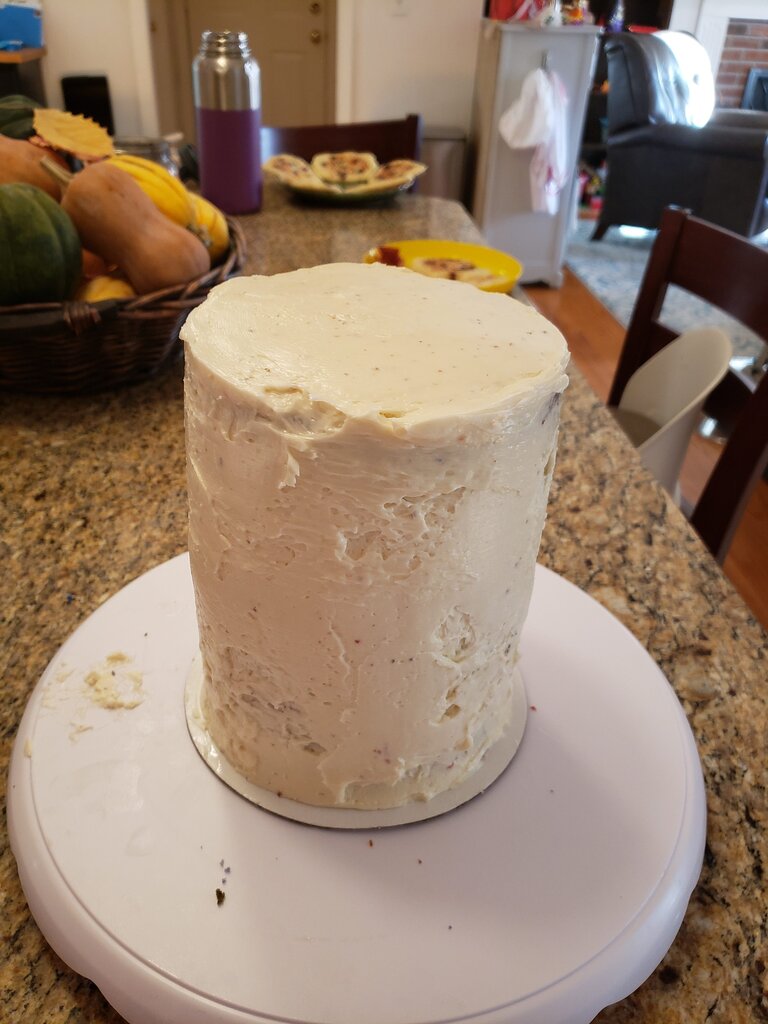
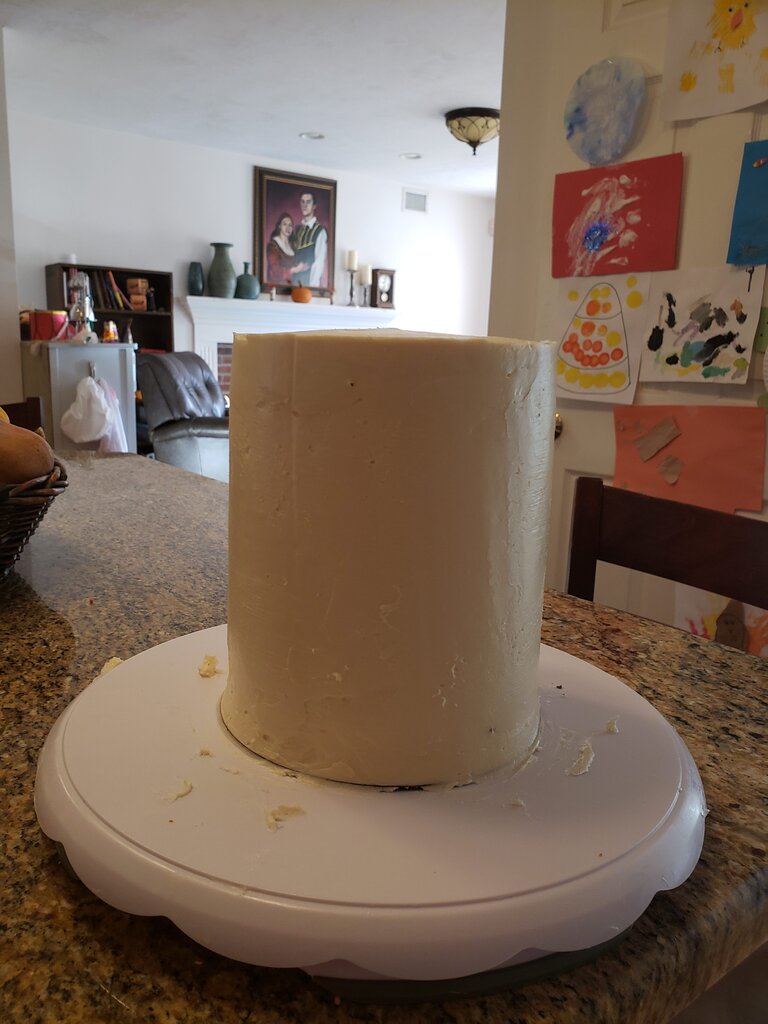
- Frost the cake.
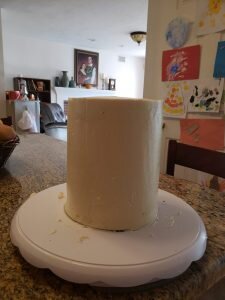
Frost cake.
- Place cake into a very wide cake pan or baking dish.
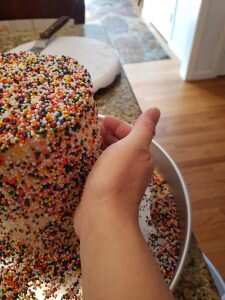
Gently press sprinkles onto side of cake.
- Sprinkle multicolored nonpareils onto top of cake and then gently lift and press remaining sprinkles onto icing using your hand.


