Well I made a lot of soup this week. We had a ham earlier in the week so I made split pea soup and lentil soup (my favorite)! Then I felt like making even more soup (I guess) and we had a shrimp coconut soup in the middle of the week. Crazy. Probably too much soup. Oh and I started a sourdough starter! I’ve always wanted to try my hand at sourdough, but have never been brave enough. Well I finally decided to mix up my own starter and try it! I’m sure I’ll include that in a future post.
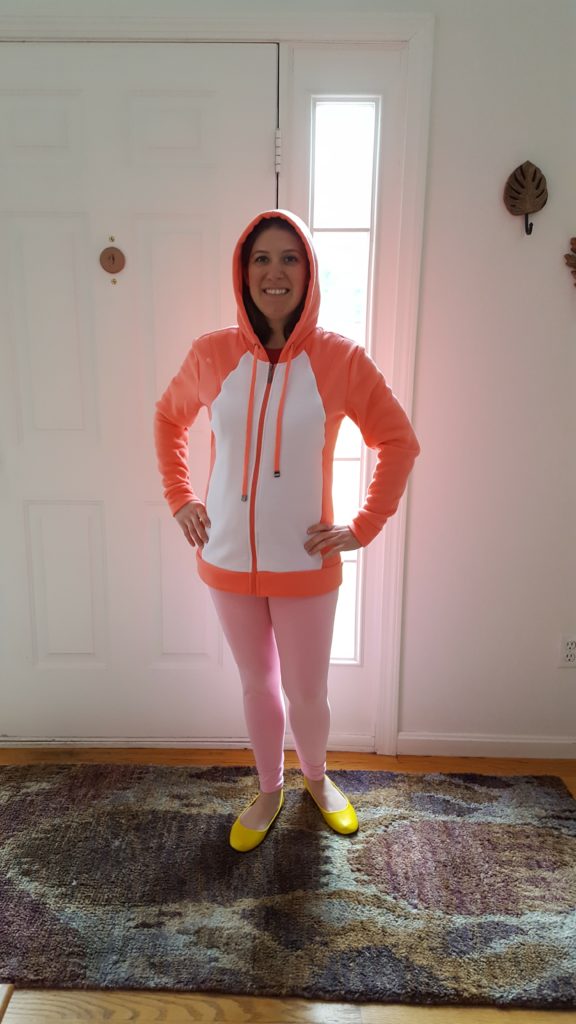
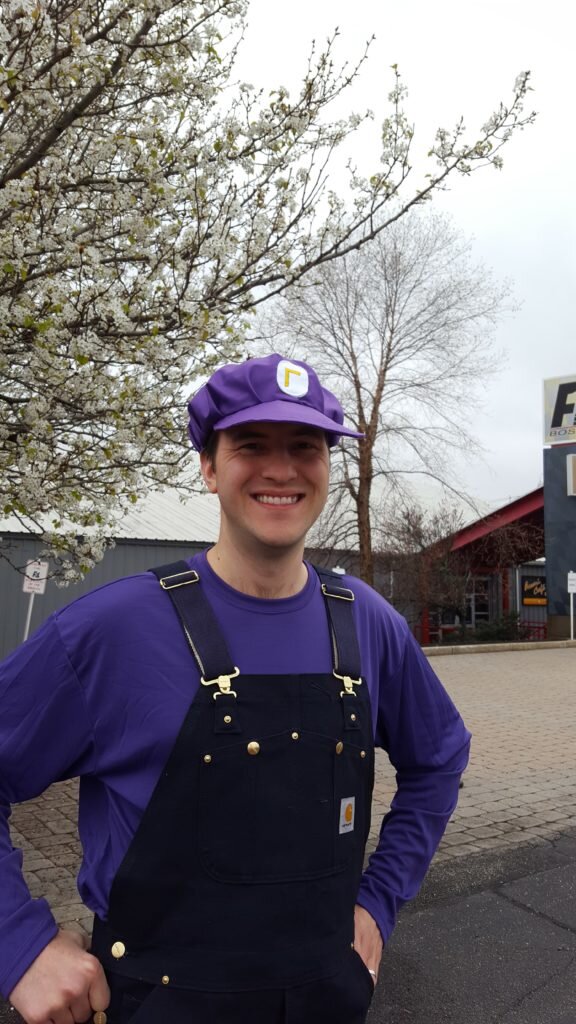
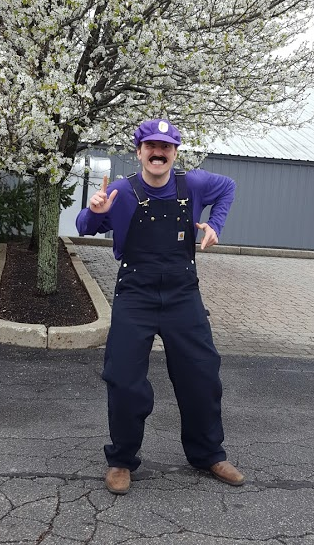
I have been making so much food I haven’t been doing much crafting or sewing. I’ve been thinking a lot about both and have increased my list of things to do, but haven’t tackled anything on it. That is since Joe’s birthday which I mentioned in my previous post. By this point you either have no idea what Mario related character I went as, or you didn’t care to comment. Either way I will tell you – I went as pink yoshi! To my great dismay most people had not played either Yoshi’s Island or Yoshi’s Story which, I can tell you, are amazing games! So this means most people had no idea that pink Yoshi even existed! Instead I got “birdo” or “koopa“. Next time I will have to just have to go as normal green Yoshi instead.
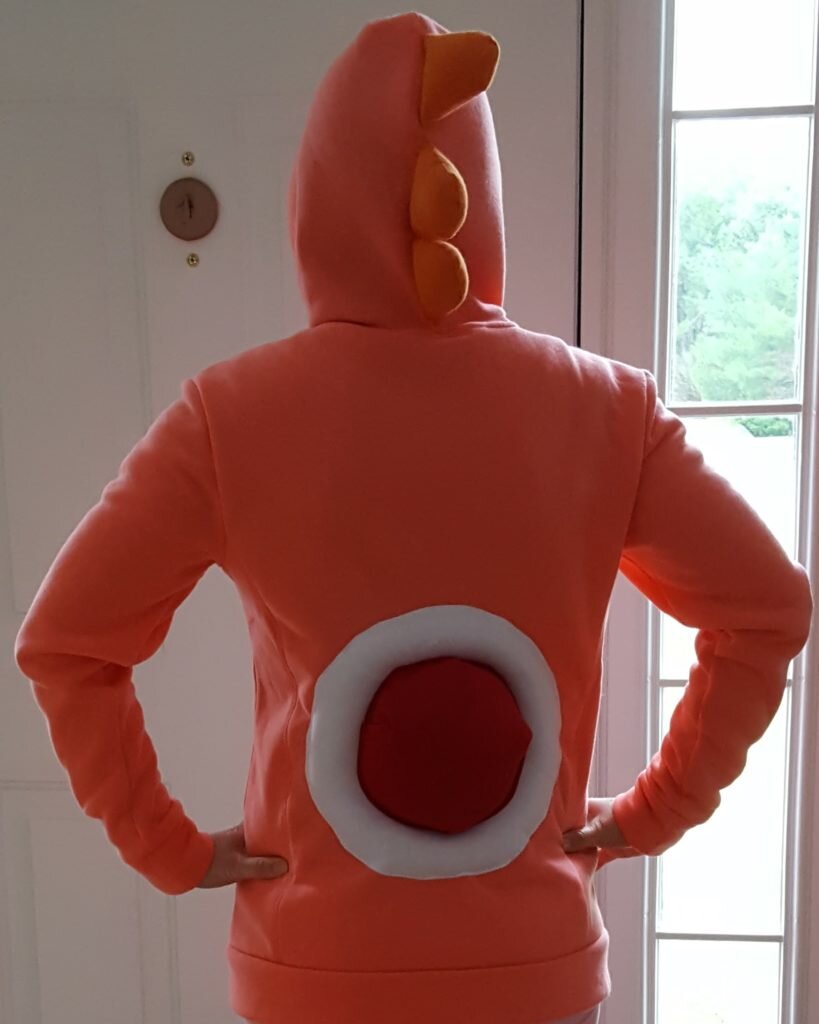
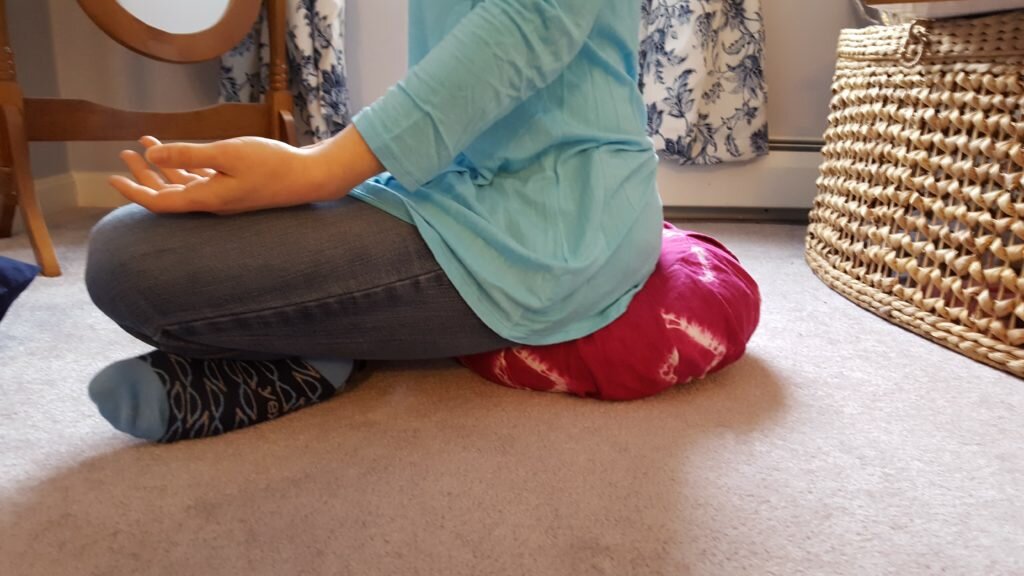
Anyway, if you want to make my Yoshi sweatshirt you just need to buy a zip up hoodie and a yard of additional material. Within a few hours you’ll have an easy costume! Not to mention Yoshi’s saddle makes for great lumbar support!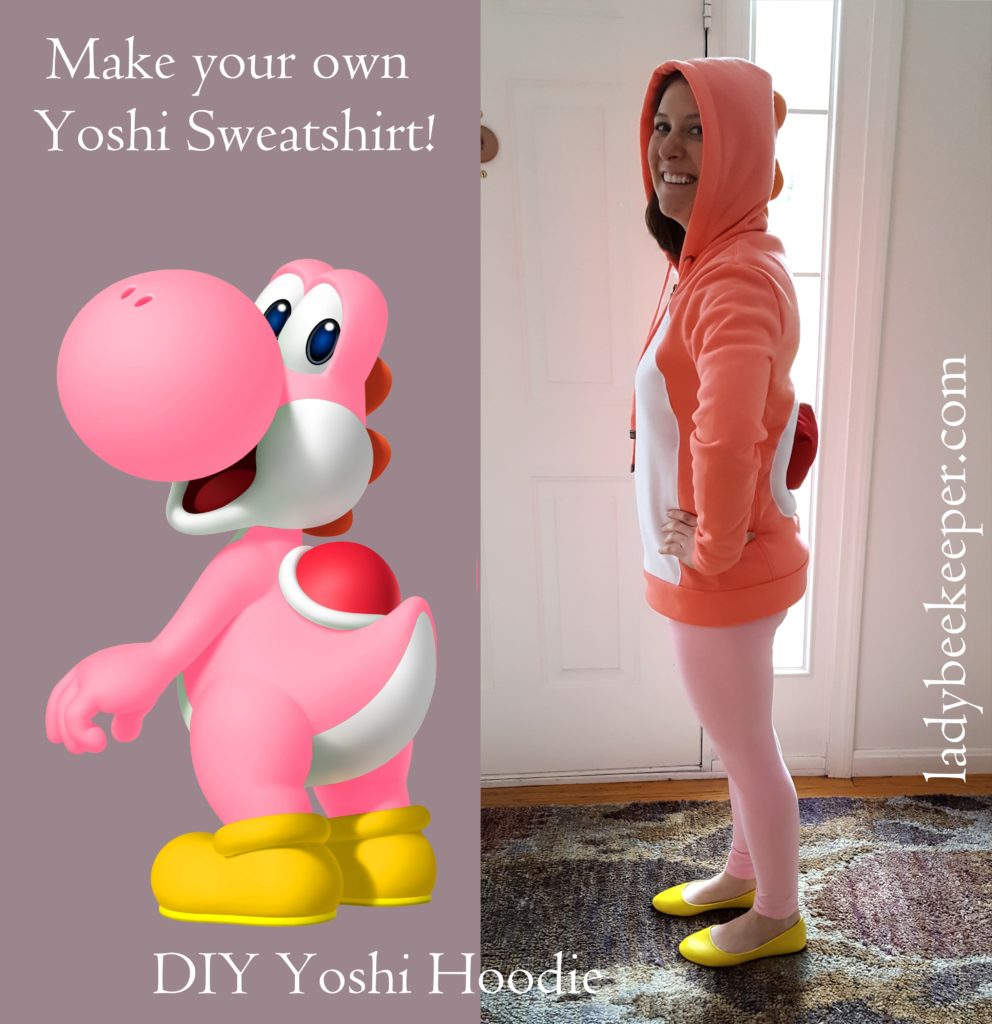
Yoshi Sweatshirt
- 1 zip up hoodie in your size
- ~1 yard white sweatshirt material
- ~1/2 yard red sweatshirt material
- ~1/8 yard orange sweatshirt material
- stuffing
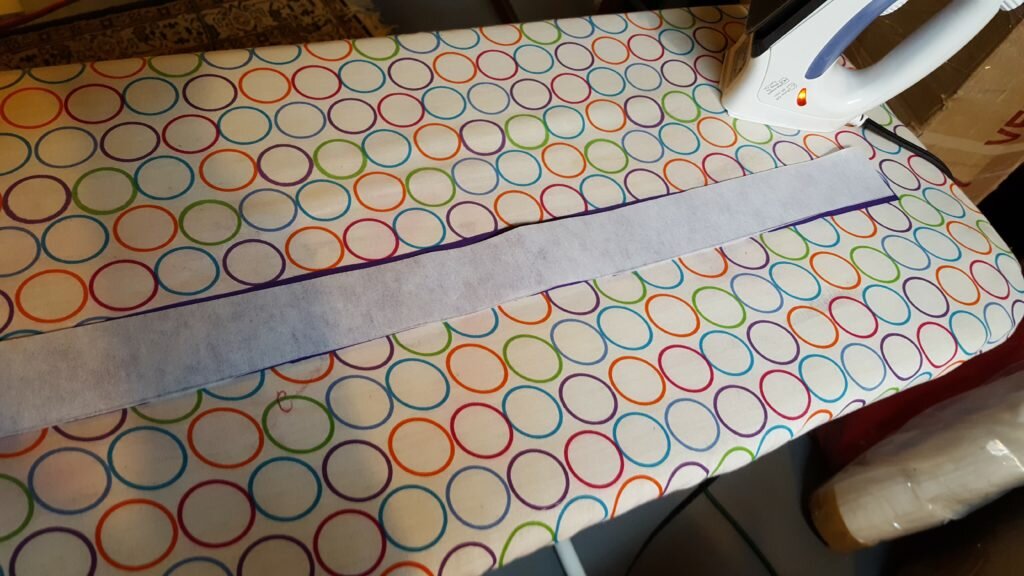
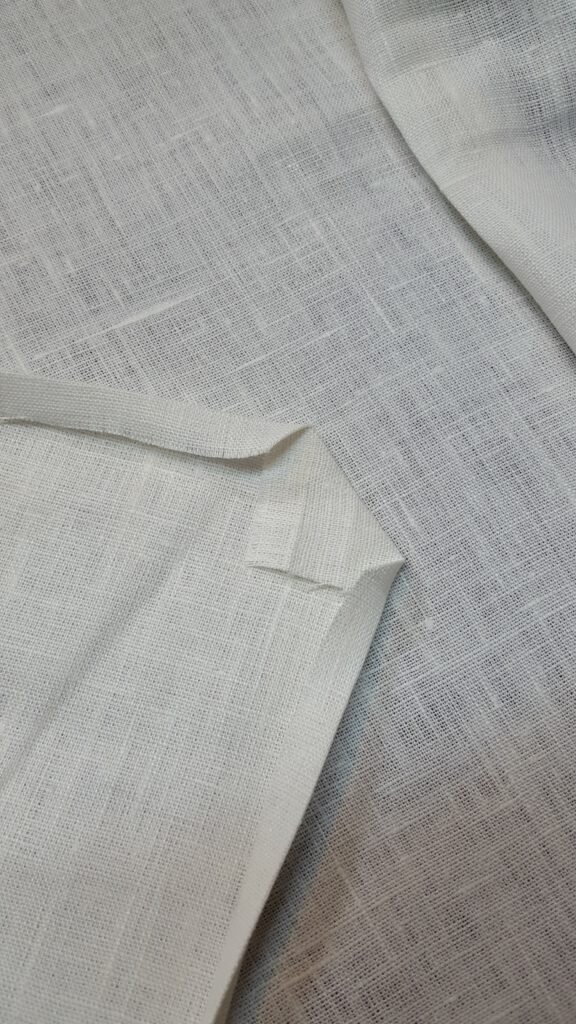
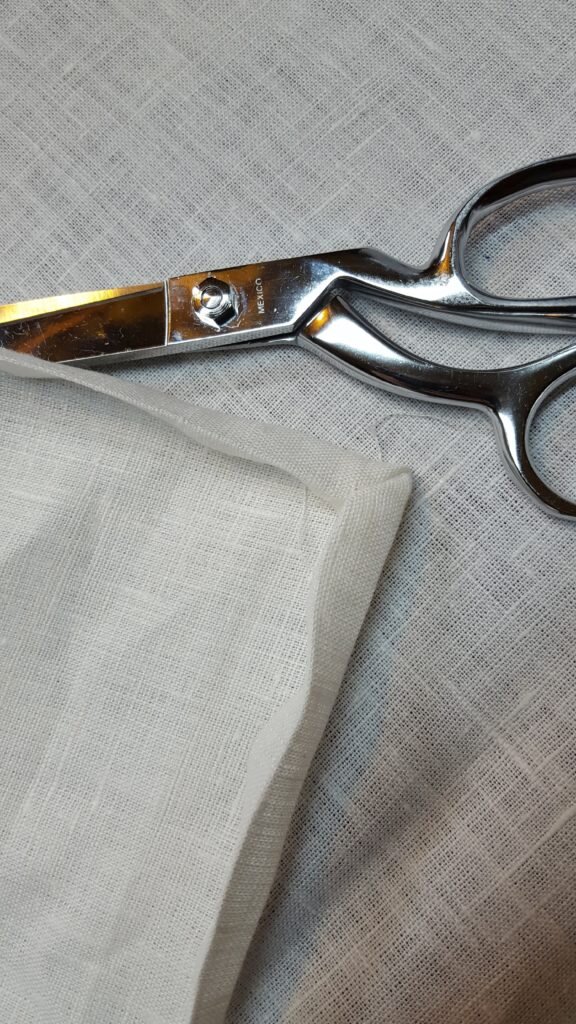
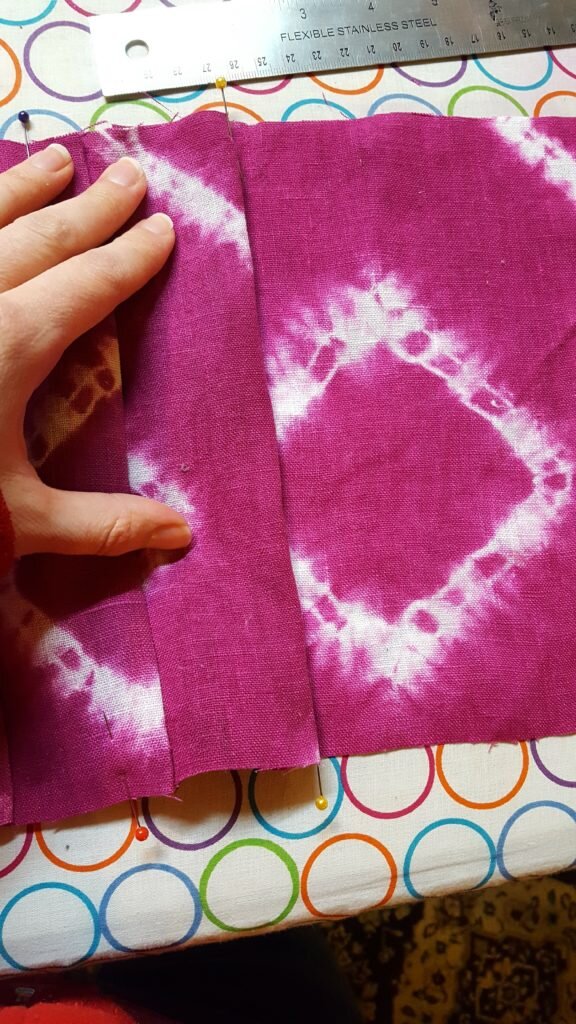
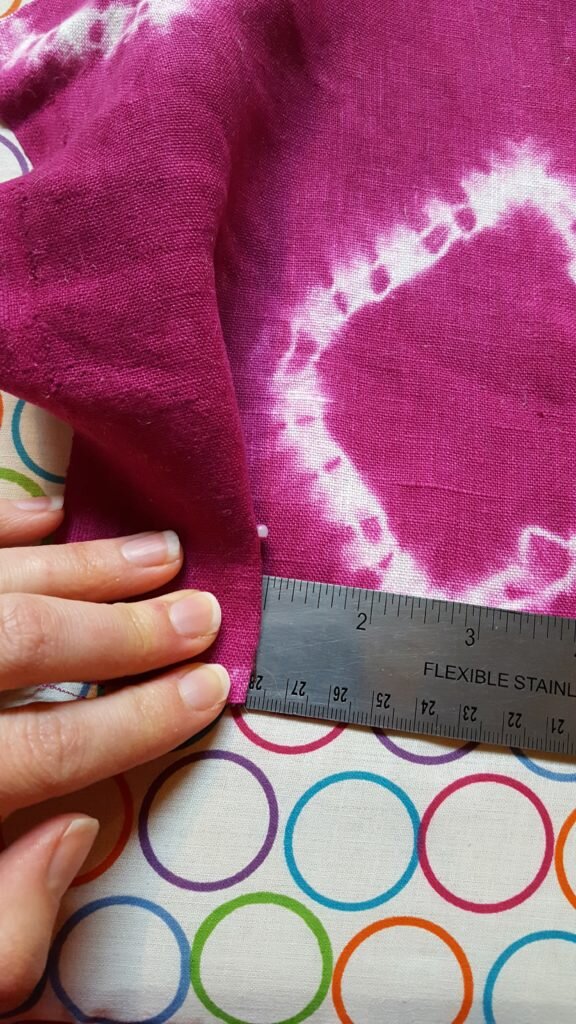
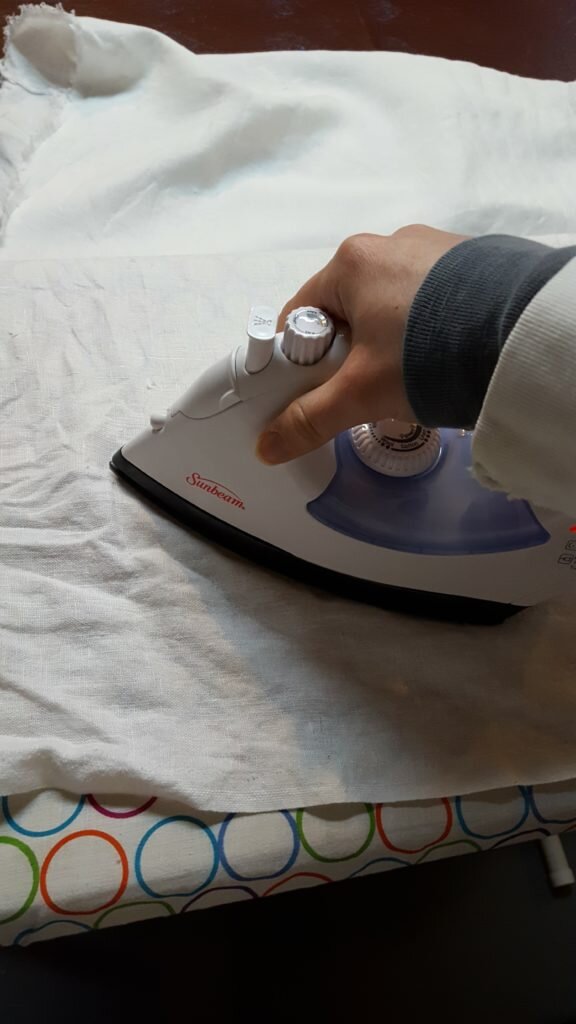
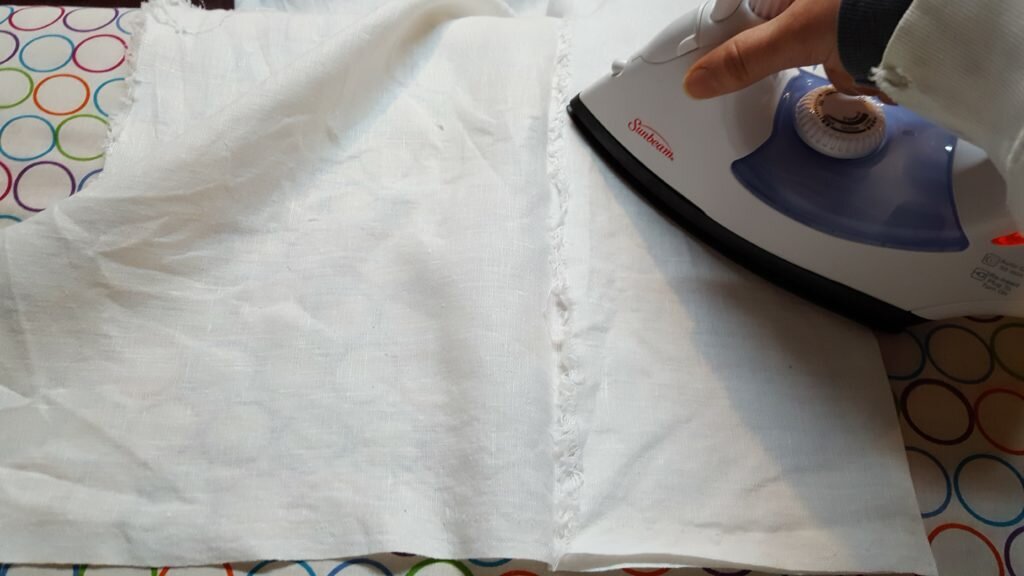
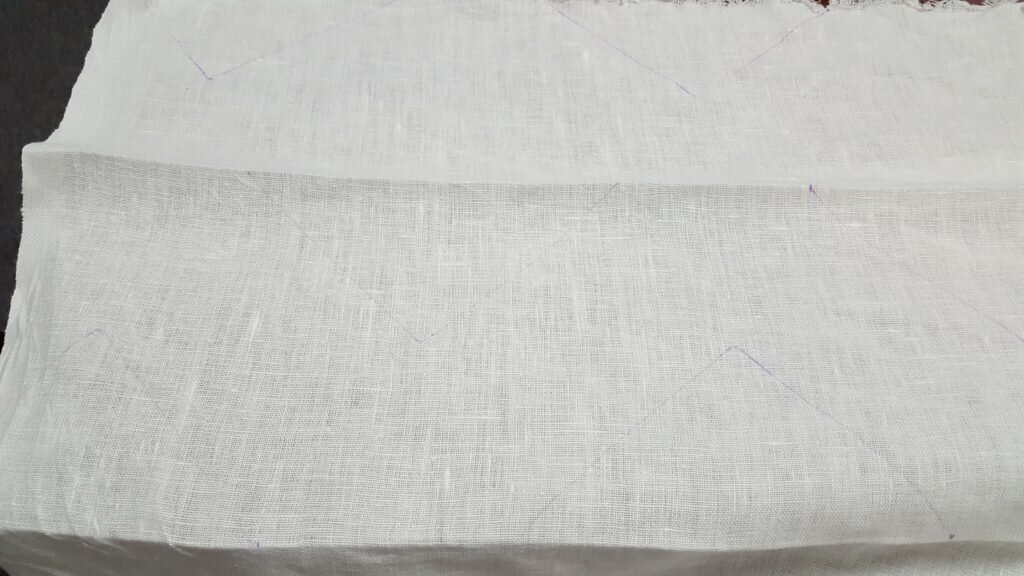
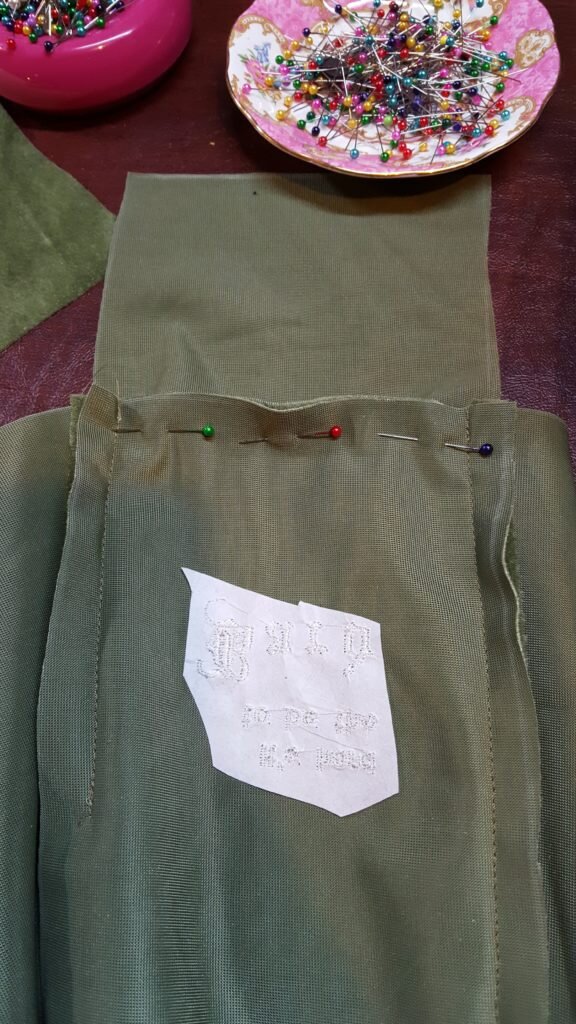
- First measure out the size for the belly of your yoshi sweatshirt. This will depend on your size sweatshirt. You’ll want to form a half-oval shape of white fabric starting at the seam just under the neck and truncating at the bottom hem. Cut your fabric for each side of the belly by overlapping an inch beyond the zipper, leaving an inch at the top and bottom and leaving only 1/4″ seam allowance on the final edge.
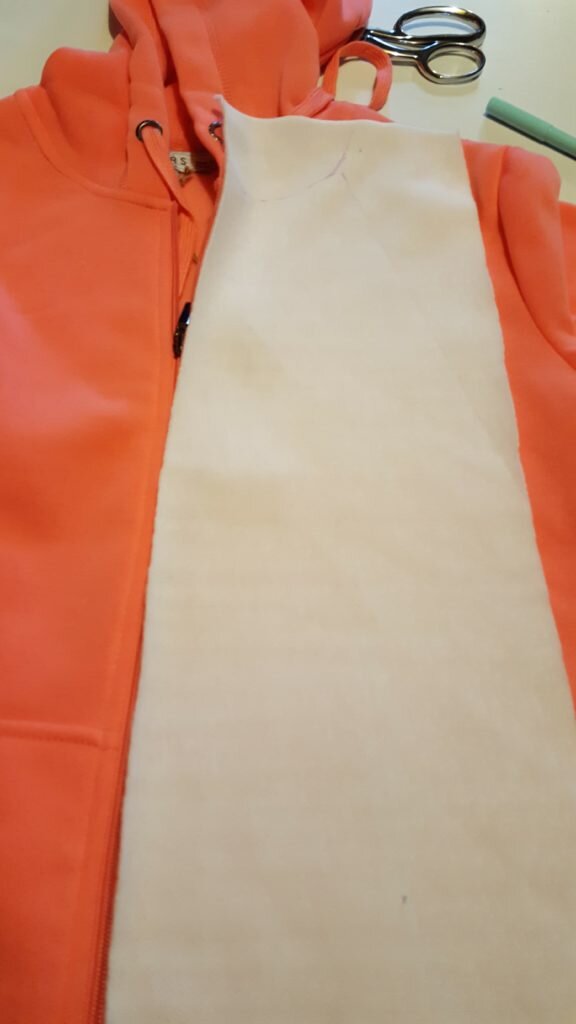
Measure belly for sweatshirt.
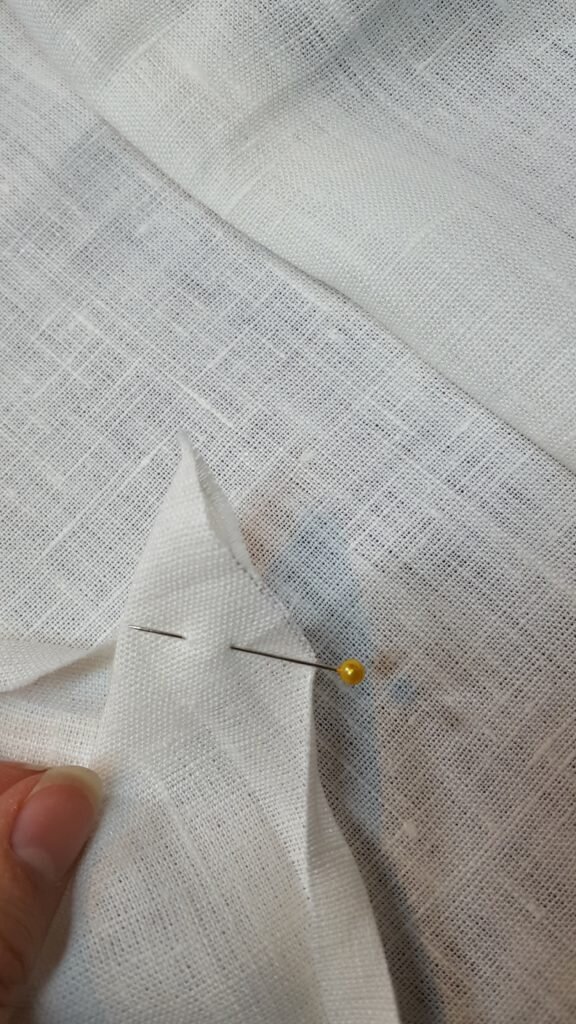
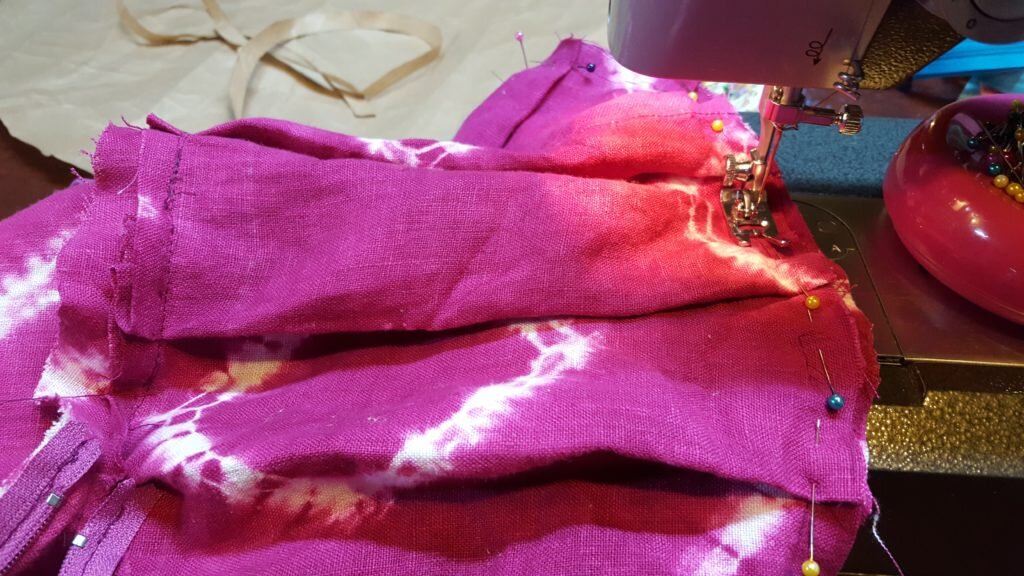
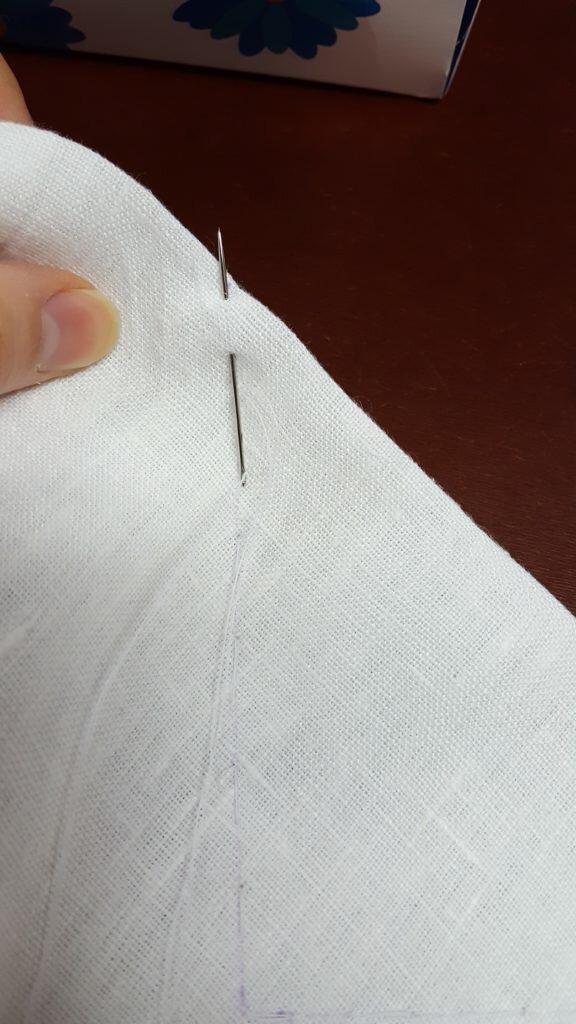
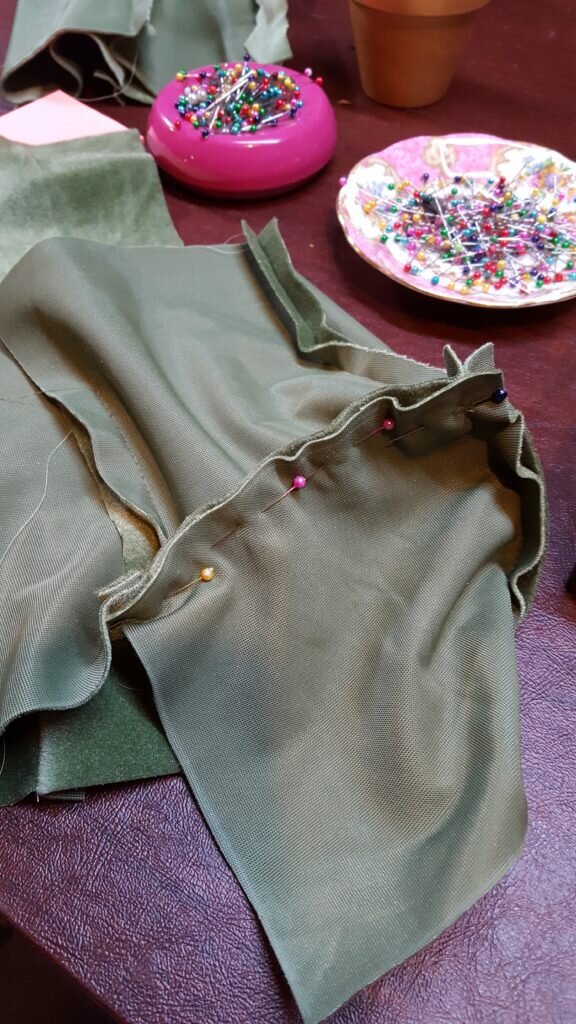
- Remove the pockets if you have any then pin one belly side to the sweatshirt.
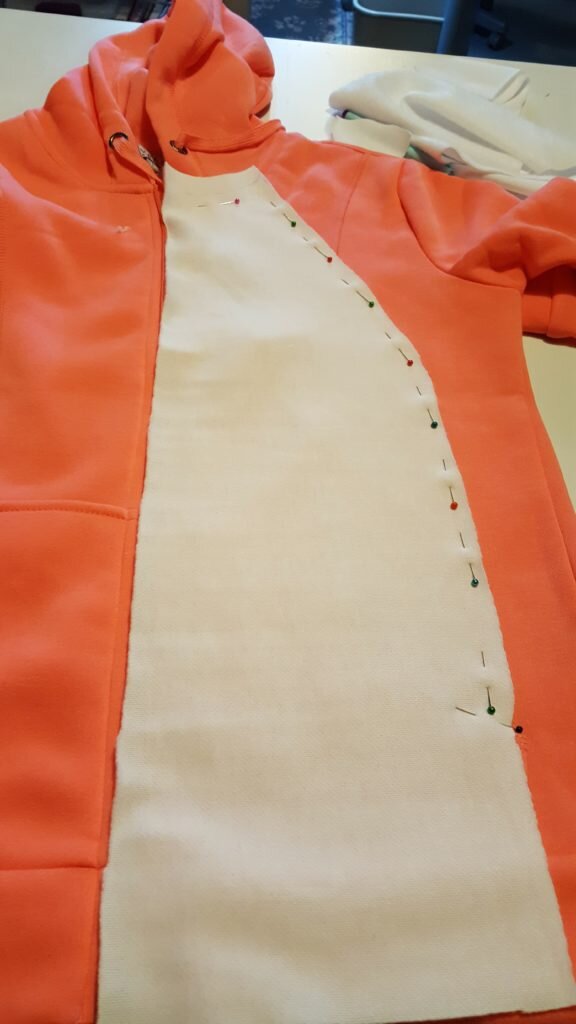
Pin belly to sweatshirt.
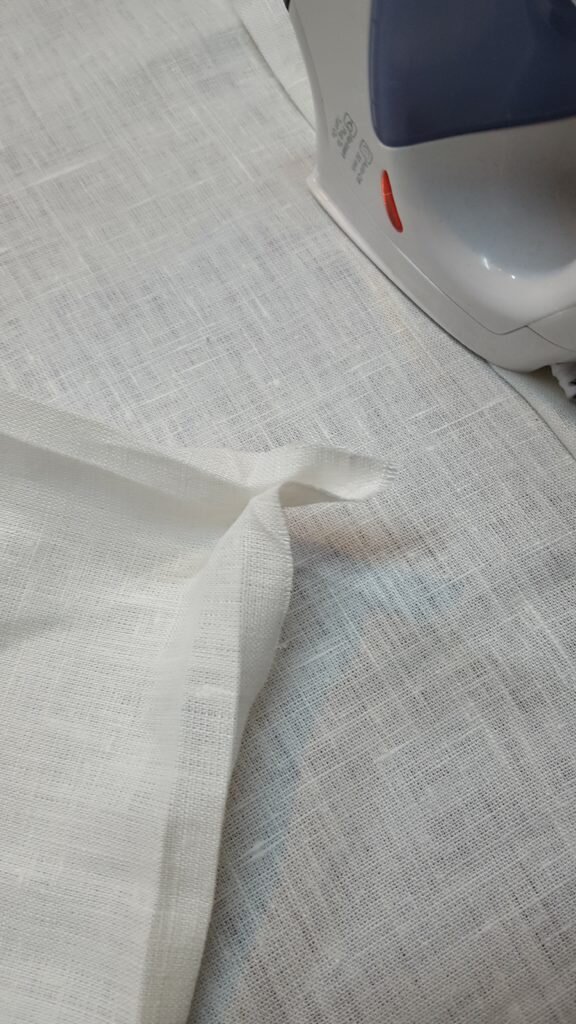
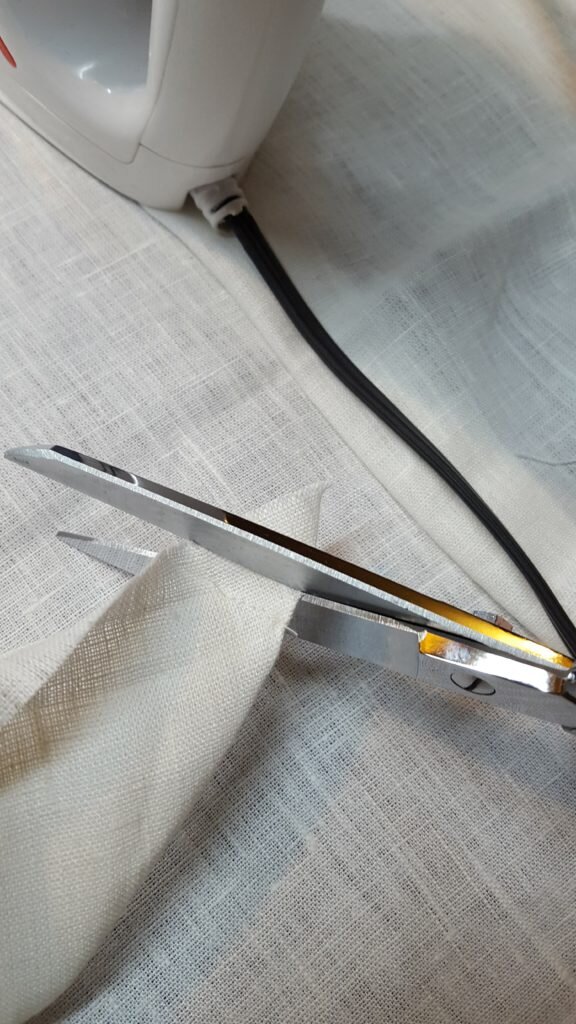
- Seam rip the zipper area to encompass the belly piece. You will use the 1″ seam allowance you added to fold the white material over the original material and form the zipper casing.
- Seam rip the seam at the bottom of the hoodie so you can tuck the belly fabric into this seam. Repeat for the seam attaching the body of the sweatshirt to the hood.
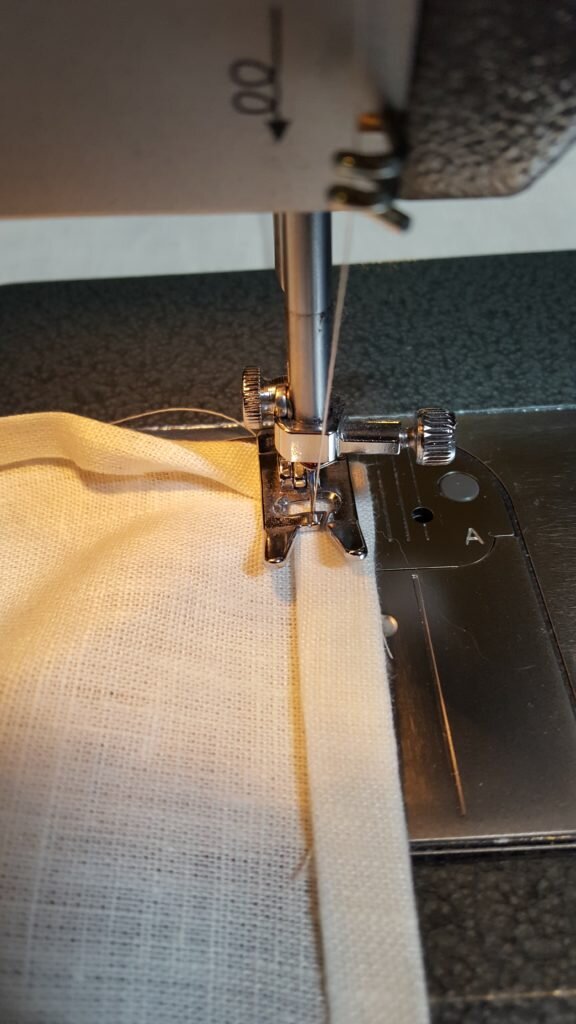
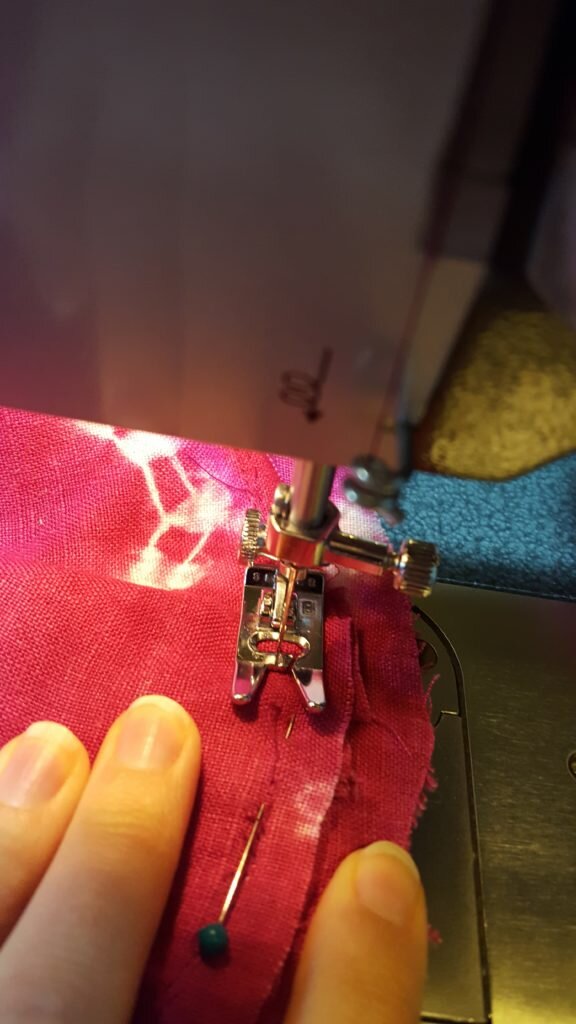
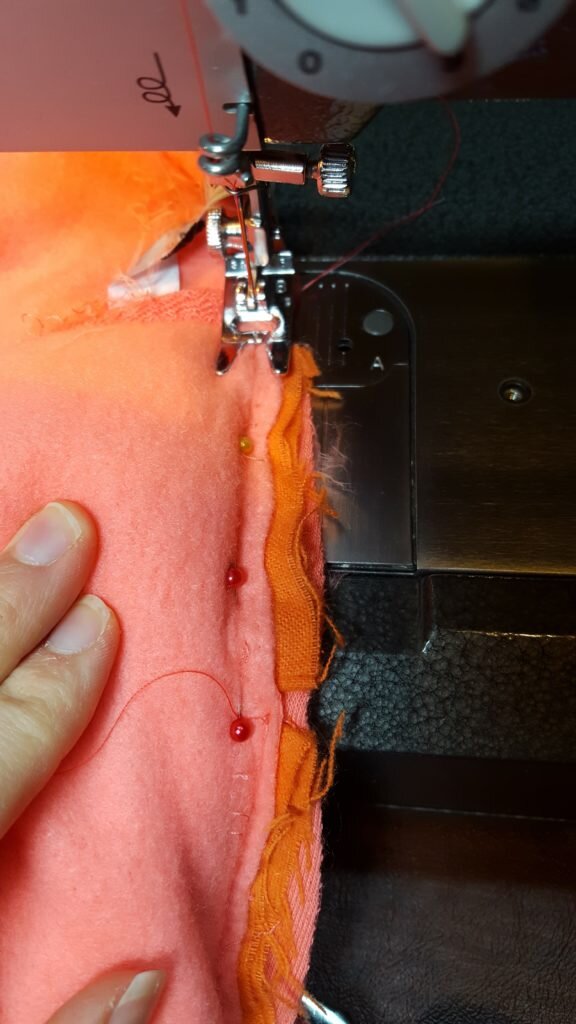
- Switch your machine to zig-zag stitch and a medium stitch width. Starting at the top where you seam ripped, fold the edge of the belly fabric under 1/4 inch and zig-zag stitch to the hoodie. Continue along the entire outside seam of the belly until you get to the bottom seam that you ripped.
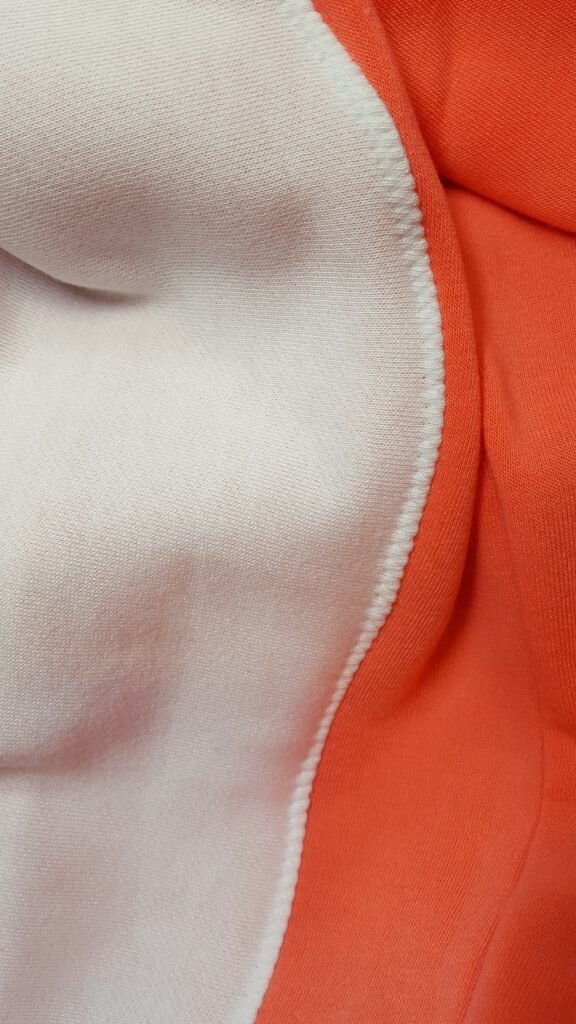
Zig-zag stitch the belly to shirt, folding under 1/4″.
- At the bottom seam, reconstruct the seam by pinning the bottom band to the sweatshirt edge, but this time sandwich in between the white fabric. Pin and stitch using a straight stitch.
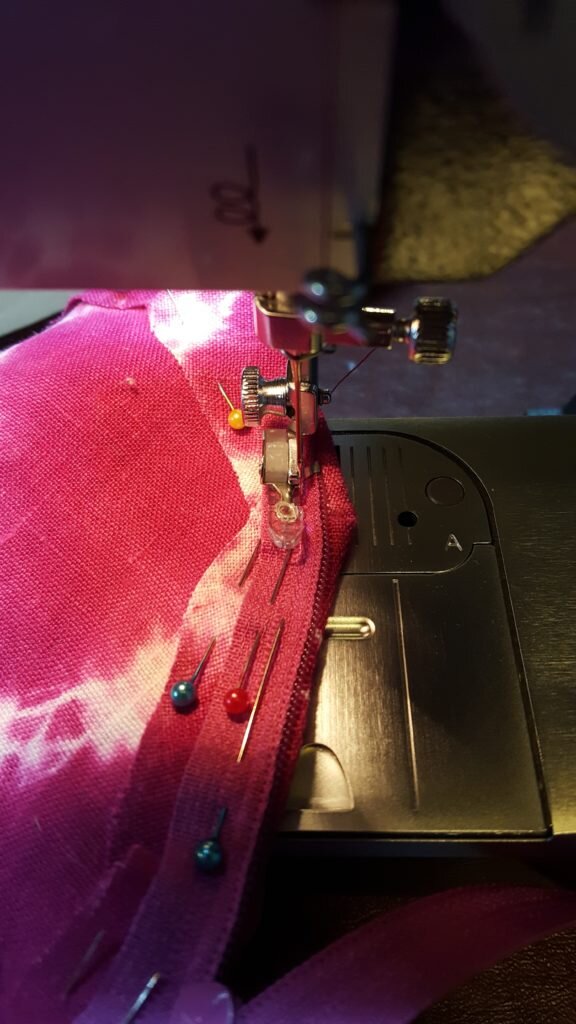
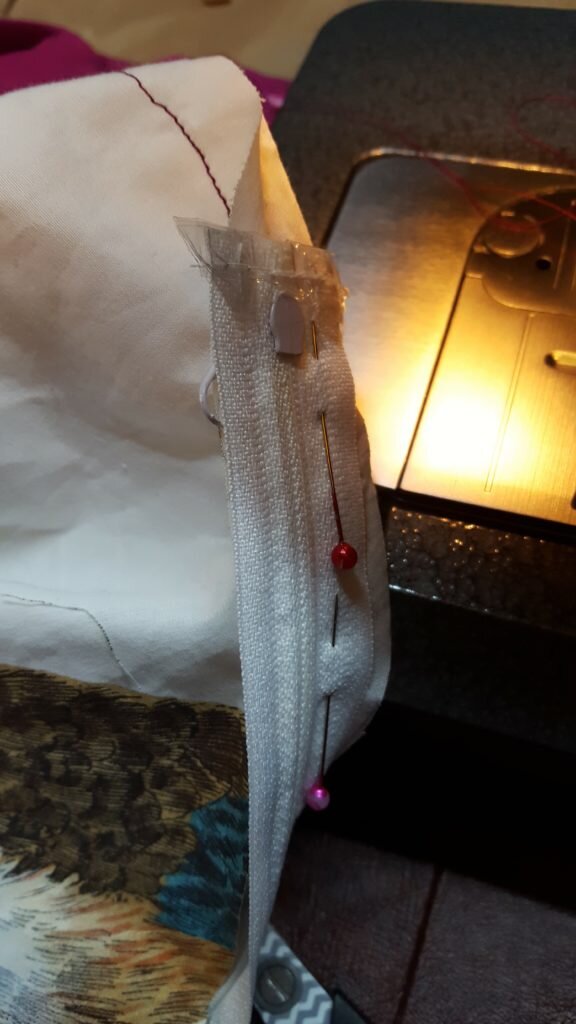
- At the zipper seam, Pin the layer of original sweatshirt material and the white fabric to the zipper, right sides together as shown below.
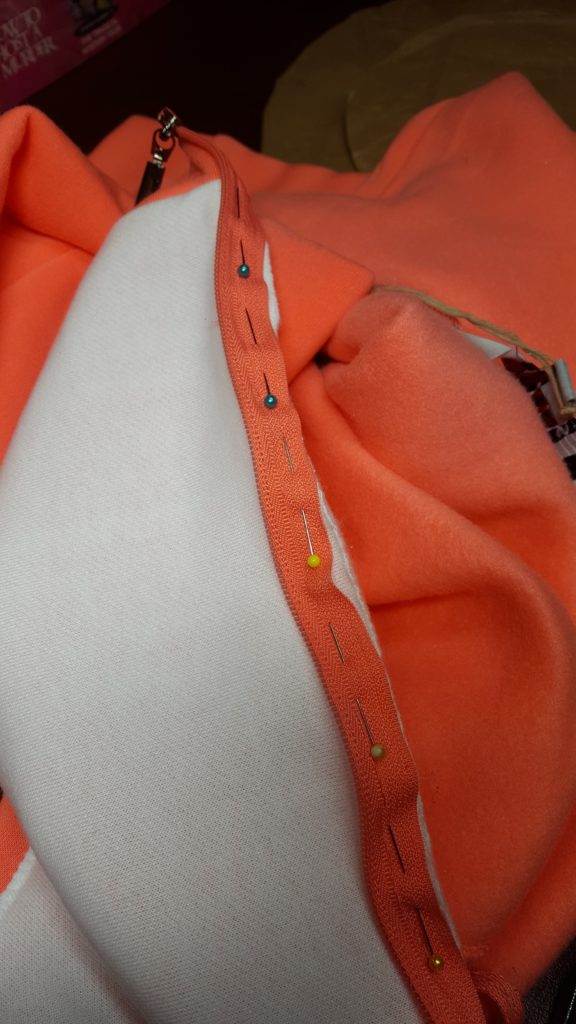
Pin zipper to belly fabric and original sweatshirt fabric.
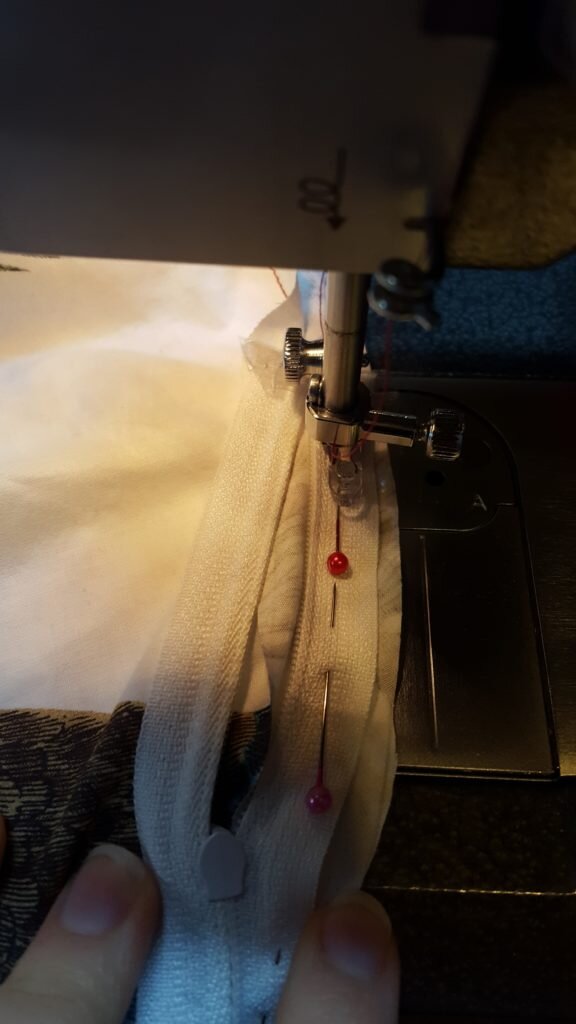
- Using a zipper foot stitch very close to the zipper teeth.
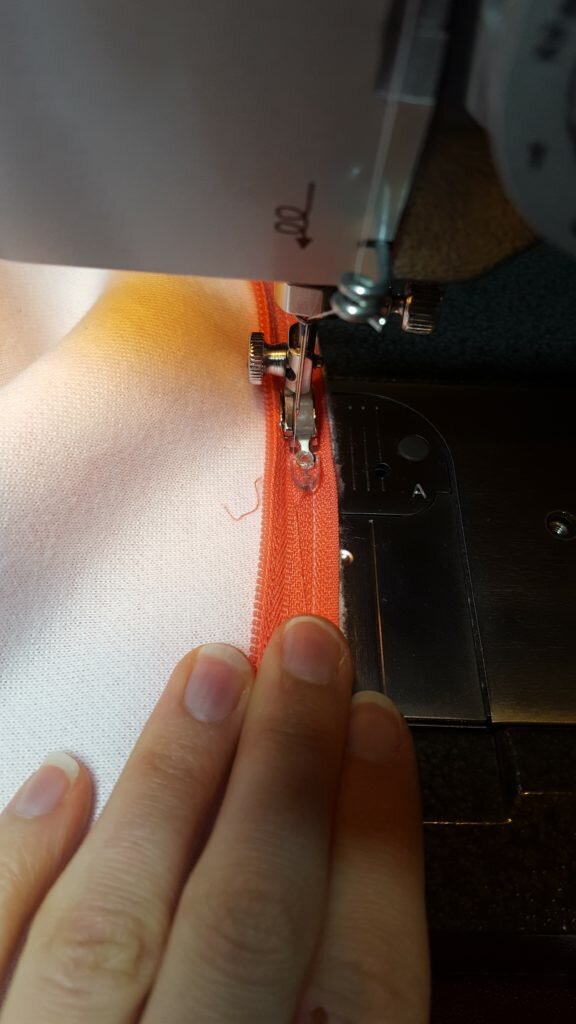
Stitch close to the zipper teeth.
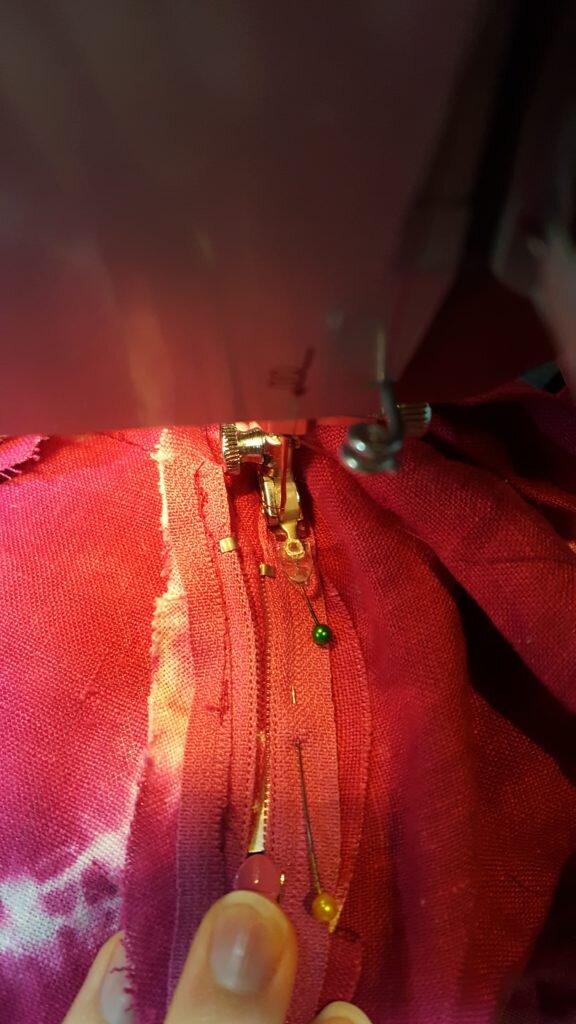
- Fold under and then stitch on the right side of the fabric, catching both layers of sweatshirt material and the zipper again.
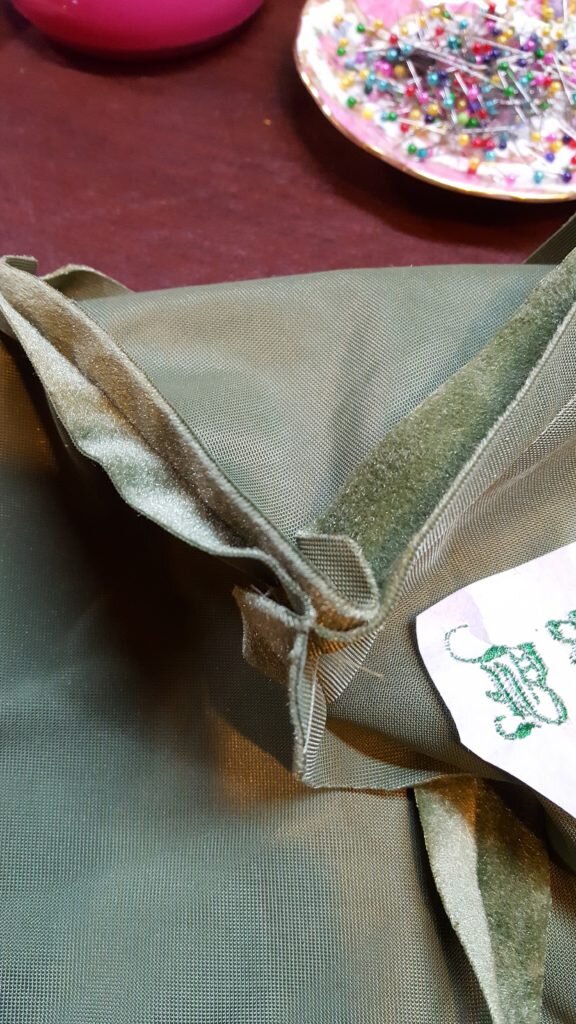
- At the neck of the sweatshirt the creators did something fancy. They used a piece of bias tape to finish the seam and cover the unfinished edge of the zipper above the top zipper stops.
- Here you’ll want to pin and stitch the hood layer to the body sweatshirt layer, right sides together, sandwiching in the white piece. On top of that you’ll want to lay your bias tape on this line, but don’t line up the bias tape with the edge of the other fabrics. You’ll want to stitch along the opposite edge so you can fold it up to cover the seam. Make sure you stitch the top of the zipper tape (just above the teeth) onto the bias tape as well.
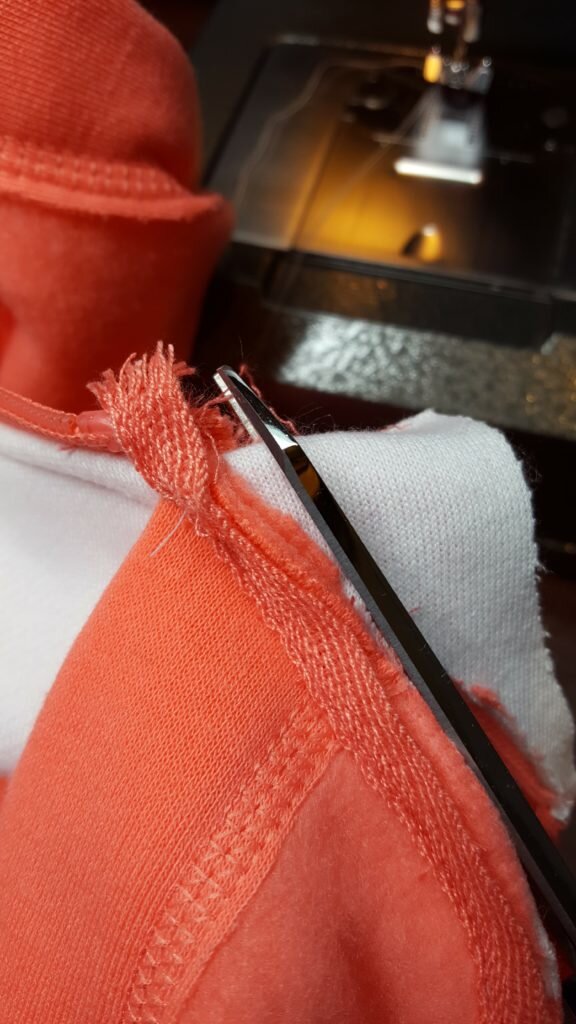
Stitch belly to neck seam and cover with bias tape. Trim.
- Trim seam allowance to 1/4″. Fold the bias tape over seam allowance to cover it and tuck the end of the bias tape (the portion attached to the zipper tape) under. Stitch along the bottom edge through all layers (this will show on the outside of the fabric).
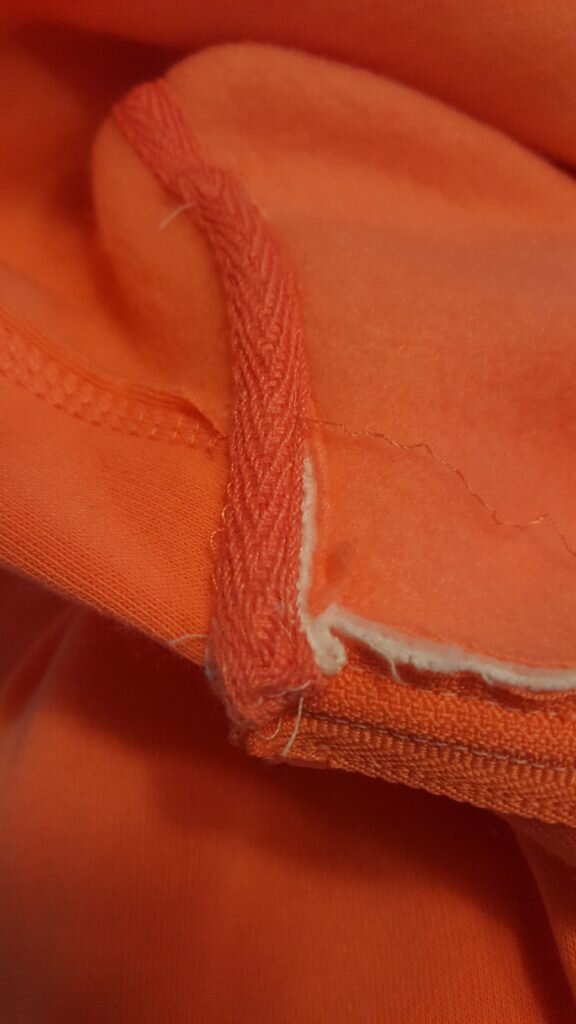
Fold bias tape under at zipper tape. Stitch.
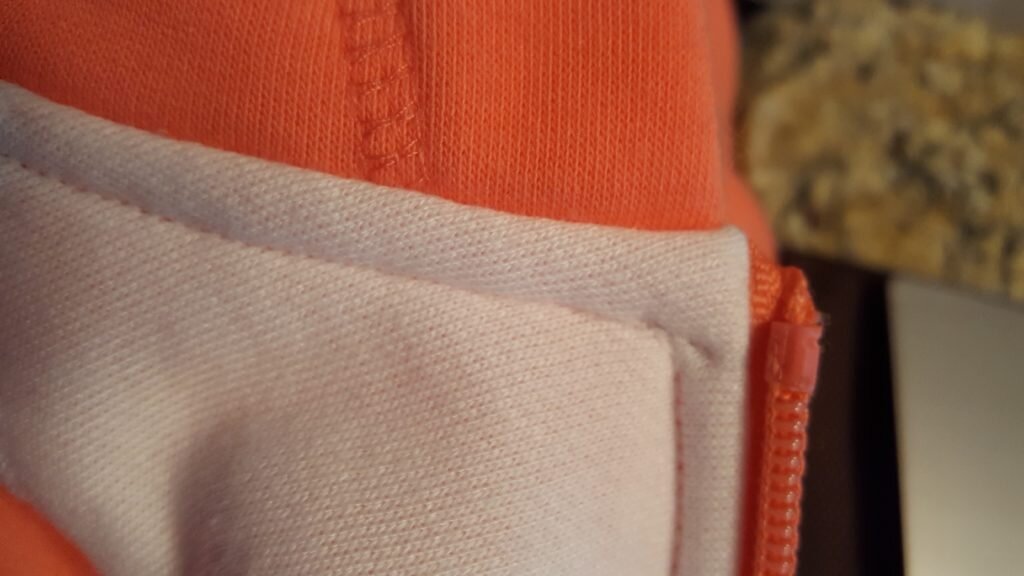
View of stitching from the outside.
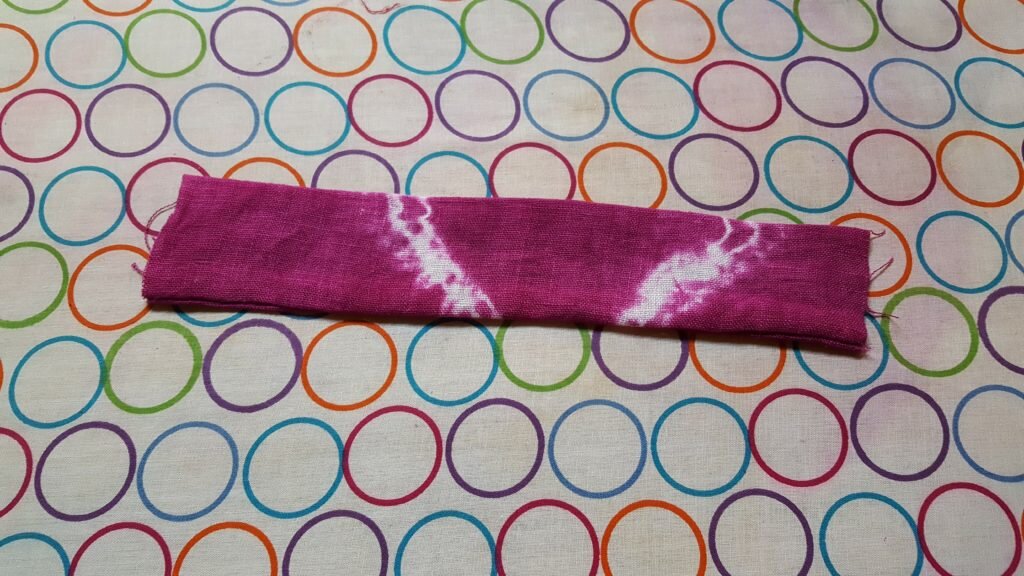
- Next make the spines on Yoshi’s back. Cut 6 horseshoe shaped pieces of red fabric. (The size will again depend on your sweatshirt size. Make sure to allow for 1/2″ seam allowance all around.
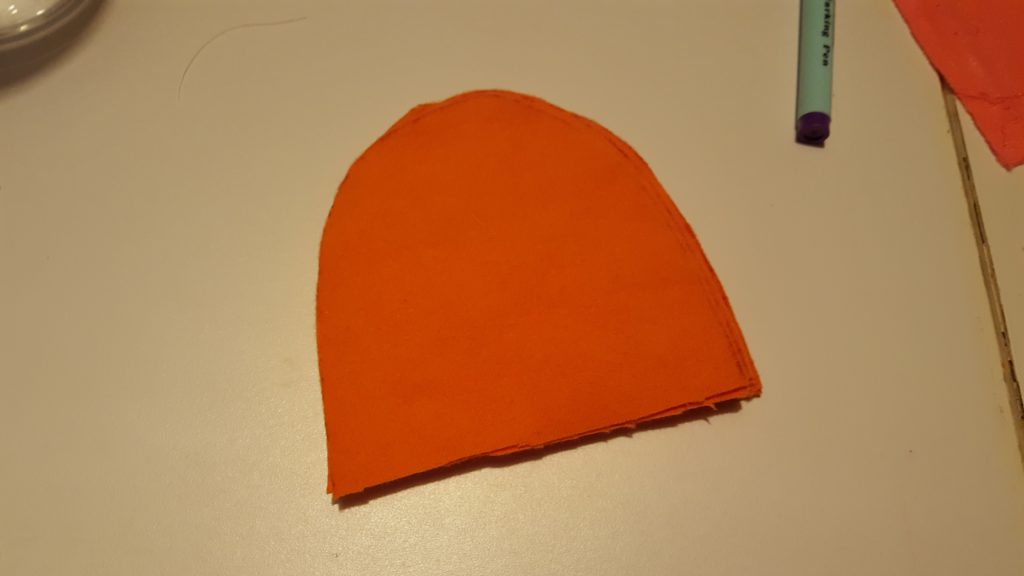
Cut 6 horseshoe shapes for the spines.
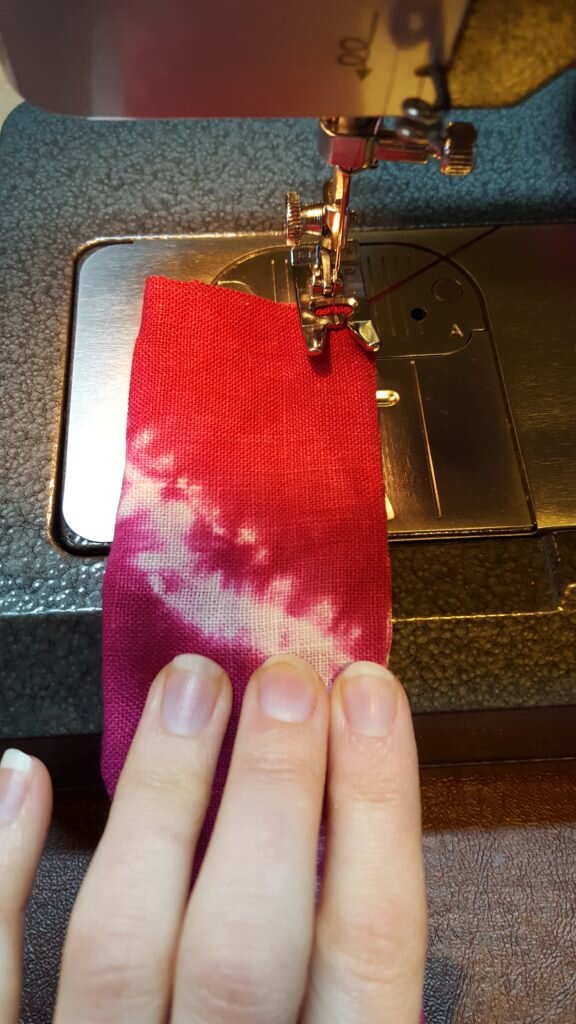
- Stitch around the curve of the horseshoe and clip curves.
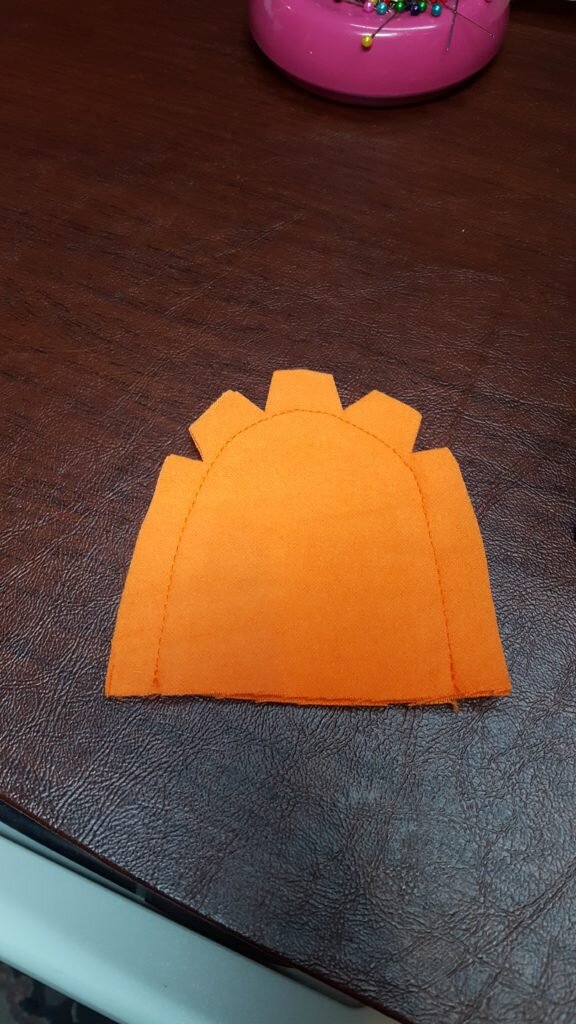
Stitch and clip curves.
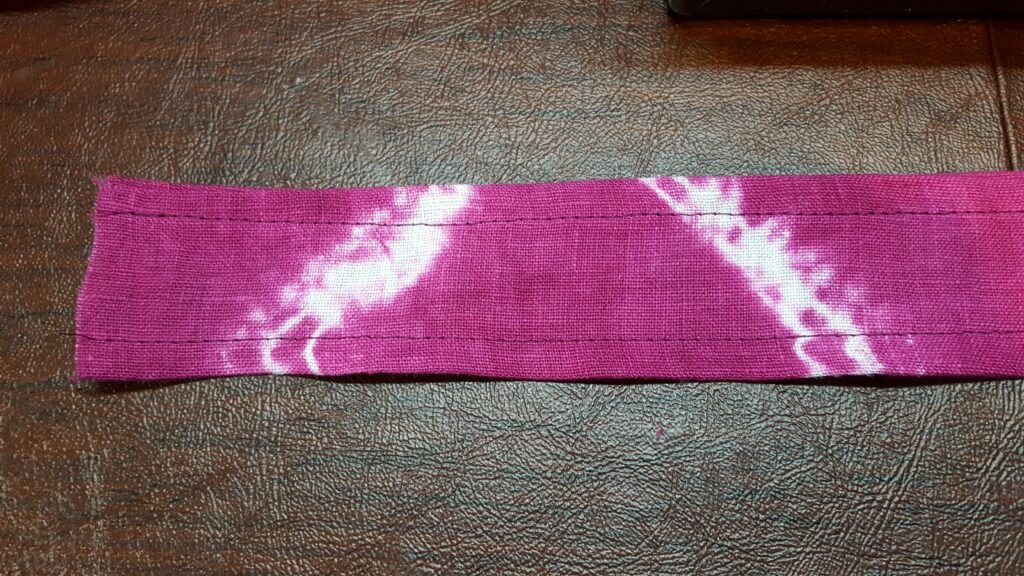
- Turn inside out and stuff. You want them to be firm.

Flip right side out and stuff.
- Pin the spines to the hood, aligning them where you want them to go.

Position spines on hood.
- Seam rip the hood at the location for each spine.
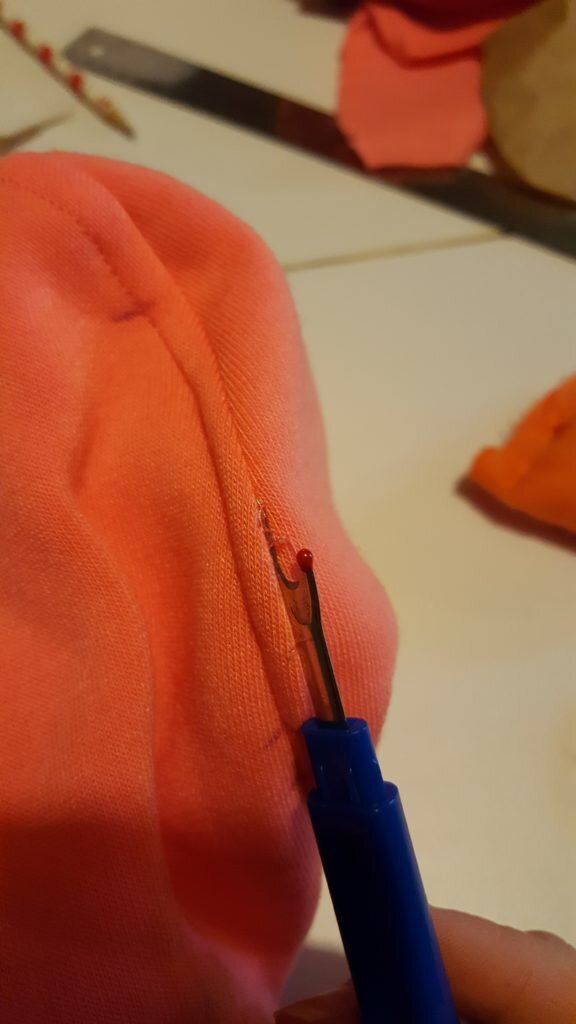
Seam rip the hood at the location for each spine.
- Insert the spine into the seam you just seam ripped, right sides together. Stitch.
Insert spine into seam you ripped. Stitch.
- Mark the location for your saddle (the little turtle shell on Yoshi’s back). It should be right above the bum on your lumbar spine (IMHO).
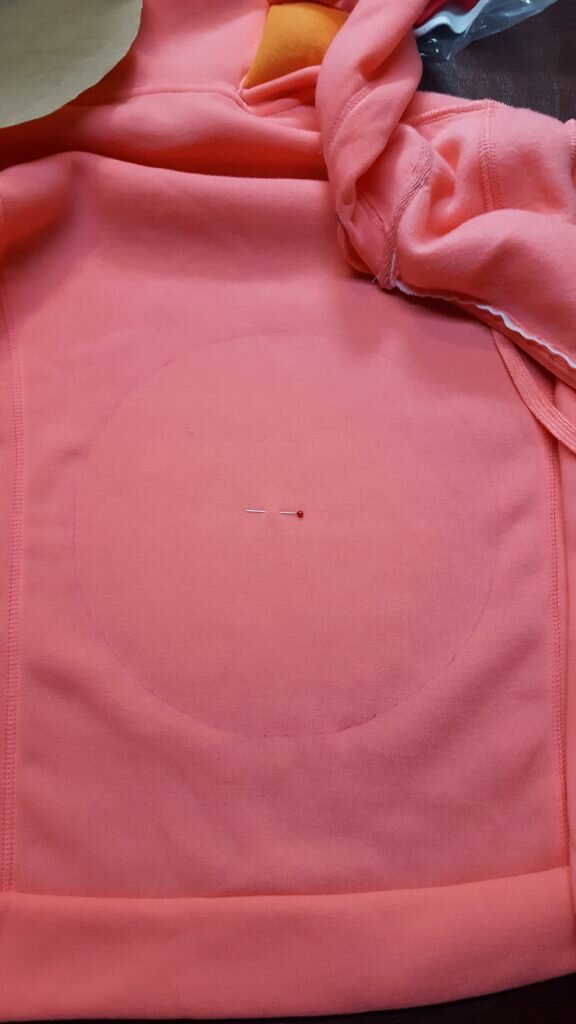
Mark saddle location.
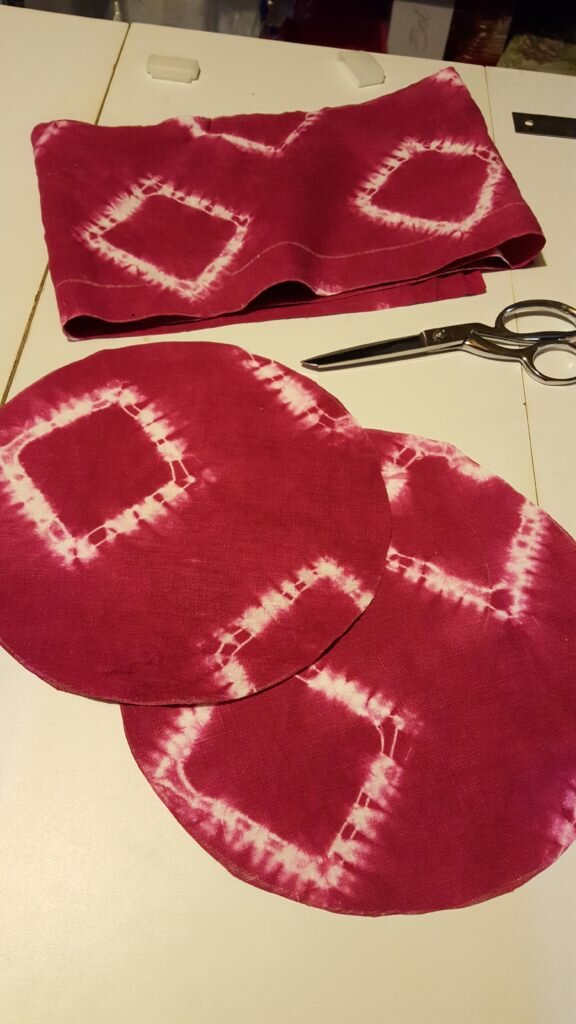
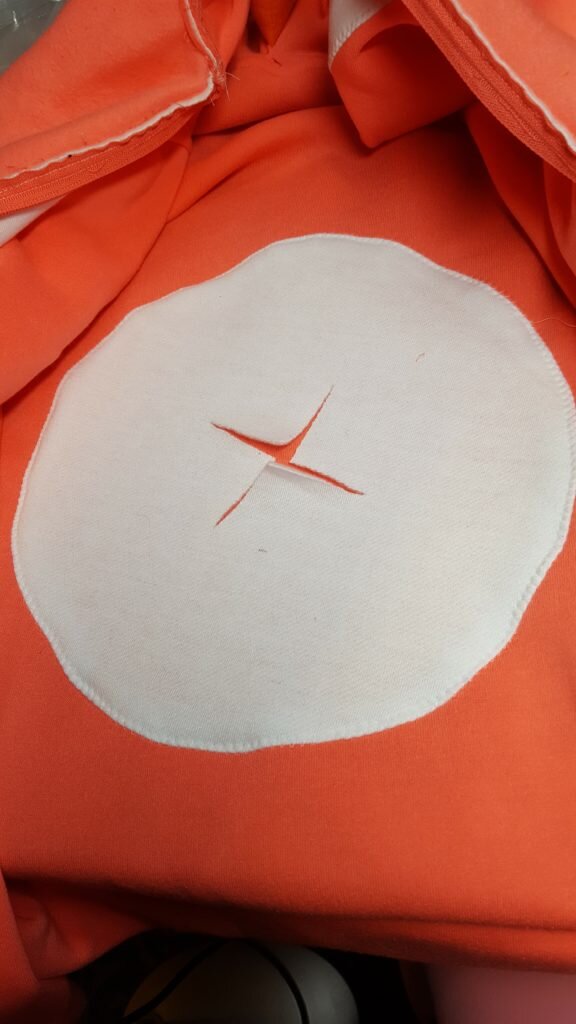
- I made my saddle 10″ wide. Cut a piece of red fabric the width of your circle, and a piece of white fabric 1/2″ larger than the width of your circle. Cut a 4″ wide “x” in the center of your white circle.
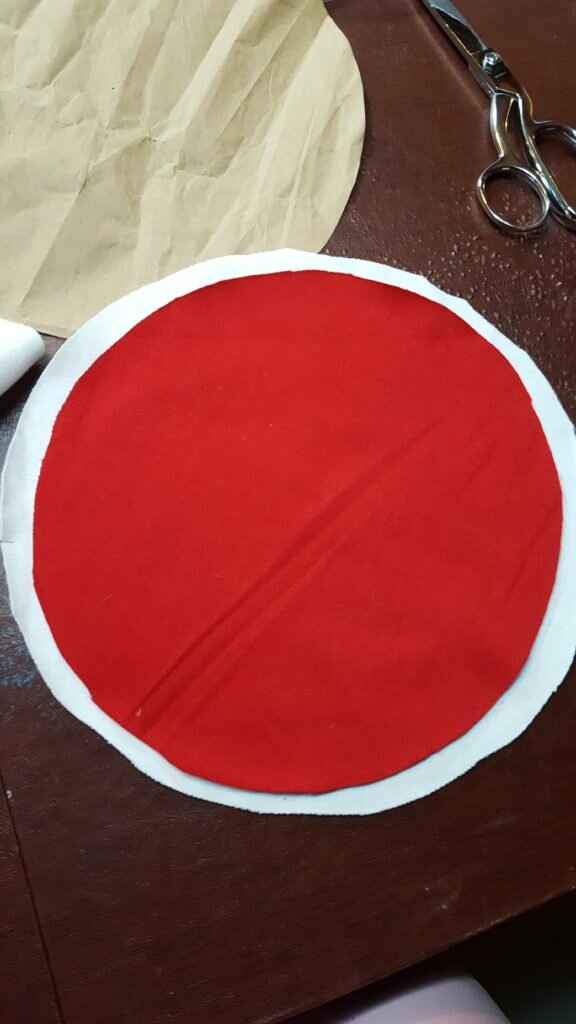
Cut circles for saddle.
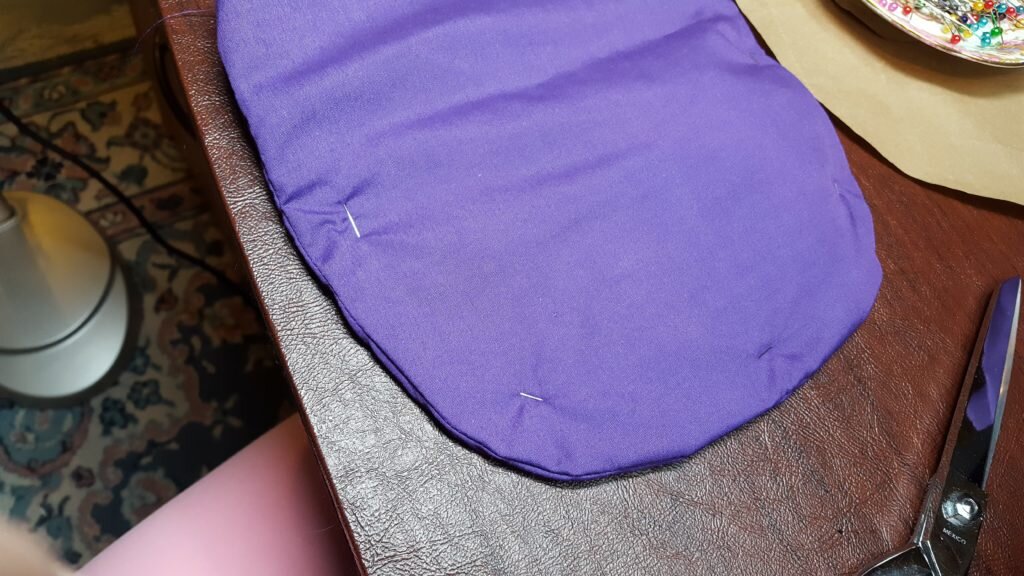
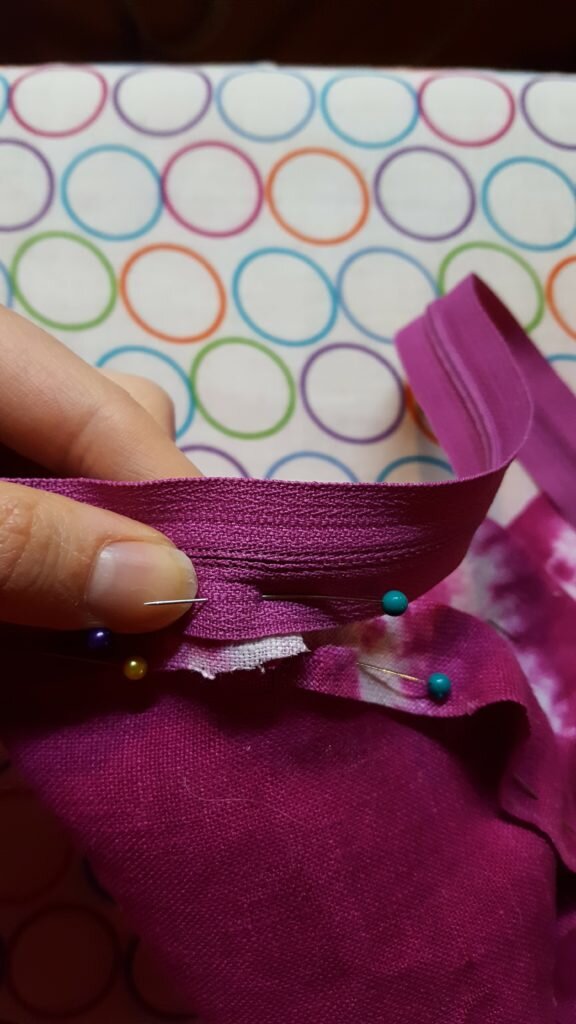
- Pin the white fabric to the back of the sweatshirt, tucking under 1/4″ seam all around.
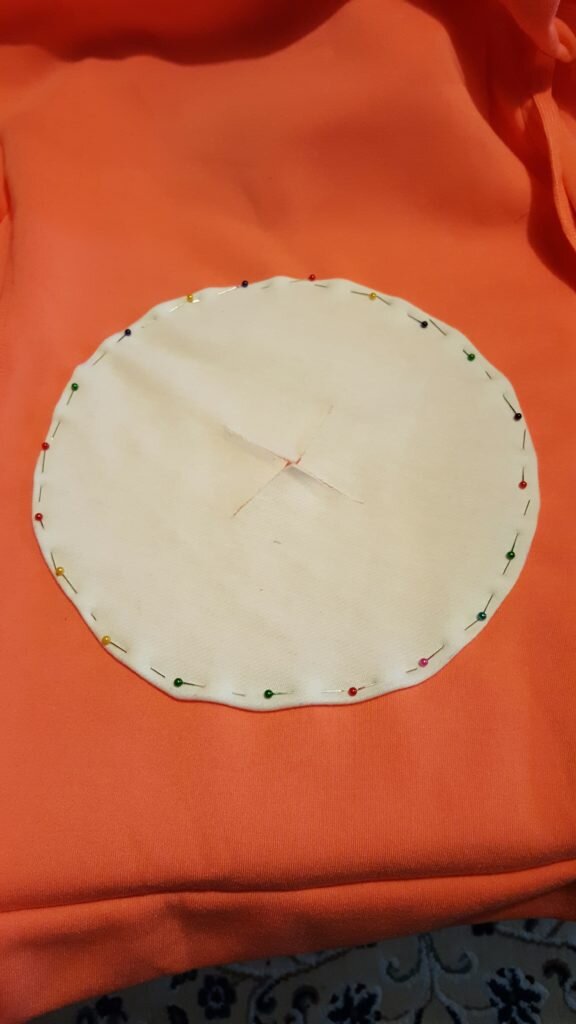
Pin white circle to sweatshirt, tuck under 1/4″
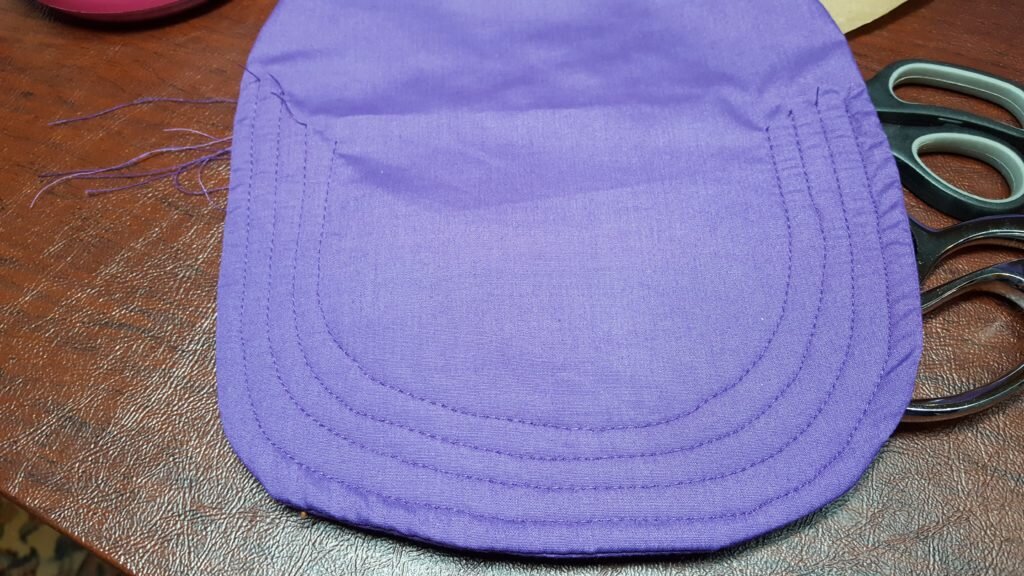
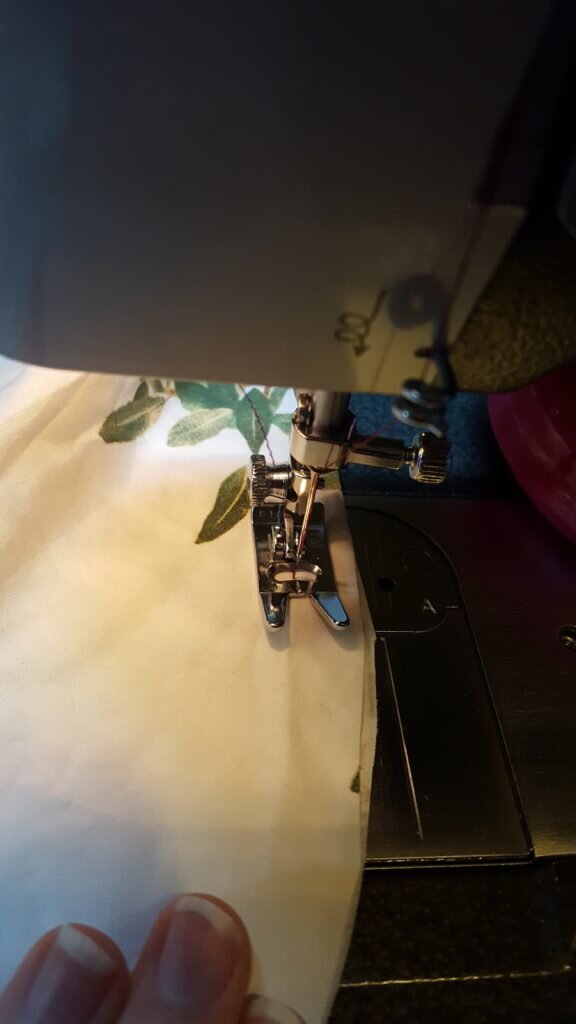
- Using a zig-zag stitch as in step 5 stitch around the circle.
Zig zag around the circle
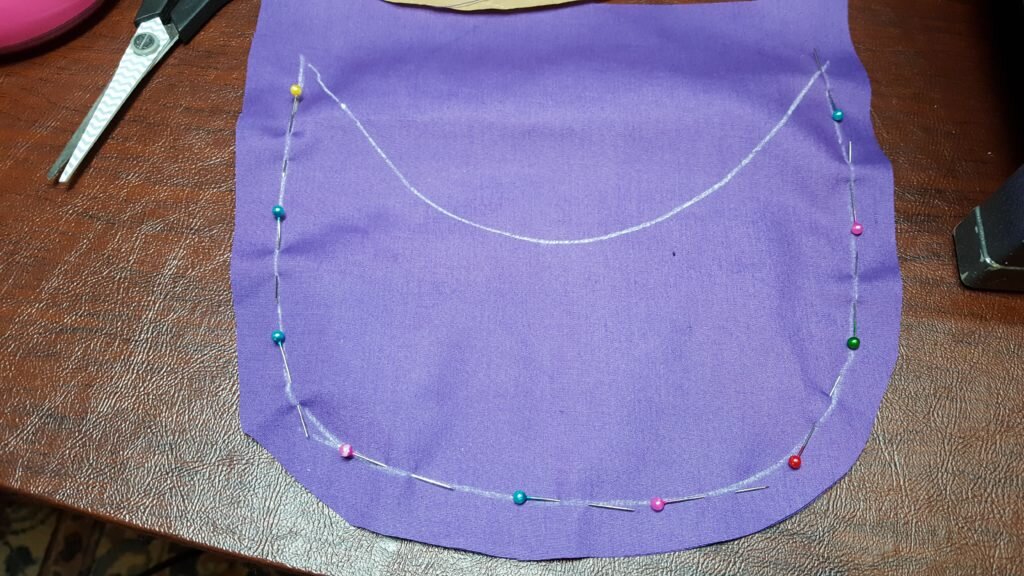
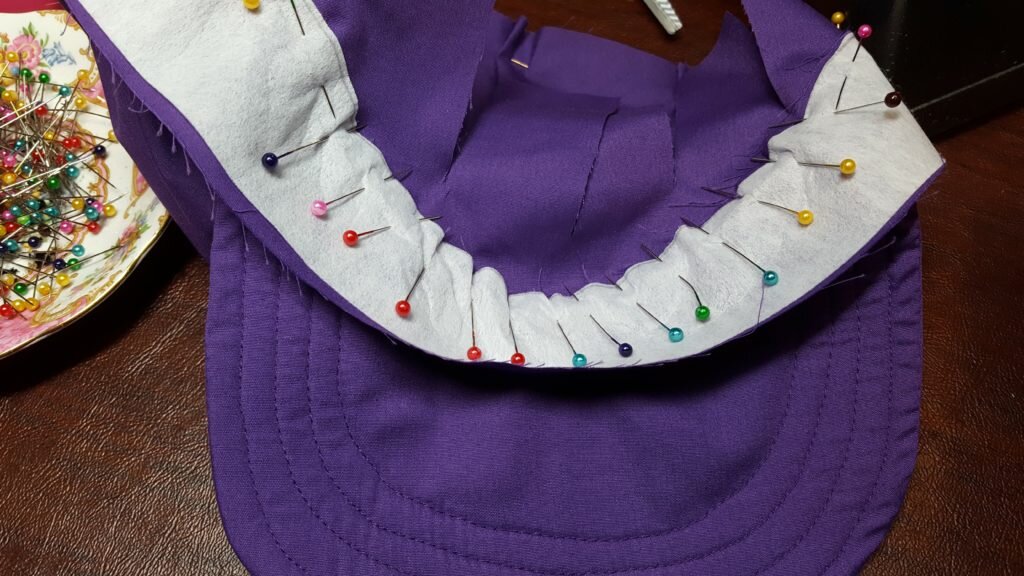
- Stuff the white circle with a small amount of stuffing through the “x”. Pin to hold the filling in. It should resemble a skinny donut shape. Stitch along your pin line.
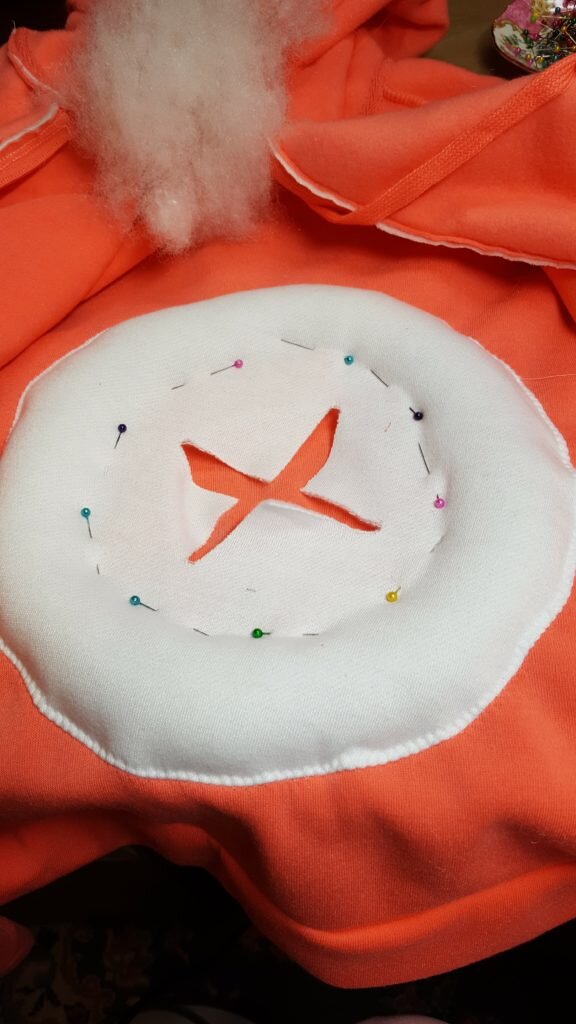
Stuff the circle in a donut shape. Pin.
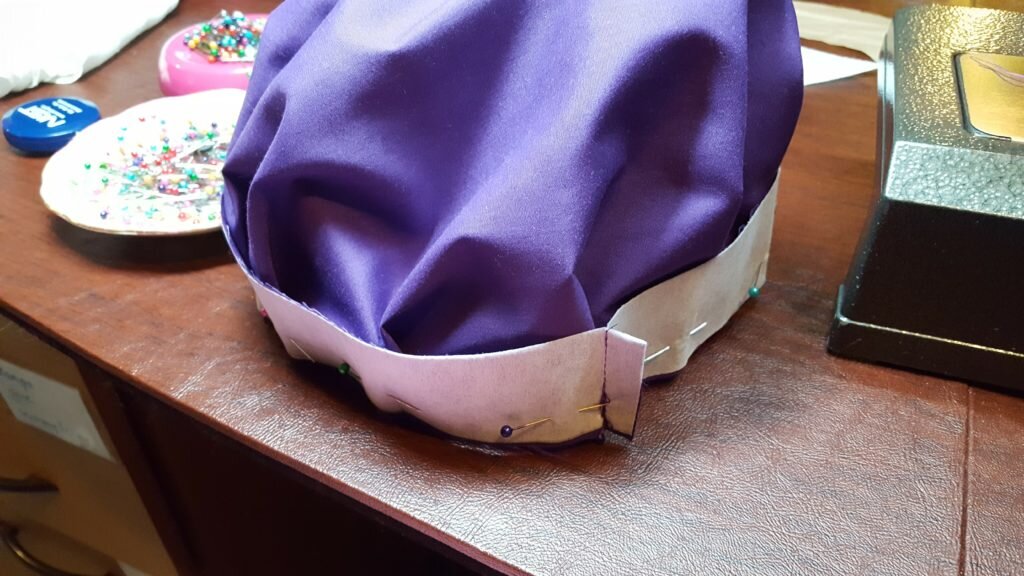
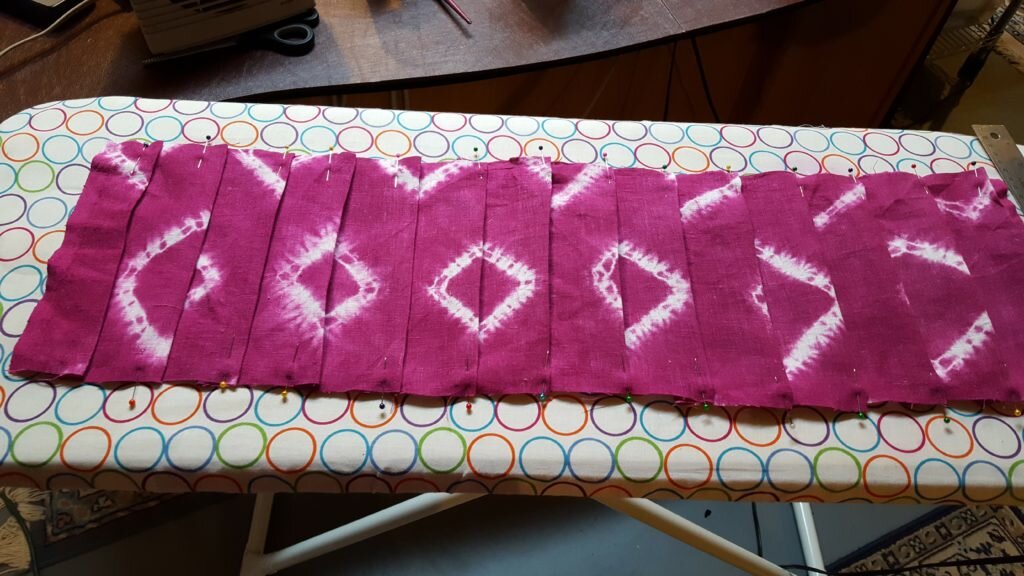
- Take your red circle and fold it into quarters. Mark the circle at the quarters.
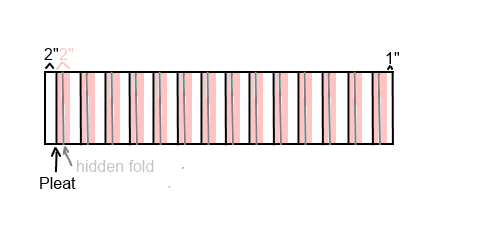
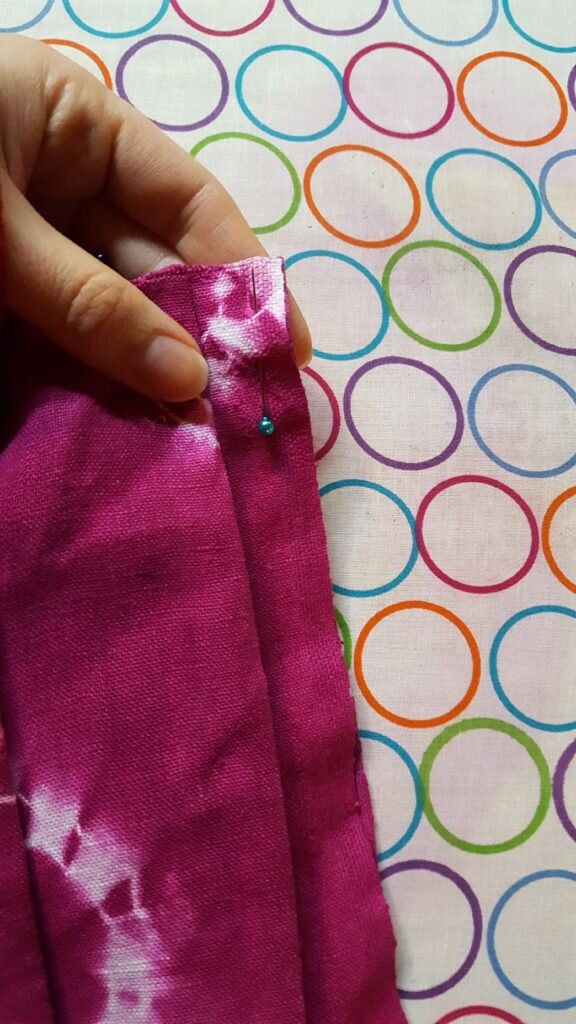
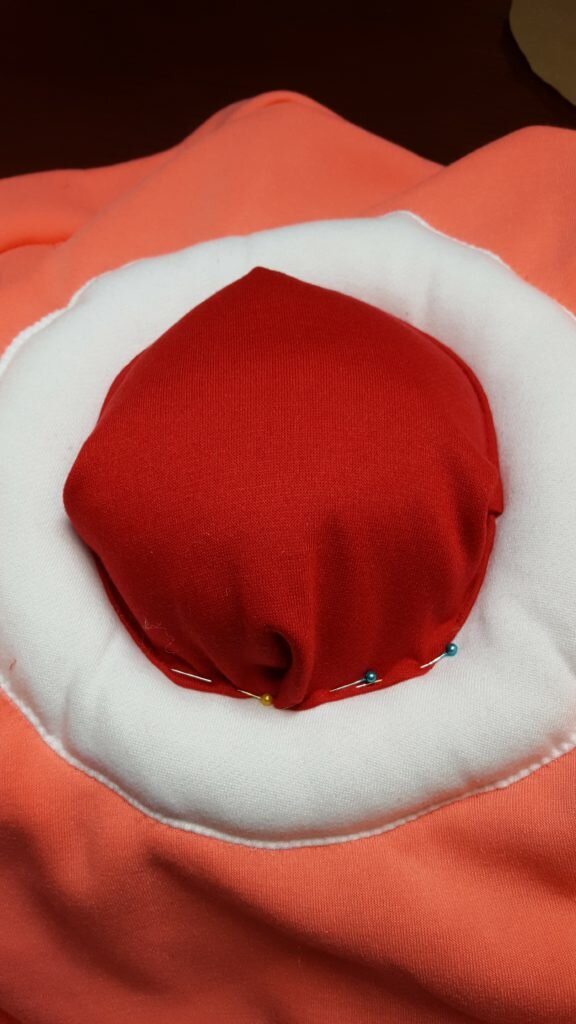
- Form a 1″ deep pleat on each quarter-mark. (Note I think it would look a bit better if you used smaller pleats spread out across the whole circle, but I was in a rush.)

Pin 1″ deep pleats at each quarter mark in shell.
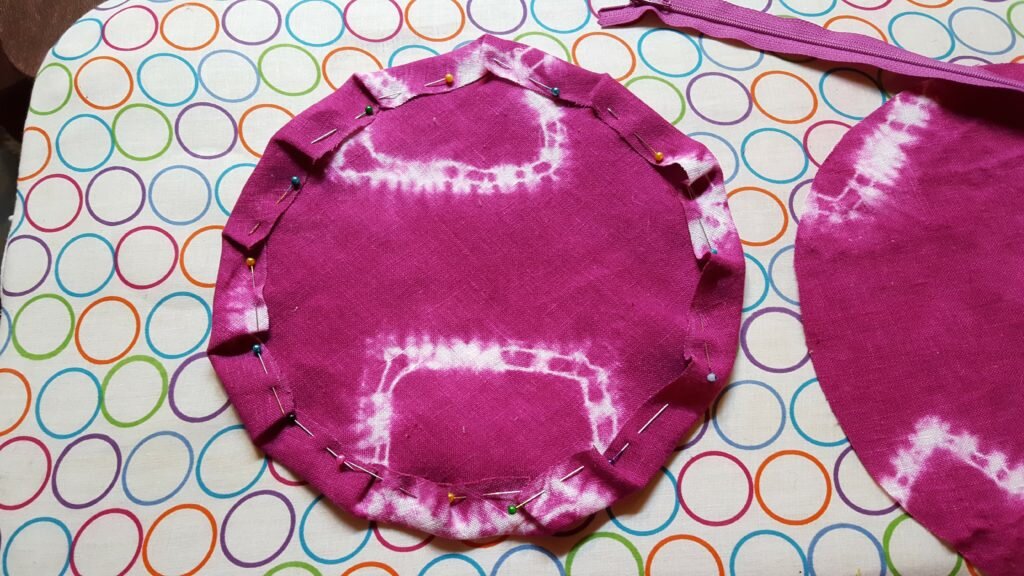
- Pin the red portion of the shell to the white donut, folding under 1/4″. If your circle is too wide or too small, adjust the pleats as necessary to accommodate the circumference.
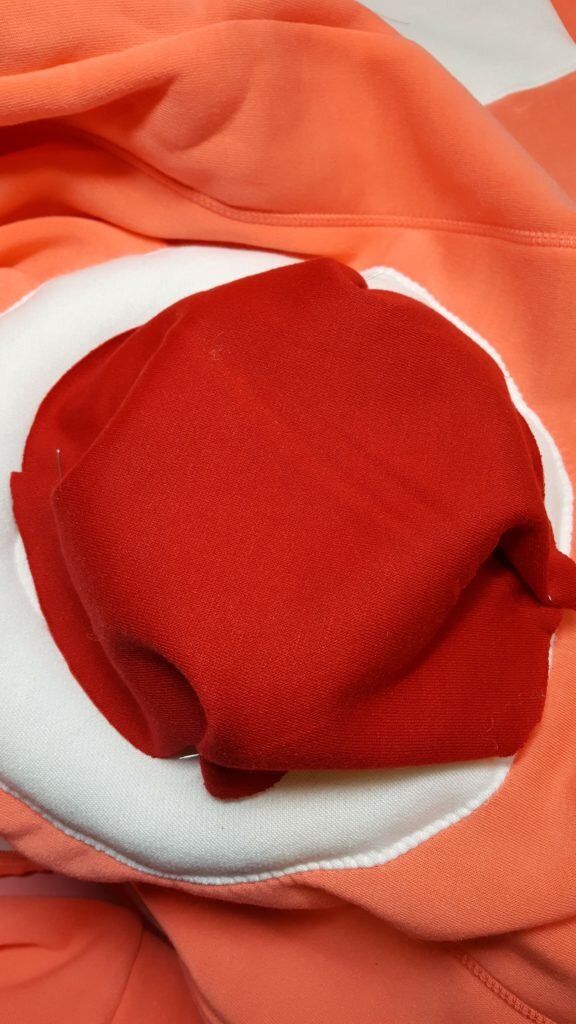
Pin red circle to white, leaving a gap for stuffing.
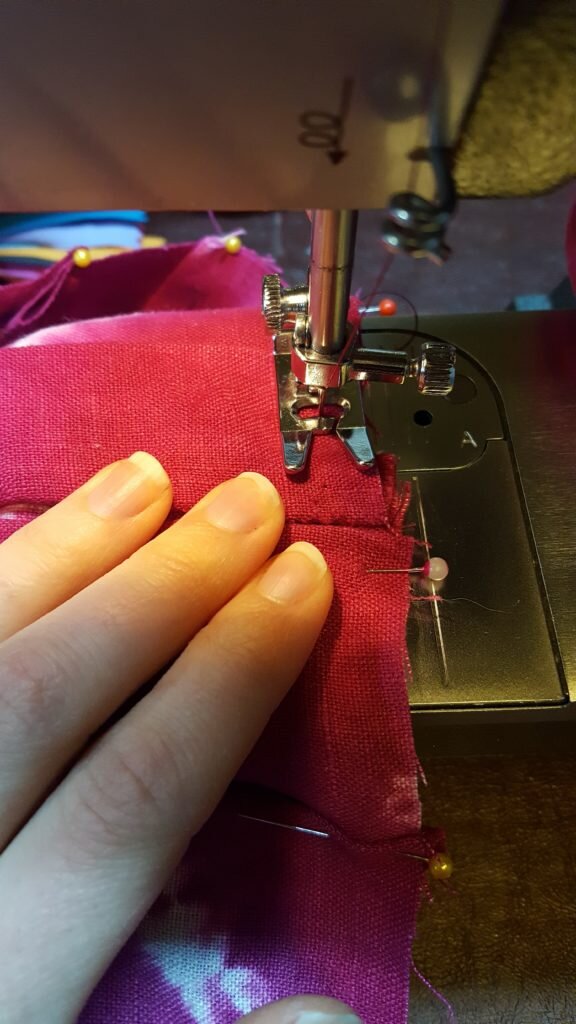
- Stitch very close to the perimeter, leaving a 2″ gap for stuffing.
- Stuff.
Stuff.
- Stitch gap closed.
Wear with pride! And correct people that you aren’t birdo!