
This was my first week back at work after 9 weeks off. Let me just say, it was really, really rough getting up the first day. Not to mention that I spent the entirety of last week dreading going back, so that was a waste of a week! I’m starting to get back into the swing of things, but I have such a backlog of gifts I wanted to get done for Christmas that I made daily sewing appointments in my calendar for craft projects. Get ready for some great Christmas projects in the coming weeks!
We had our first real snowfall today so its really starting to feel like winter. That and I’m curled up by the fire with a glass of wine writing this post. While I’m sitting here reminiscing I thought I’d point you to some past blog entries with cute quick Christmas gifts you could make in a pinch (each takes <1 hour to create)! I hope they inspire you to create this Christmas!
For your fit and fabulous friends:

Running Belt for your keys and cell phone
For someone you’d like to pamper:
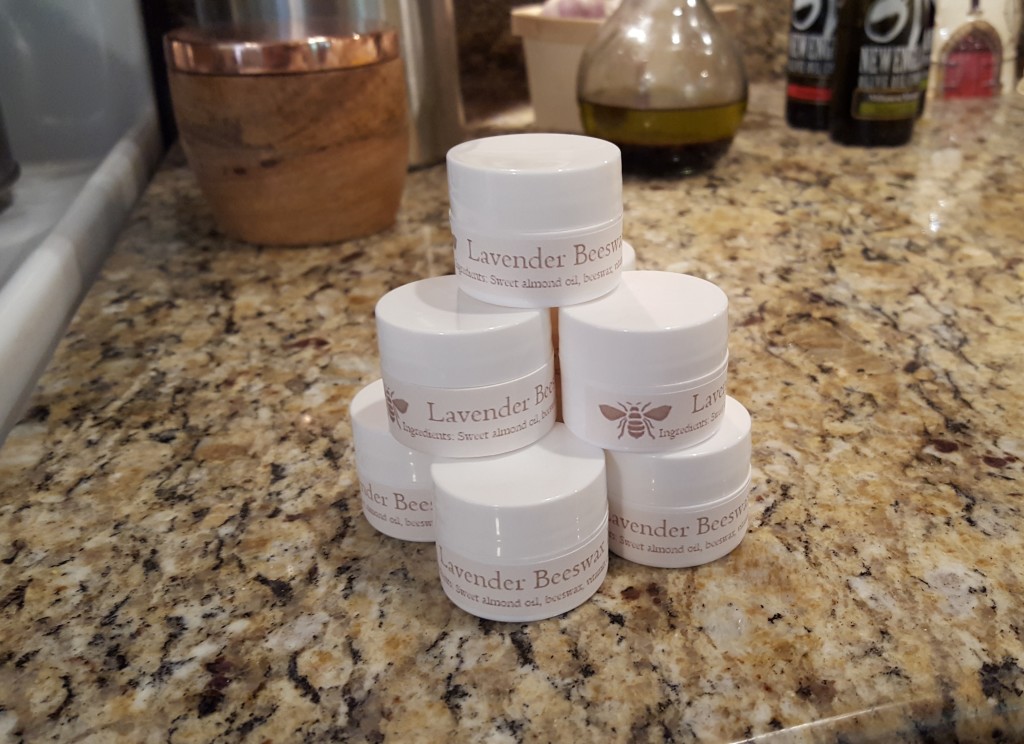
Homemade lip balm
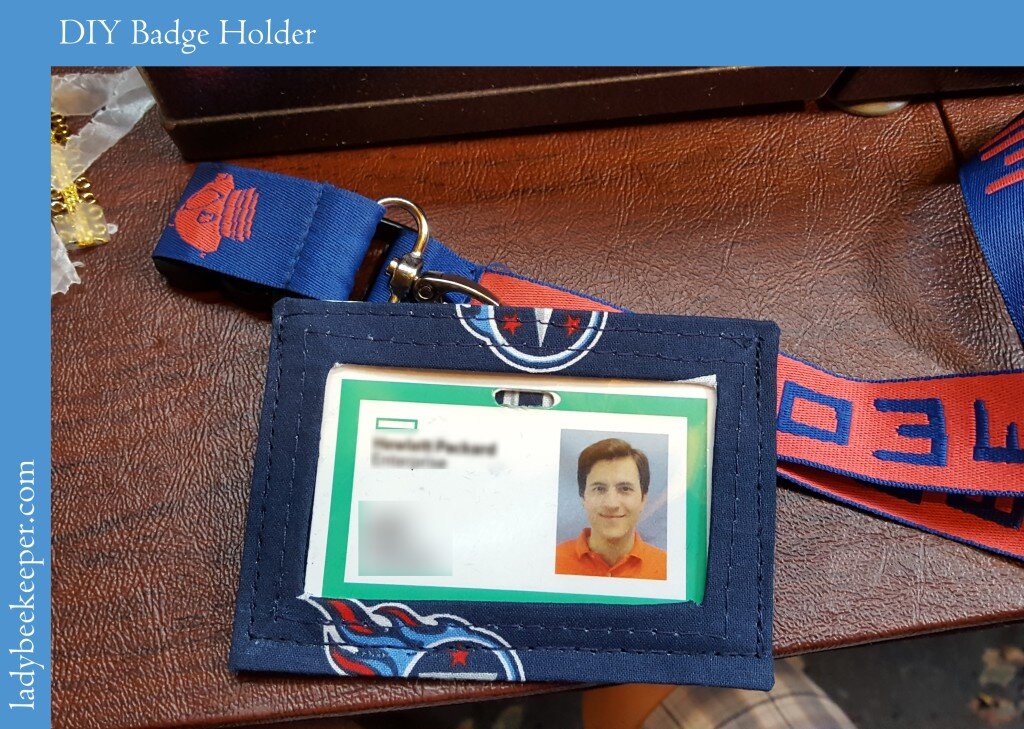
For your co-workers:
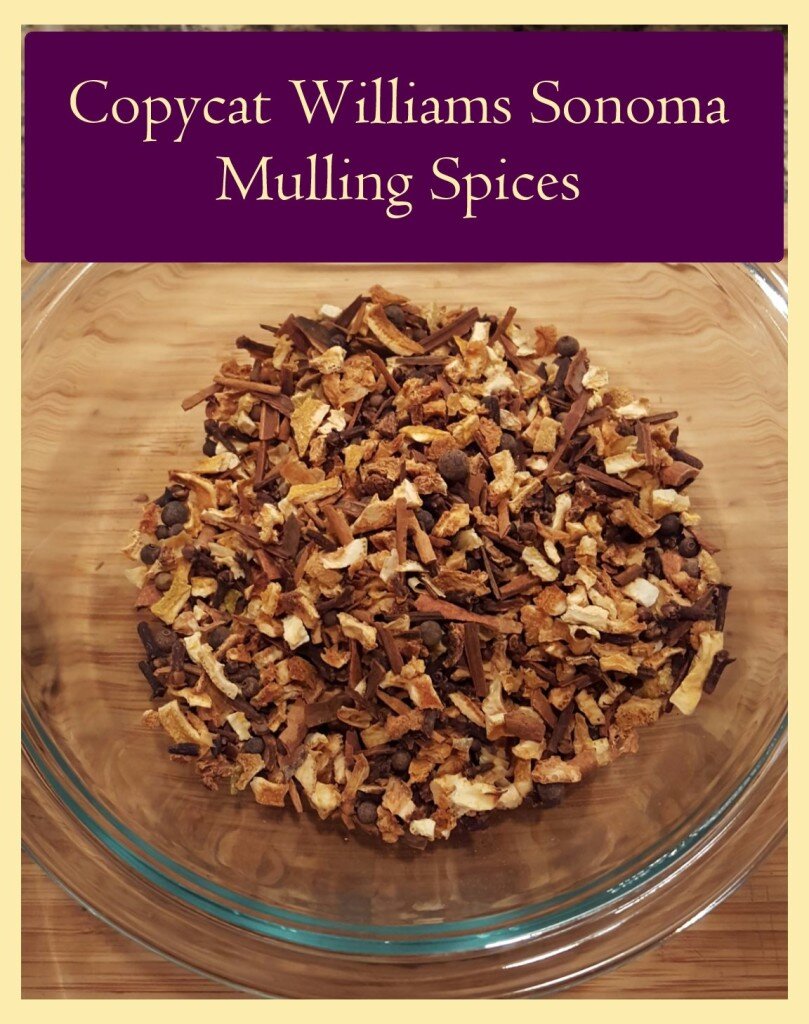
For the foodie (add in a bottle of wine):
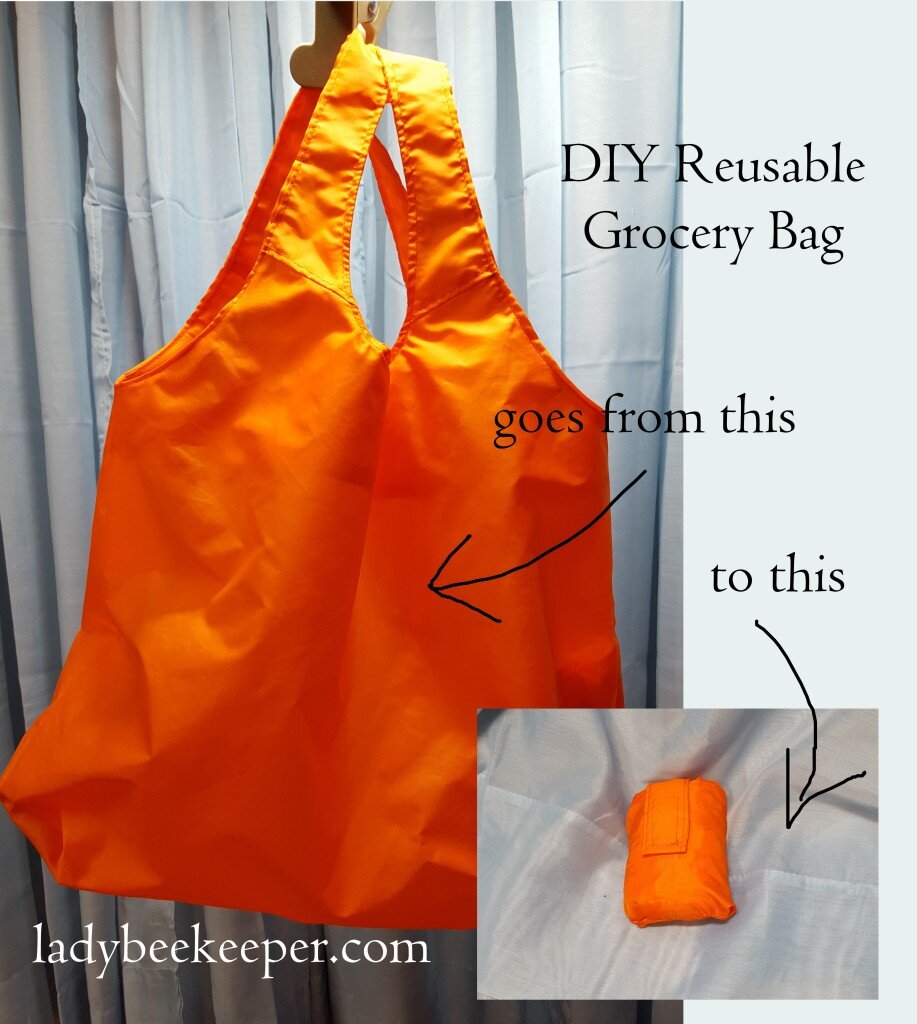
For the environmentally conscience:
For the nerd in your life:
This is just a taste of some of the past ideas on my blog. For other ideas click on one of the categories above and scroll through the photos. I’d love to hear what you’re making for folks this year! Drop me a note in the comments below! And without further ado here are the instructions for my fabulous flapper headpiece!
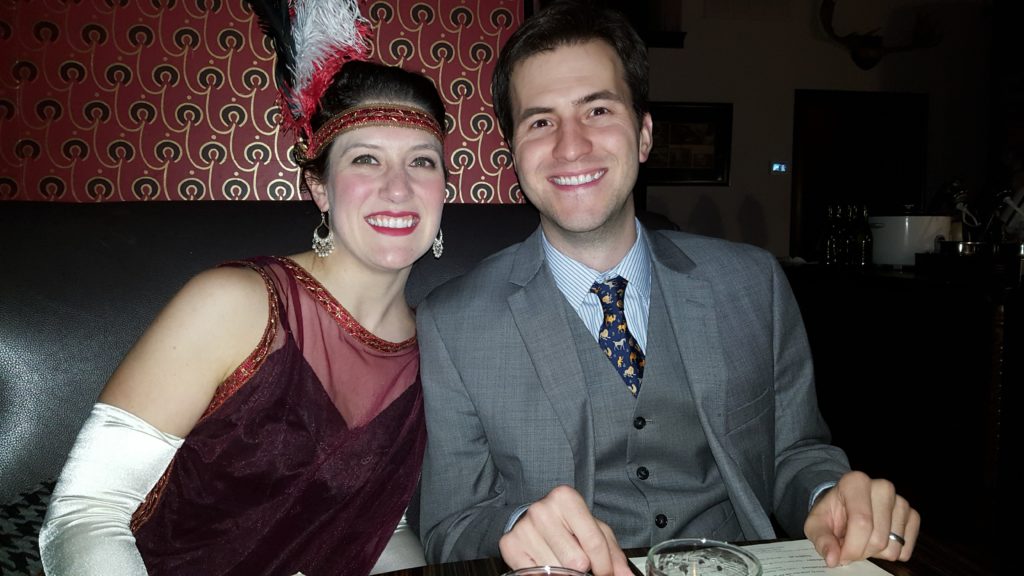
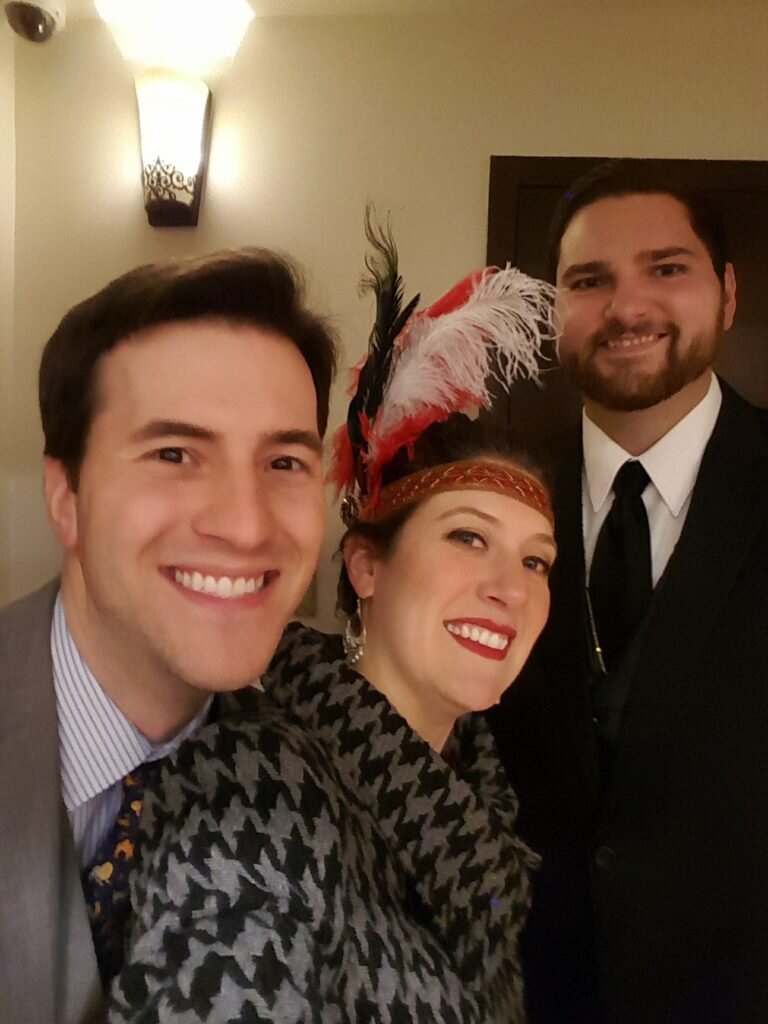
Fabulous flapper headpiece
Fabulous Flapper Headpiece
What you’ll need:
- Assorted feathers ( I choose two ostrich plumes, a peacock feather and a couple rooster feathers)
- 1 yard of 1 inch wide trim
- 2 inches of 1″ thick elastic
- Oversized decorative button
- Measure the circumference of your head just above the ears. Cut a piece of trim 1 inch larger than the circumference of your head.
- Turn ends of trim under 1/2″ and stitch in place.
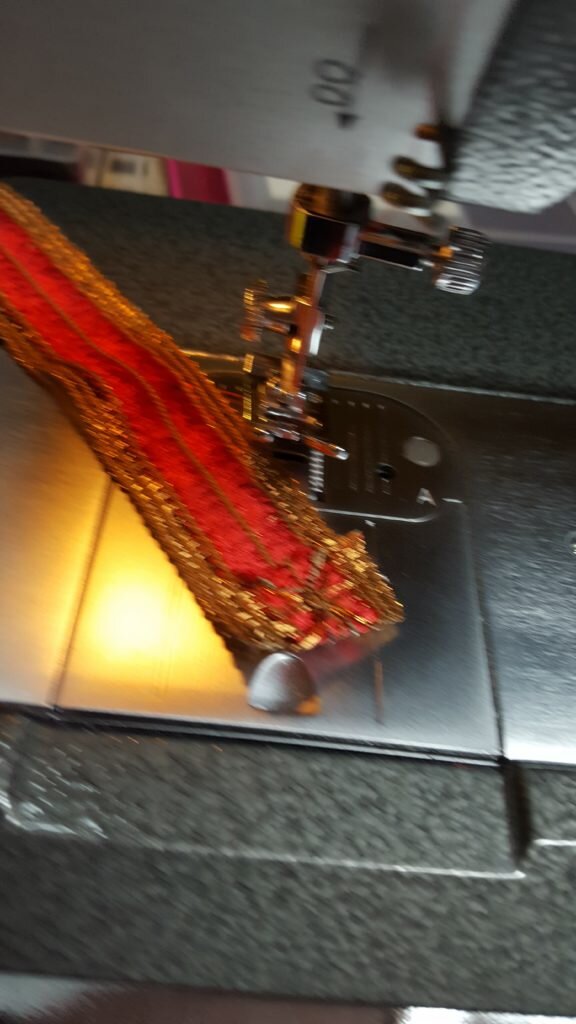
Turn raw ends of band under and stitch in place. Sorry it is so blurry!
- Slightly overlap edges of trim and stitch elastic to trim, one side at a time. Make sure you do not sew the trim together completely. Stitch close to the top of the band then close to the bottom of the band.
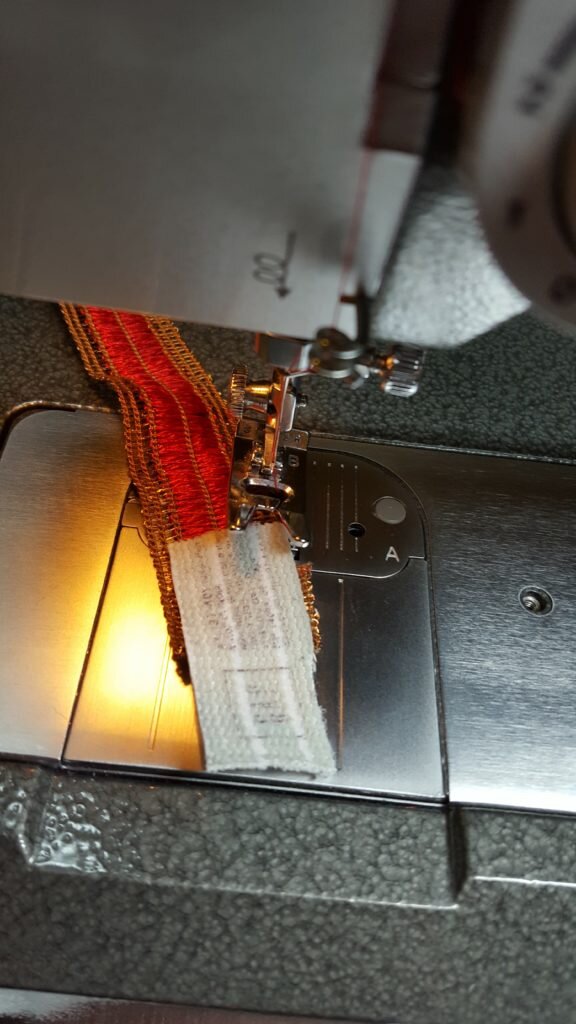
Stitch elastic to inside of band, slightly overlapping the ends.
- Arrange your feathers as you prefer and use masking tape to hold their bases together.
- Place feather arrangement on the side of the headband on top of the right side of the band. Stitch through tape and feathers to adhere to band. Sew one line of stitching near the top of the band and another line near the bottom.
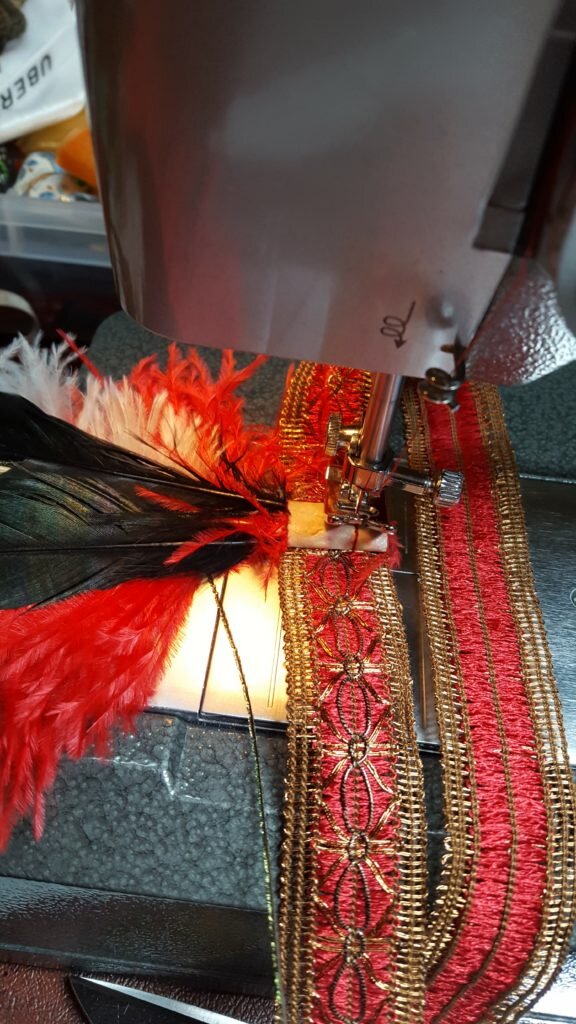
Stitch feathers to band.
- Take a 2″ piece of trim and fold edges under. Matching the pattern on the band, stitch piece of trim on top of the feathers, hiding the masking tape.
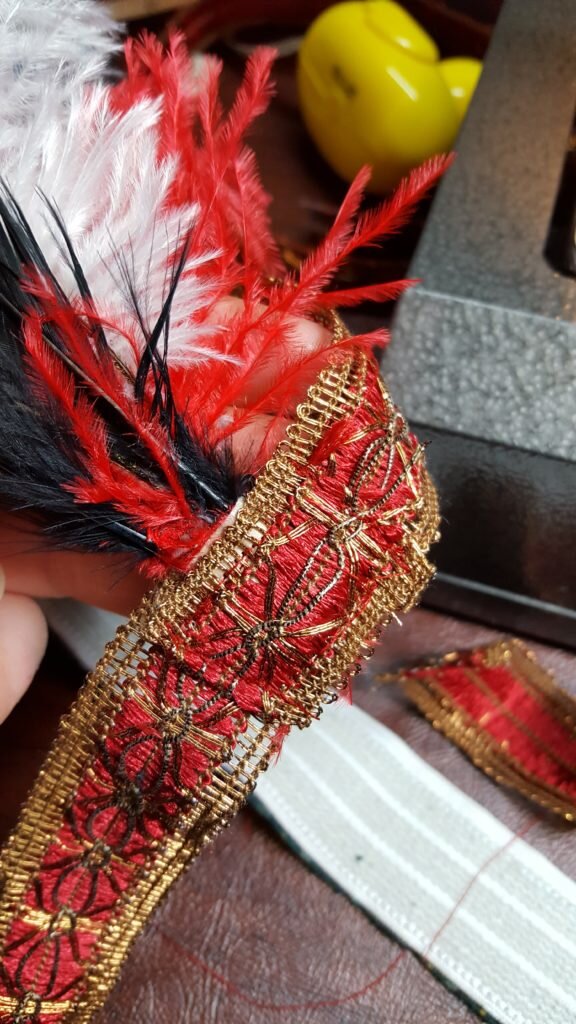
Stitch piece of trim over band to cover bottom of feathers.
- By hand, sew decorative button on top of the trim hiding the feathers.

Pingback: Flapper girl, flapper girl | The Lady Beekeeper